
Effortless No-Knead Dutch Oven Artisan Bread: Crispy Crust, Chewy Interior
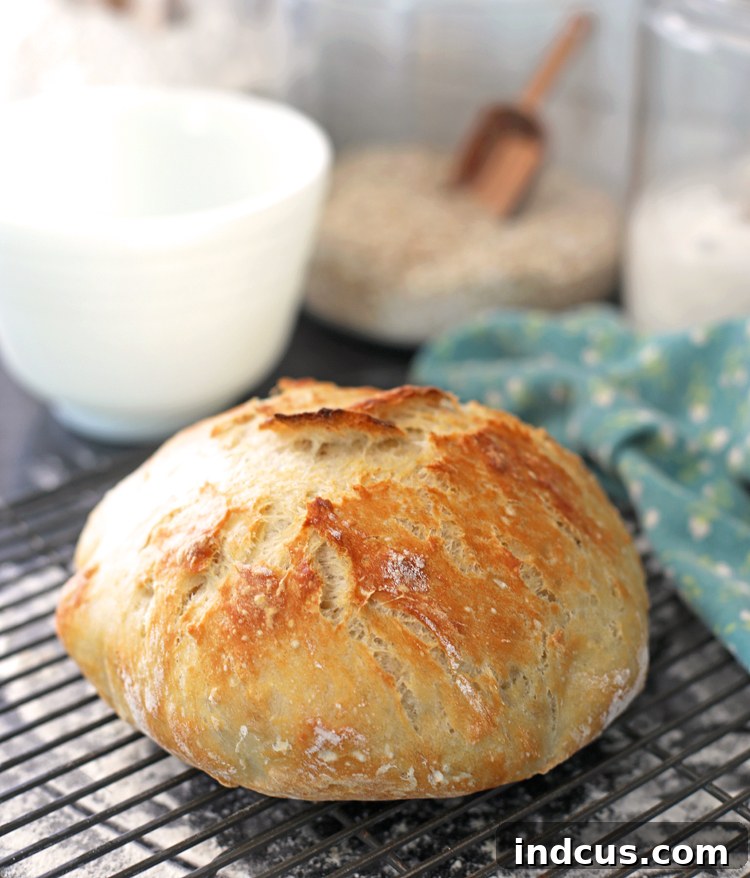
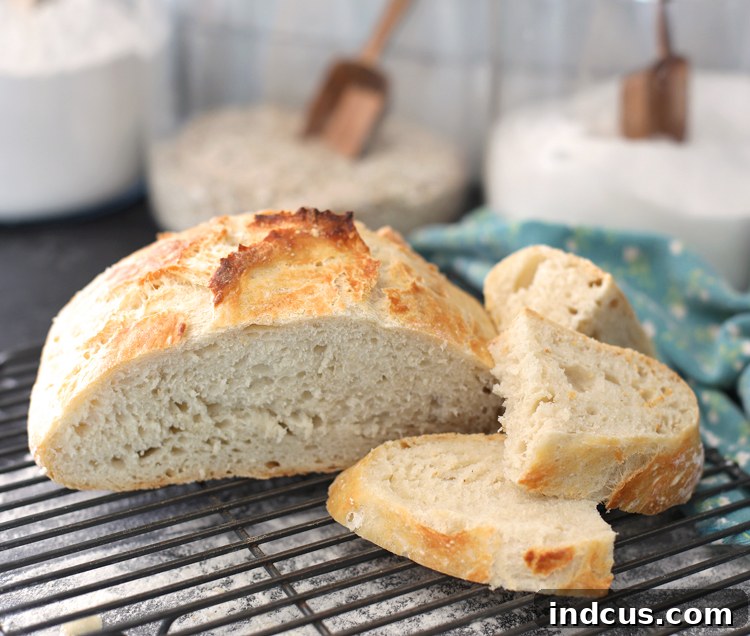
Imagine a loaf of bread that looks and tastes like it came straight from a high-end European bakery. A bread with an irresistibly crispy, golden-brown crust that crackles with every slice, revealing an interior that’s perfectly soft, delightfully chewy, and riddled with airy bubbles. What if I told you that this exquisite artisan bread requires no complicated kneading, minimal hands-on time, and can be baked right in your own kitchen with just four basic ingredients? Welcome to the magic of no-knead Dutch oven bread!
My Journey to the Perfect Loaf: Embracing the Dutch Oven
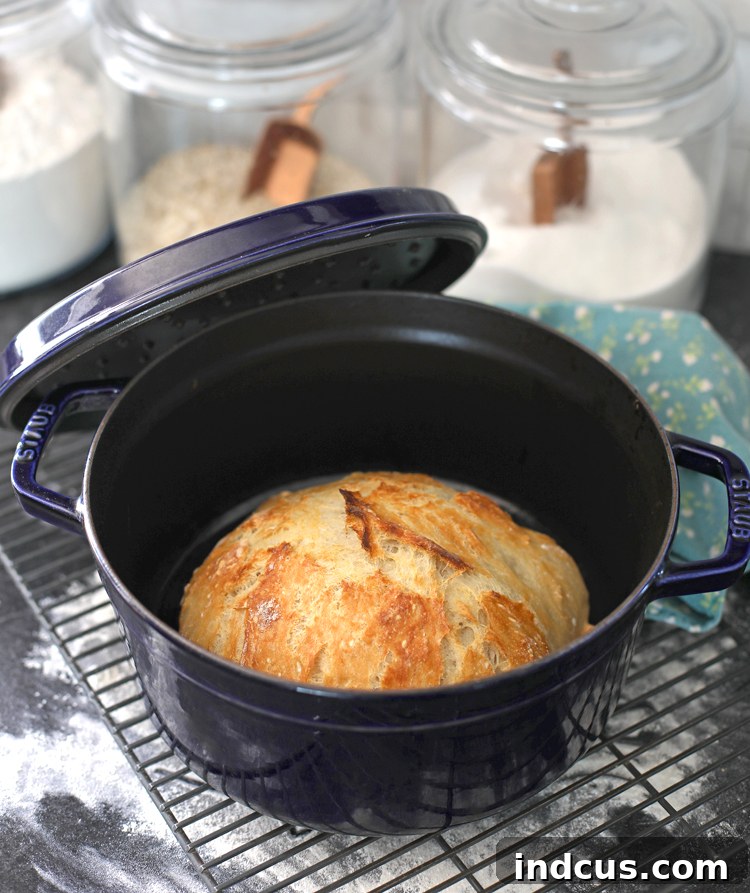
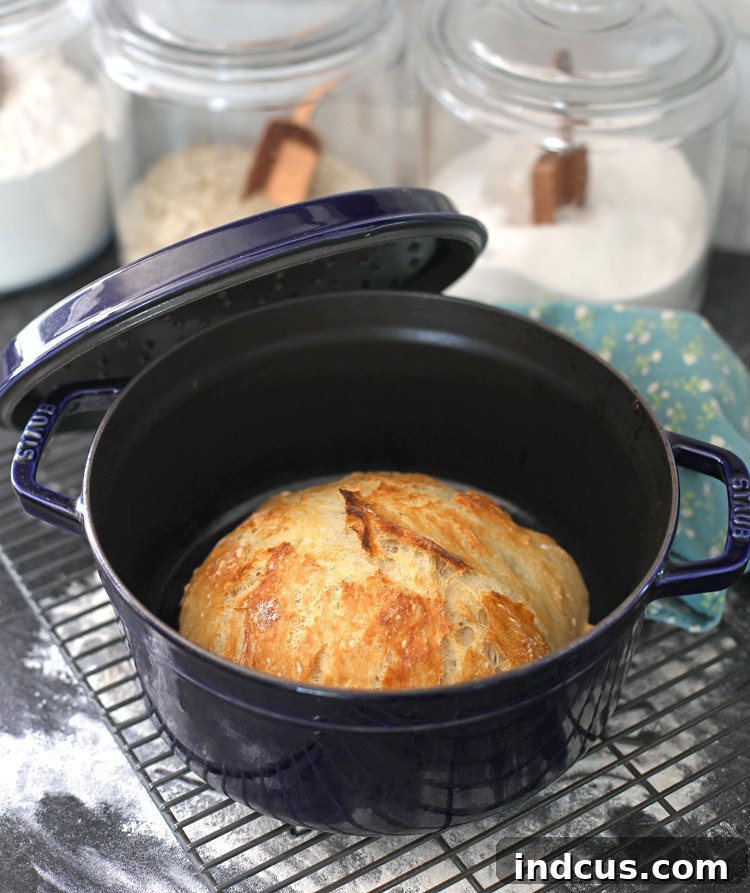
For years, my beautiful Staub cast iron Dutch oven sat on a shelf, admired but untouched, a testament to my kitchen aspirations rather than my culinary achievements. I knew it was a premium piece of cookware, but I confess, I was intimidated by it. What do you *really* cook in a Dutch oven, besides stews? Then, a revelation struck: you can bake bread in them! With renewed purpose, I dusted off my treasured pot, determined to unlock its potential, and embark on a bread-making adventure. Little did I know, this simple decision would lead me to discover my new favorite homemade bread.
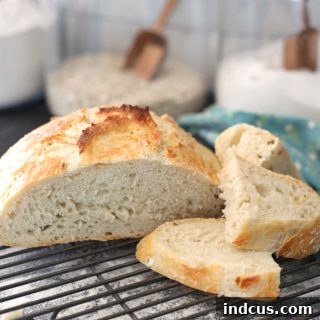
And oh, what a discovery it was! I adore all bread – a true carb enthusiast at heart. But this particular recipe holds a special place. It’s not just another loaf; it’s a game-changer. It’s my favorite because it embodies the ultimate combination of ease and excellence. The process is astonishingly simple, yet the results are nothing short of spectacular. The texture, thanks to the unique cooking environment of the Dutch oven, is truly phenomenal. The crust achieves a crackling crispness that’s utterly addictive, while the interior remains wonderfully soft, springy, and full of those desirable air pockets that define true artisan bread. It’s a culinary triumph that will have you feeling like a master baker, even if you’re a complete novice.
The Magic of No-Knead: Simplicity Meets Flavor
Like many of the best things in life, this bread requires a touch of patience, but absolutely no elbow grease. The secret lies in its long, slow fermentation, which does all the work for you. You simply mix four humble ingredients – flour, salt, yeast, and water – into a shaggy dough the day before you plan to bake. There’s no strenuous kneading, no specialized equipment beyond a bowl and a spoon. Just a quick stir, a cover with plastic wrap, and then you let time and yeast work their wonders on your countertop for approximately 24 hours. This extended rest allows the gluten to develop naturally, creating incredible flavor and structure, and building those signature air bubbles that make artisan bread so appealing.
When baking day arrives, the process remains wonderfully straightforward. Gently shape the risen dough, carefully transfer it to a screaming-hot, preheated Dutch oven, and let your oven transform it into a masterpiece. The anticipation as you await the moment of revelation is part of the joy, and the aroma filling your kitchen will be pure bliss. You will be genuinely amazed that something so easy to make can taste like it’s straight from a professional, high-end bakery.
Why a Dutch Oven is Essential for Artisan Bread
While you don’t need an expensive brand like a Staub (though they are lovely!), a heavy cast iron pot with a tight-fitting lid is crucial for this recipe. The Dutch oven creates a steamy environment inside the pot during the initial baking phase, mimicking the conditions of a professional steam-injected oven. This steam prevents the crust from forming too quickly, allowing the bread to achieve maximum “oven spring” (the final burst of rising) and develop its characteristic open, airy crumb. Once the lid is removed, the bread bakes directly, allowing the crust to crisp up beautifully and achieve that deep, golden hue we all crave. This 6qt enamel Dutch oven from Amazon is a fantastic, more affordable option and comes in a variety of attractive colors.
No Knead Dutch Oven Bread
Created by: The Craft Patch
This simple, no-knead artisan bread is cooked in a cast iron Dutch oven. It is crispy on the outside and perfectly soft, chewy, and airy on the inside – a truly remarkable homemade bread experience.
Ingredients
- 3 cups all-purpose flour
- 1 1/2 teaspoons salt
- 2 teaspoons active dry yeast
- 1 1/2 cups warm water
Instructions
- Add all ingredients (flour, salt, active dry yeast, and warm water) into a large plastic or glass bowl. Stir with a wooden spoon or spatula until evenly combined and a shaggy dough forms. Ensure no dry spots of flour remain.
- Cover the bowl tightly with plastic wrap to prevent air exposure and let it sit on your countertop at room temperature for approximately 24 hours. This long fermentation is key to flavor development and texture.
- After the 24-hour fermentation period, place your lidded cast iron Dutch oven into your oven and preheat to 450 degrees F (232 degrees C). Allowing the pot to heat thoroughly is crucial for the bread’s crust and oven spring.
- While the oven and Dutch oven are preheating, lightly sprinkle flour on a clean countertop. Gently scrape the dough out of the bowl onto the floured surface. With floured hands, carefully shape the sticky dough into a nice, round loaf. Do not knead aggressively; the goal is to preserve the air bubbles. Cover the dough with a clean tea towel and let it rest until the oven is hot.
- Once the oven and Dutch oven are up to temperature (usually 30-45 minutes), carefully remove the extremely hot pot from the oven. Place your shaped dough onto a piece of parchment paper (this makes transferring the dough much easier and prevents sticking). Using the parchment paper as a sling, gently lower the dough and parchment paper into the hot Dutch oven. Be extremely cautious not to touch the hot sides of the pot!
- Place the lid back on the Dutch oven securely and bake for 30 minutes. The trapped steam inside the pot will create a perfect environment for a light, airy crumb and a crisp crust.
- After 30 minutes, remove the lid from the Dutch oven and continue baking for another 15 minutes. This final step allows the crust to brown beautifully and become wonderfully crispy.
- Carefully remove the baked loaf from the Dutch oven using the parchment paper or by tipping it out. Transfer the artisan bread to a wire cooling rack and allow it to cool completely before slicing and serving. Cooling is essential for the internal structure and optimal texture.
Notes for Perfect No-Knead Dutch Oven Bread
- The phenomenal crispy, flaky crust is at its absolute peak for about 1 hour after the bread comes out of the oven. After this magical hour, the crust will naturally begin to soften. It remains incredibly delicious both ways, but if that ultimate crispness is your goal, plan your meal prep accordingly. I often start my bread process about two hours before dinner.
- Elevate your artisan bread with fun variations! Adding herbs and spices to the dough during the initial mixing stage can create delightful new flavor profiles. I’ve had fantastic success with a blend of garlic powder, onion powder, dried basil, and oregano, which yields a wonderfully savory loaf. Other ideas include a pinch of red pepper flakes for a kick, or a generous sprinkle of everything bagel seasoning before baking.
- For best results, use a kitchen scale to measure your flour and water for accuracy, especially if you’re new to bread baking. While cups are provided, weighing ingredients can lead to more consistent outcomes.
- Don’t be afraid of the sticky dough! No-knead doughs are often quite wet, and this contributes to the open, airy crumb. Resist the urge to add too much extra flour during shaping.
- Properly active yeast is crucial. Ensure your warm water is between 105-115°F (40-46°C) to activate the yeast without killing it.
Did You Make This Easy No-Knead Dutch Oven Bread?
We’d love to see your beautiful creations! Share your photos with us on Instagram @thecraftpatch and don’t forget to follow our Pinterest for more inspiring recipes and craft ideas!
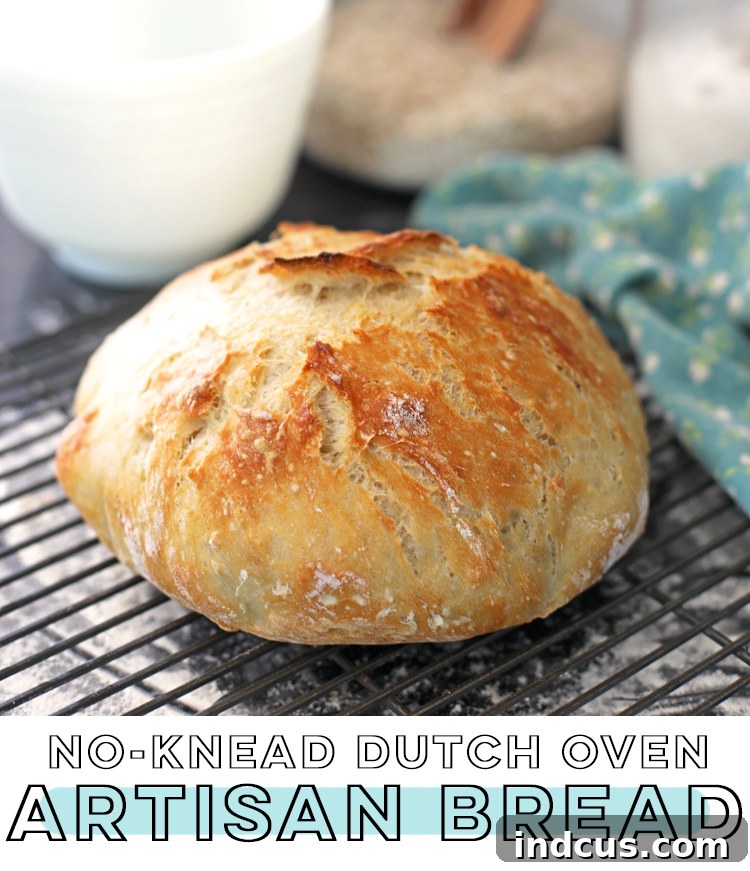
Pin this recipe now so you don’t forget to bake this incredible artisan bread!
Explore More Delicious Homemade Bread Recipes
If you’ve fallen in love with the joy of baking your own bread, we have more wonderful recipes to inspire you:
- Best Ever Traditional Homemade Bread: A classic, comforting loaf that’s perfect for sandwiches or toast.
- 100% Whole Wheat Bread: A wholesome and hearty option for those seeking a nutritious alternative.
- Rustic Rosemary Bread: A fragrant and flavorful bread that doesn’t require a Dutch oven, perfect for a different baking experience.
The Unrivaled Benefits of Baking Your Own Bread
Beyond the sheer delight of a warm, fresh slice, baking your own no-knead Dutch oven bread offers numerous advantages. Firstly, there’s the unparalleled satisfaction of creating something truly wonderful from scratch. The aroma that fills your home is more inviting than any store-bought candle, and the pride in serving your homemade loaf is immense. Secondly, you control the ingredients. No hidden additives, preservatives, or unnecessary sugars—just pure, simple goodness. This makes it a healthier choice for your family. Thirdly, it’s surprisingly economical. A few basic pantry staples transform into a gourmet-quality bread that would cost significantly more at a specialty bakery. Finally, the process itself can be incredibly therapeutic. The gentle stirring, the waiting, the anticipation, and the final reveal of a perfectly baked loaf provide a sense of accomplishment that is hard to beat.
Whether you’re a seasoned baker or taking your very first steps into the world of bread making, this no-knead Dutch oven recipe is designed for success. It’s the simplest path to truly exceptional artisan bread, guaranteed to impress your family and friends. So, dust off your Dutch oven, gather your ingredients, and prepare to embark on a delightful culinary journey. You’re just 24 hours away from enjoying the best homemade bread you’ve ever tasted!







