
Transform Your Home with an Easy DIY Yarn-Wrapped Vase Makeover
There’s an undeniable thrill that comes with refreshing your living space, isn’t there? Lately, I’ve been completely swept up in the home decor craze. My mind has been buzzing with ideas, and my wishlist of little projects to brighten up the house quickly grew to two pages long! While it’s easy to get excited and then overwhelmed by the sheer volume of possibilities, I’ve learned that the best way to tackle such ambitions is to start small. Today, I’m thrilled to share a delightful project that’s perfect for anyone looking to add a touch of handmade charm to their home without breaking the bank or spending hours.
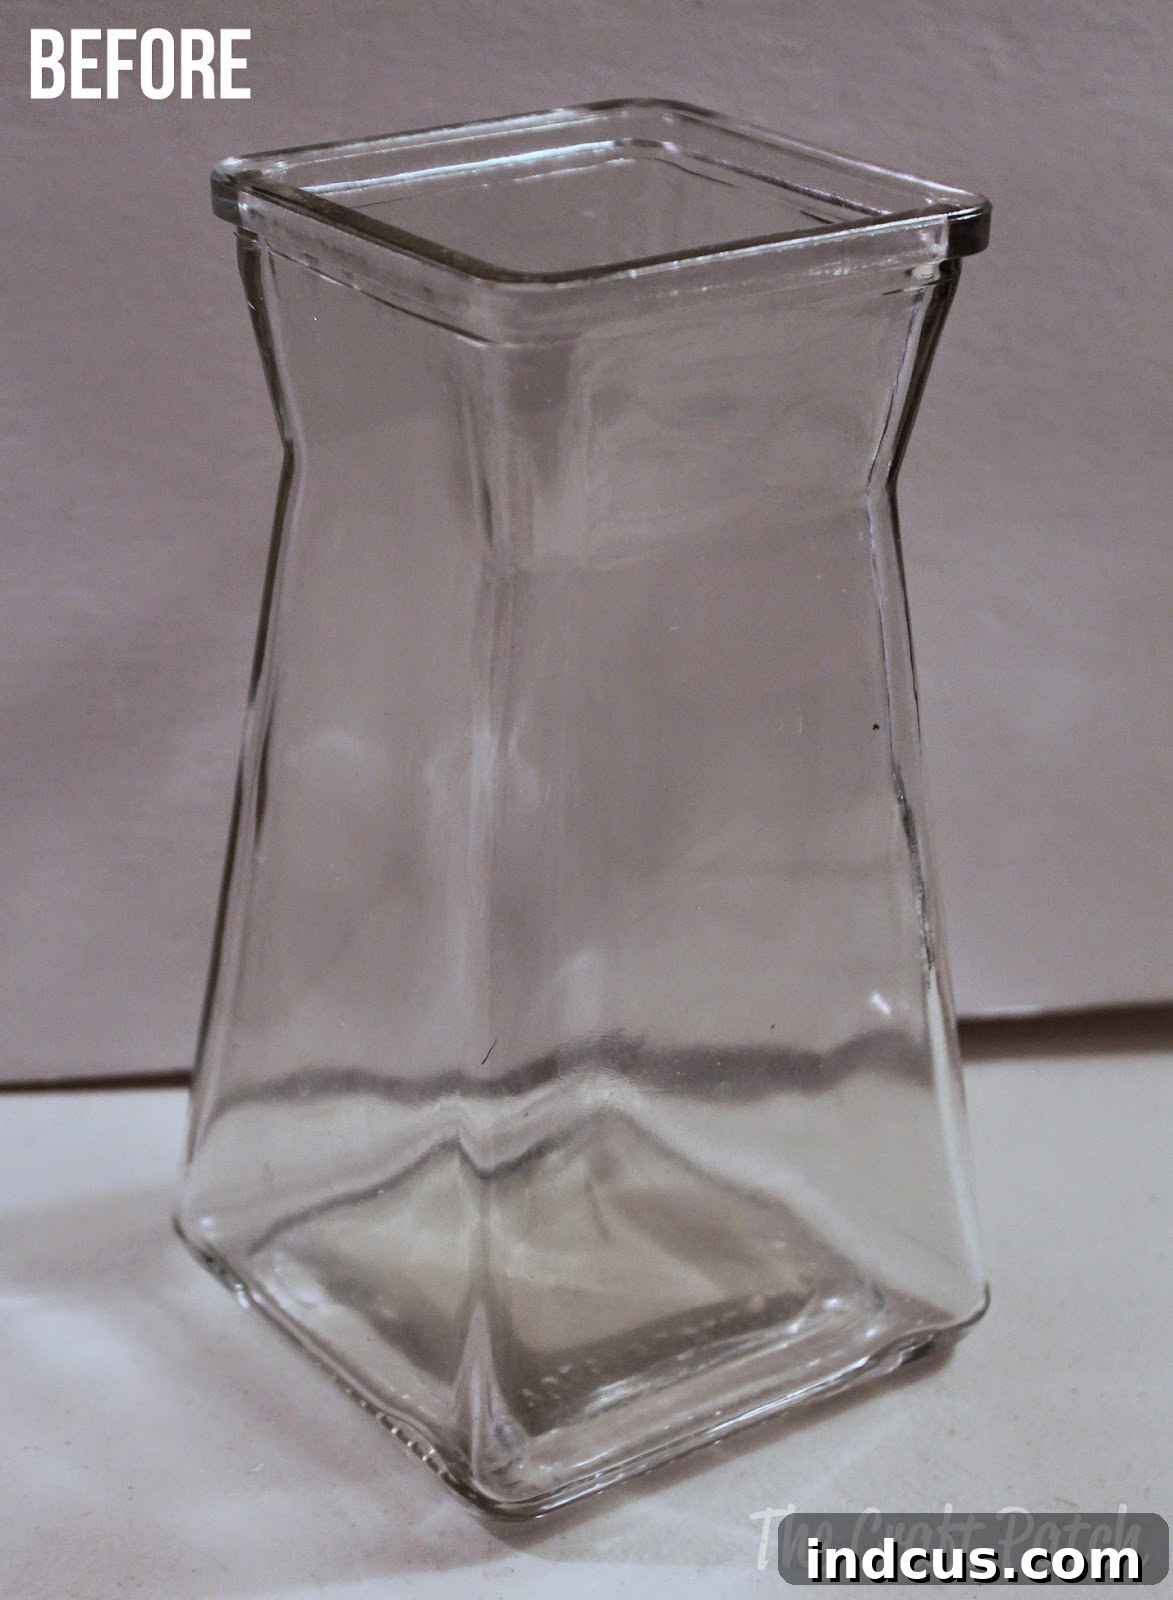
A few weeks ago, I acquired this unassuming vase from an undisclosed location – let’s just say it was in need of a little love. It sat there, full of potential, waiting for a creative spark to ignite its transformation. I instantly saw its hidden beauty and knew it was the perfect candidate for a quick, impactful facelift. This project isn’t just about crafting; it’s about seeing potential where others might see only ordinary, and turning it into something truly special. It’s an excellent entry point into the world of DIY home decor, promising a rewarding outcome with minimal effort.
Gather Your Supplies: The Heart of Your Yarn Vase Project
For this incredibly simple yet stunning DIY project, you’ll need just a few basic materials, most of which you might already have lying around. The beauty of this craft lies in its accessibility and the freedom it offers for personalization. To begin, I grabbed some cheerful yellow and sophisticated grey yarn, along with my trusty hot glue gun. These are the core components, but let’s delve a little deeper into choosing your materials to ensure the best results and unleash your creativity.
Choosing Your Yarn
The type of yarn you select will significantly impact the final look and texture of your vase. While I opted for standard acrylic worsted-weight yarn for its vibrant colors and ease of use, don’t be afraid to experiment.
- Acrylic Yarn: Widely available, affordable, and comes in an enormous range of colors. It’s a great choice for beginners.
- Cotton Yarn: Offers a slightly more natural, matte finish. It can be a bit stiffer to work with but provides a lovely texture.
- Wool Yarn: For a cozy, rustic, or chunky look, wool can be beautiful. Be mindful that some wools can be pricier.
- Textured Yarns: Consider boucle, chenille, or even t-shirt yarn for unique textures that add depth and interest. These can create a more avant-garde or bohemian feel.
Think about the aesthetic you’re aiming for. Do you want bold stripes, a subtle gradient, or a single solid color that pops? The color palette plays a crucial role in how your finished vase will integrate into your home decor. Yellow and grey offer a modern, refreshing contrast perfect for spring, but pastel blues and greens evoke tranquility, while deep jewel tones can add a touch of luxury.
Selecting Your Glue
A reliable adhesive is key to a long-lasting yarn vase.
- Hot Glue Gun: My go-to for speed and strong adhesion. It dries almost instantly, allowing for rapid progress. Just be cautious of the heat and any visible glue strands.
- Craft Glue (e.g., Mod Podge, Tacky Glue): These offer a longer working time, which can be beneficial for beginners who want to adjust the yarn placement. However, they require more drying time and might not hold thicker yarns as securely. If using craft glue, ensure it dries clear.
Whichever glue you choose, ensure you have plenty on hand. For a medium-sized vase, you might go through several glue sticks or a generous bottle of craft glue.
The Vase Itself
Any clean, sturdy vase will work! I used one from an “undisclosed location,” but you can repurpose an old glass vase, a ceramic pot, or even a sturdy plastic container. The shape of the vase will influence how easy it is to wrap. Straight-sided or gently curving vases are generally easier than those with very dramatic curves or narrow necks. Ensure your vase is clean and dry before you begin to ensure optimal glue adhesion.
Step-by-Step Guide: Crafting Your Yarn-Wrapped Masterpiece
With your materials ready, let’s dive into the simple yet satisfying process of transforming your vase. This project is incredibly therapeutic and the results are almost instant!
- Preparation is Key: Begin by thoroughly cleaning your vase. Remove any dust, grime, or old labels. A clean surface ensures your glue adheres properly. If you’re using a glass vase, a quick wipe with rubbing alcohol can help remove any oils that might prevent the glue from sticking.
- Anchor Your Start: Heat up your glue gun. Starting at the very bottom edge of your vase, apply a small line of hot glue – about an inch or two long. Quickly press the end of your yarn firmly into the glue, making sure it’s flush with the base. Hold it in place for a few seconds until the glue sets. This initial anchor is crucial for a neat finish.
- The Wrapping Process: Once your starting point is secure, continue to apply short lines of hot glue around the circumference of the vase, just above the previous yarn row. Immediately press the yarn into the glue, guiding it smoothly and tightly around the vase. The key here is to work in small sections. Applying too much glue at once can cause it to cool before you get the yarn in place, or create messy strings.
- Maintain Even Tension: As you wrap, try to keep an even tension on the yarn. This prevents gaps and ensures a smooth, consistent appearance. You want the yarn rows to be snugly pushed together, leaving no visible vase surface underneath. Take your time, adjusting each strand as needed. If you notice a gap, gently push the yarn rows closer together while the glue is still warm (but be careful not to burn your fingers!).
- Seamless Color Changes: If you’re incorporating multiple colors, like my yellow and grey design, the transition needs to be clean. When you’re ready to switch colors, trim the current yarn color, leaving about a half-inch tail. Secure this tail with a tiny dab of hot glue on the back of the vase. Then, take your new yarn color, apply a small line of glue where the previous color ended, and press the new yarn into place, overlapping slightly to ensure a seamless transition. Try to make your color changes in the same spot on the vase (e.g., the back) to keep the front looking uniform.
- Reaching the Top: Continue the wrapping process until you reach the very top edge of your vase. Apply your final line of glue and press the yarn firmly, ensuring the top edge is clean and crisp. Trim any excess yarn, securing the end with a final small dot of glue. Take a moment to inspect your work, pressing down any loose ends or stray strands.
And just like that, in less than an hour, my simple vase was transformed into a cheerful, modern piece of decor. It’s truly as easy as can be! Look how cute it turned out:
Tips for Perfection and Troubleshooting Common Issues
While this is a straightforward project, a few tips can elevate your results, and knowing how to troubleshoot can save you from frustration:
- Preventing Gaps: The most common issue is leaving small gaps between yarn rows. To avoid this, apply glue in small sections and immediately push the yarn snugly against the previous row. A plastic credit card or a craft stick can be used to gently push the yarn into place without burning your fingers.
- Dealing with Visible Glue: Hot glue can sometimes leave wispy strings or show through lighter-colored yarns. To minimize this, use glue sparingly and work quickly. If strings appear, gently rub them away with your finger once the glue is completely cool, or use a hairdryer on a low setting to melt them away carefully.
- Securing Ends Neatly: For a professional finish, always trim yarn ends cleanly and secure them with a tiny dot of glue on the back or bottom of the vase, ensuring they are not visible from the front.
- Working with Curved Vases: If your vase has significant curves, it might be harder to keep the yarn straight. For these shapes, wrapping in a slightly spiraling pattern can be more forgiving than trying to maintain perfectly horizontal lines.
Beyond the Basics: Creative Variations for Your DIY Yarn Vase
The beauty of this project is how easily it can be customized. Once you’ve mastered the basic wrap, consider these ideas to make your next yarn vase truly unique:
- Pattern Play: Instead of simple stripes, try creating geometric patterns, chevrons, or even subtle gradients by blending similar yarn colors.
- Textural Contrast: Combine different types of yarn in one project – a smooth acrylic with a chunky wool, or a fluffy chenille with a thin cotton string. This adds wonderful tactile interest.
- Embellishments: Once the yarn is wrapped, you can add extra decorative elements. Think small beads, sequins, fabric flowers, or even a simple ribbon tied around the neck of the vase.
- Multi-Vase Displays: Create a collection of yarn-wrapped vases in varying sizes and complementary colors to make a cohesive and striking display on a mantelpiece or shelf.
- Dip-Dye Effect: For a twist, wrap only part of the vase, leaving the top or bottom exposed, or paint a section of the vase before wrapping for a subtle peeking effect.
This project isn’t just about making a vase; it’s about making a statement that reflects your personal style. It’s a testament to the fact that beautiful home decor doesn’t have to come with a hefty price tag.
Bringing Joy and Brightness to Any Space
Now, I have a fun little vase that will brighten up any space it graces. It’s perfect for holding a fresh bouquet of spring flowers, instantly infusing the room with a sense of renewal and vibrant energy. Imagine a burst of daffodils or tulips standing tall in this handmade beauty – it’s an instant mood lifter!
But its uses extend far beyond just flowers. This versatile piece can serve many purposes throughout your home:
- In the Office: A stylish holder for pens, pencils, or paintbrushes, keeping your desk tidy and inspiring.
- In the Bathroom: Organize makeup brushes, cotton swabs, or even hair ties with a touch of handmade elegance.
- In the Living Room: As a standalone decorative accent, especially when grouped with other textures or objects.
- Seasonal Decor: Easily swap out the yarn colors to match different seasons or holidays – reds and greens for Christmas, oranges and browns for autumn, or pastels for Easter.
This would also make a truly thoughtful and heartfelt gift for someone special. Handmade gifts carry a unique charm and show an extra layer of care. It’s an ideal present for Mother’s Day, a birthday, a housewarming, or simply as a token of appreciation. Who wouldn’t love a beautiful, custom-made vase crafted with love?
Embrace the DIY Spirit
Embarking on DIY projects like this yarn-wrapped vase offers so many benefits. It’s a wonderfully budget-friendly way to update your decor, giving new life to old items and saving you money compared to buying new. It promotes sustainability by encouraging repurposing and reduces waste. More importantly, it provides immense personal satisfaction. There’s a special pride that comes from creating something beautiful and functional with your own hands, knowing that it adds a unique, personal touch that mass-produced items simply can’t replicate.
So, if you’ve caught the home decor bug, or even if you’re just looking for a simple, rewarding craft, I wholeheartedly encourage you to give this DIY yarn-wrapped vase a try. It’s an easy, enjoyable project that yields beautiful results and will undoubtedly bring a cheerful handmade vibe to your home. Grab some yarn, fire up that glue gun, and let your creativity blossom!







