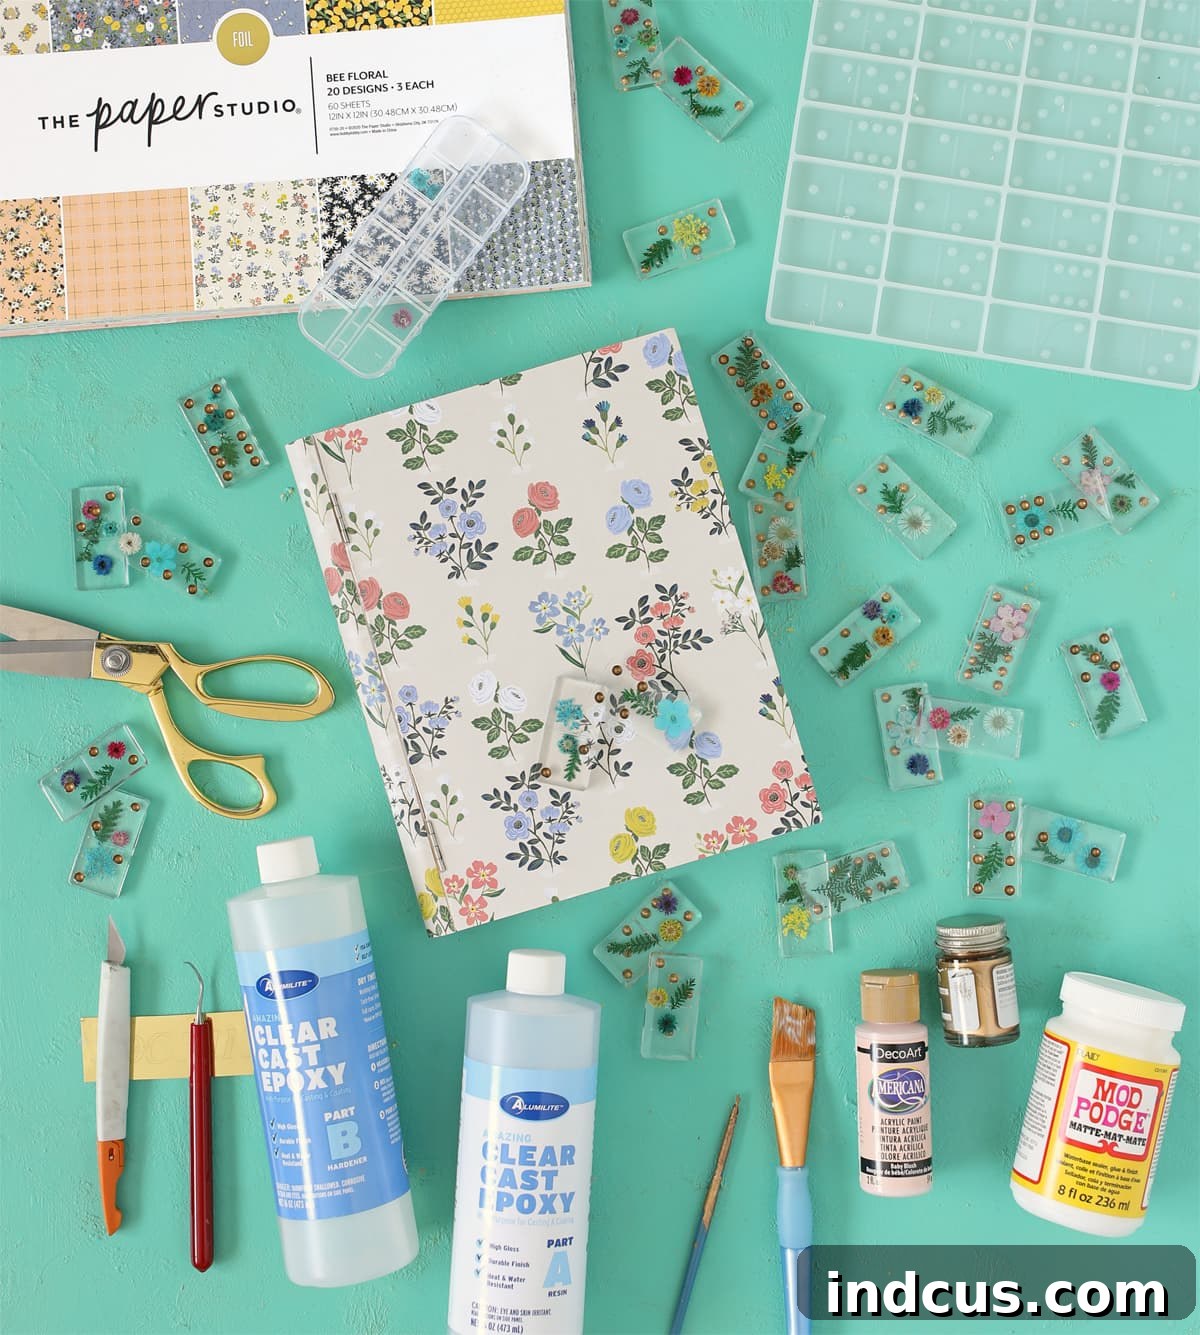
Unlock Your Inner Crafter: Create Stunning Custom Resin Dominoes with Pressed Flowers (A Beginner’s Guide)
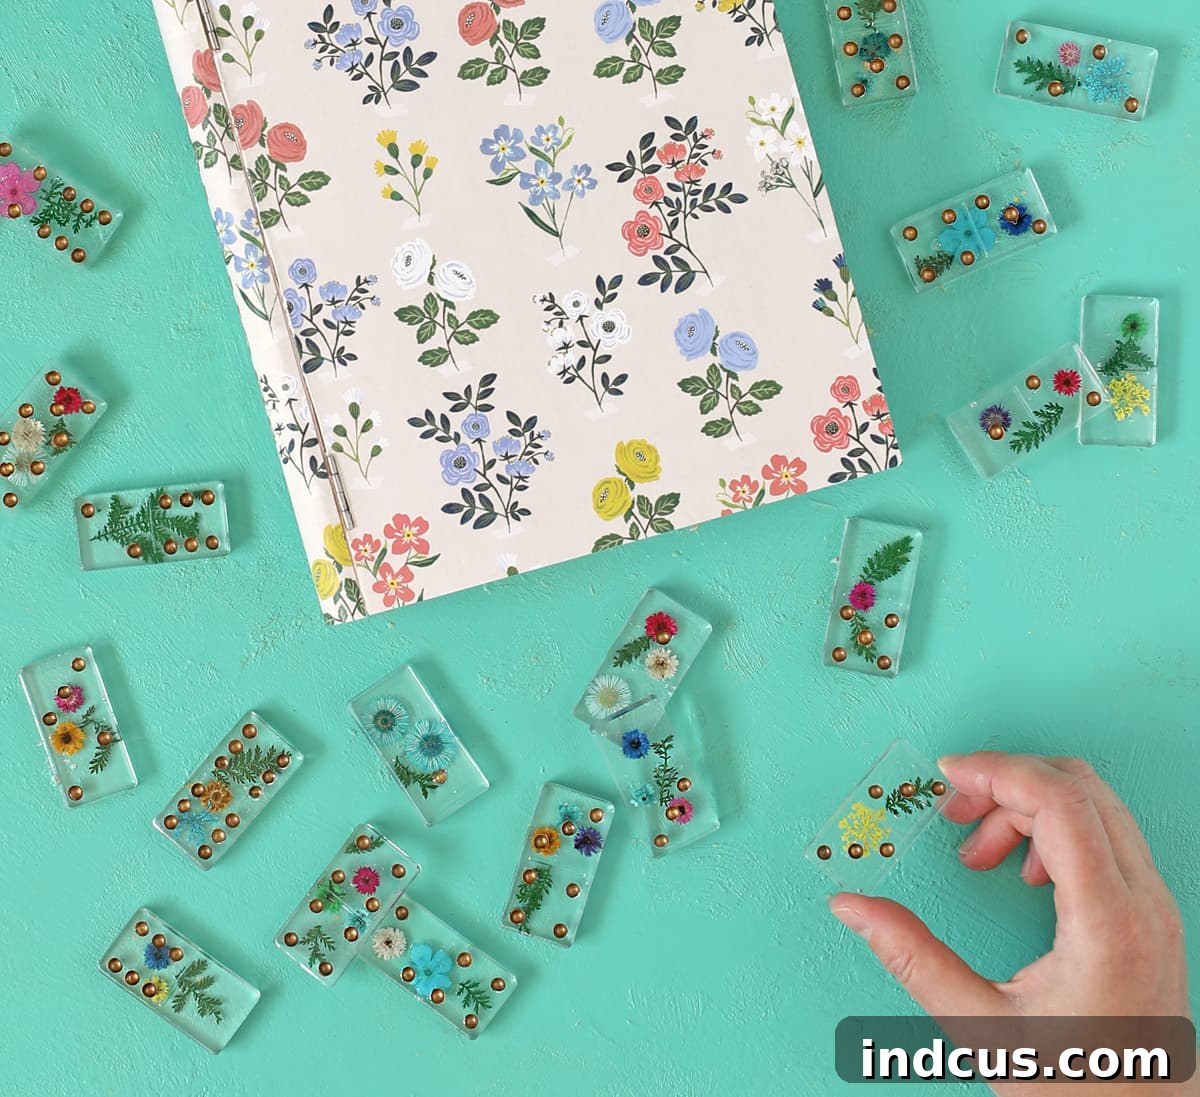
Step into the enchanting world of resin crafting and discover how to create truly unique, heirloom-quality game sets. Have you ever scrolled through social media, captivated by the intricate beauty of custom dominoes adorned with delicate botanical elements? The allure of personalized game pieces, infused with natural charm, is undeniable. This comprehensive guide will walk you through crafting your very own set of custom resin dominoes, embellished with vibrant pressed flowers. It’s a surprisingly simple project, making it an ideal entry point for anyone new to working with resin.
For many, the thought of working with resin can be intimidating. The precise measurements, the curing times, and the potential for bubbles might seem daunting. Rest assured, if you’ve felt this way, you’re not alone. But let me tell you, my first foray into resin crafting with this very project was an absolute revelation! It proved to be far more straightforward and enjoyable than I ever anticipated. The satisfaction of transforming liquid resin into sparkling, personalized game pieces is truly addictive, and I’m confident you’ll be hooked too. This guide aims to demystify the process, empowering even complete beginners to achieve stunning results.
This post is sponsored by Hobby Lobby. All ideas and the joyous crafting experience are my own.
Get ready to embark on a creative journey! We’ll cover every step, from preparing your workspace to demolding your beautiful, custom resin dominoes, and even crafting a charming storage box to match. Let’s dive into the detailed process!
Essential Materials for Your Custom Resin Dominoes Project
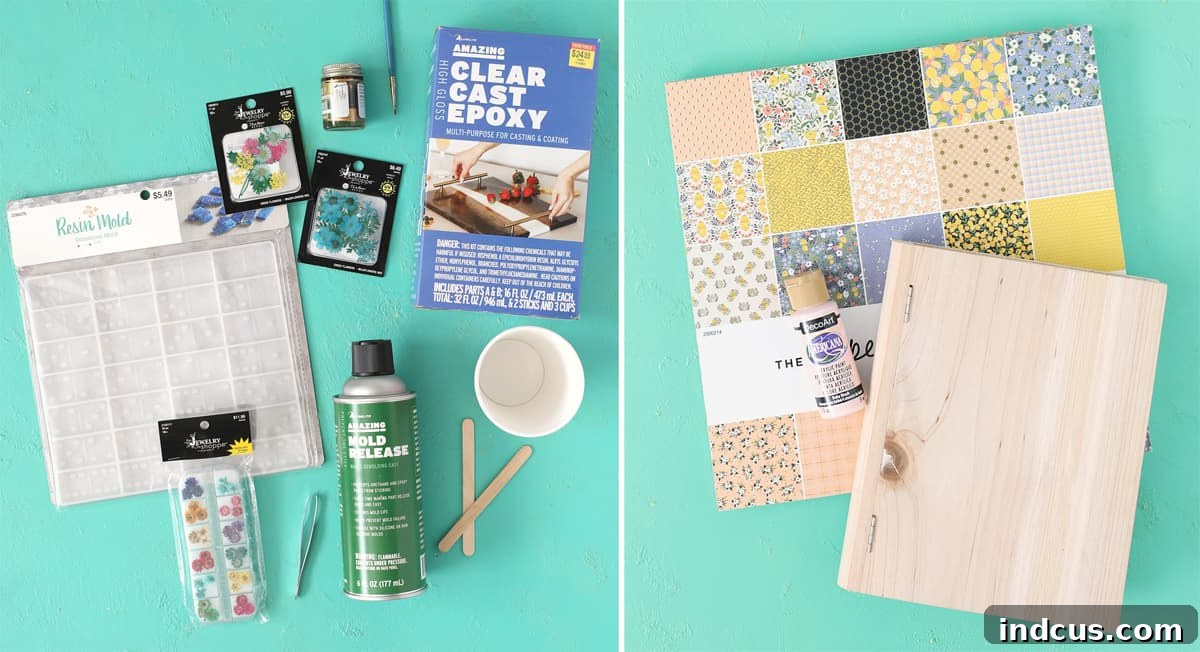
Gathering the right supplies is the first step towards a successful crafting experience. Here’s a detailed list of everything you’ll need, thoughtfully categorized for your convenience. All these items are readily available, making this a highly accessible DIY project.
For The Dominoes:
- Clear Cast High Gloss Epoxy Resin: This two-part epoxy resin is perfect for clear, bubble-free casts, allowing your pressed flowers to shine.
- Dominoes Silicone Mold: A flexible silicone mold is crucial for easy demolding and achieving the perfect domino shape.
- Pressed Flowers: Select a variety that complements your aesthetic. Small, flat flowers work best.
Blue Pressed Wildflowers
Pressed Wildflower Mix
Multi-Colored Dried Flowers - Liquid Leaf Gold Paint: For adding the distinctive dots and dividing lines to your dominoes.
- Tweezers: Essential for precise placement of the delicate pressed flowers.
- Disposable Tiny Paintbrush: Ideal for applying the gold paint to the domino dots and lines.
- Paper Cups: For mixing resin, ensuring easy cleanup.
- Wooden Popsicle Sticks (usually included with resin kit) for stirring.
- Gloves and Eye Protection: Safety first! Always protect your skin and eyes when working with resin.
- A well-ventilated workspace.
For The Matching Book Box:
- Wood Book Box: A charming and functional storage solution for your domino set.
- Craft Paint in a Coordinating Color: Choose a hue that complements your chosen patterned paper and pressed flowers.
- Patterned Paper: Select a design that enhances the aesthetic of your custom dominoes.
- Mod Podge: An all-in-one glue, sealer, and finish for adhering paper to the wood box.
- Paint Brush: For applying craft paint and Mod Podge.
- Craft Knife: For precise trimming of paper.
- Paper Trimmer: Ensures straight, clean cuts for your decorative paper.
- Gold Adhesive Vinyl+ Transfer Tape: For adding a professional and elegant label to your book box.
- Fine-grit sandpaper (optional, for box preparation).
Step-by-Step Guide: Crafting Your Custom Resin Dominoes
Working with resin requires patience and adherence to instructions, but the results are incredibly rewarding. Always ensure you are working in a well-ventilated area and wearing appropriate safety gear, including gloves and eye protection.
Step 1: Prepare and Mix the Resin
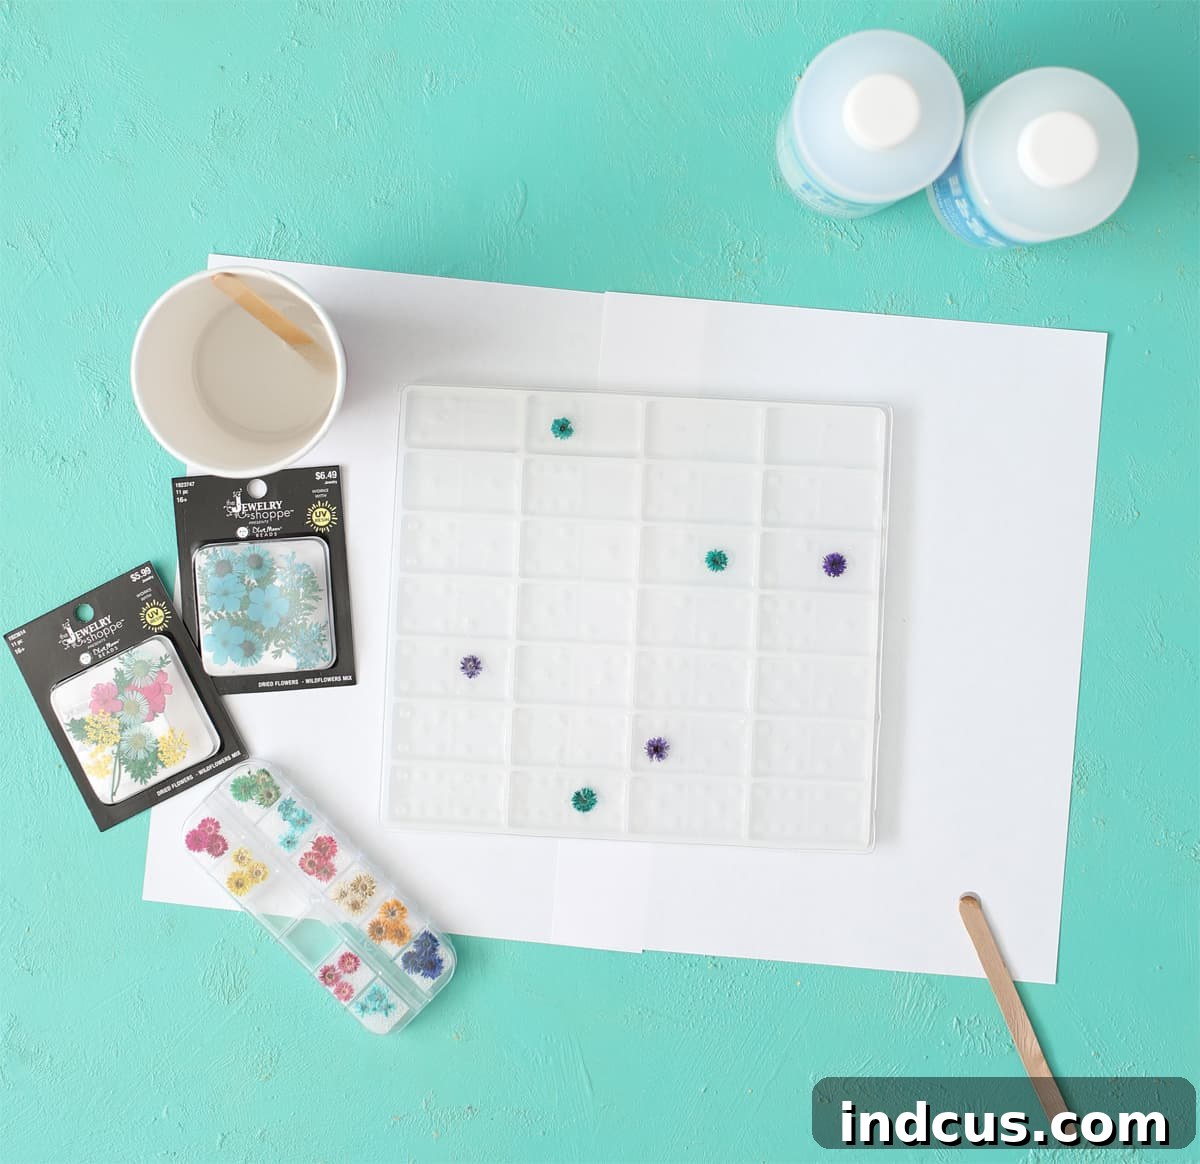
The foundation of beautiful resin dominoes lies in correctly mixing your epoxy resin. Begin by setting up a clean, level workspace, ideally covered with a protective sheet. Carefully read the instructions provided with your specific resin kit. For this project, I used a clear cast high gloss epoxy resin. It’s a two-part system, requiring equal amounts of Part A (resin) and Part B (hardener). The kit I used came with convenient 30mL measuring cups and wooden popsicle sticks for mixing. I combined four of these measuring cups from each part into a disposable paper cup. While this left a small amount extra, using three cups of each would likely suffice for a standard domino set. The key is to measure accurately to ensure proper curing. Once combined, stir the mixture slowly and consistently for the full duration specified in the package instructions, usually 3-5 minutes. Make sure to scrape the sides and bottom of the cup frequently to integrate both parts thoroughly. This careful mixing helps prevent sticky spots and ensures a strong, even cure, minimizing bubbles.
Step 2: Pour Resin into the Domino Mold
With your resin thoroughly mixed, it’s time to pour it into the silicone domino mold. While some resin crafters use mold release spray for easier demolding, I found that my dominoes popped out perfectly fine without it, so I consider this step optional for this particular mold. Begin by carefully pouring a thin layer of resin into each domino cavity, just enough to cover the bottom. This initial layer provides a base for your flowers and helps prevent them from sinking too deeply or sticking to the bottom. Take your time and aim for an even distribution.
Step 3: Arrange Pressed Flowers
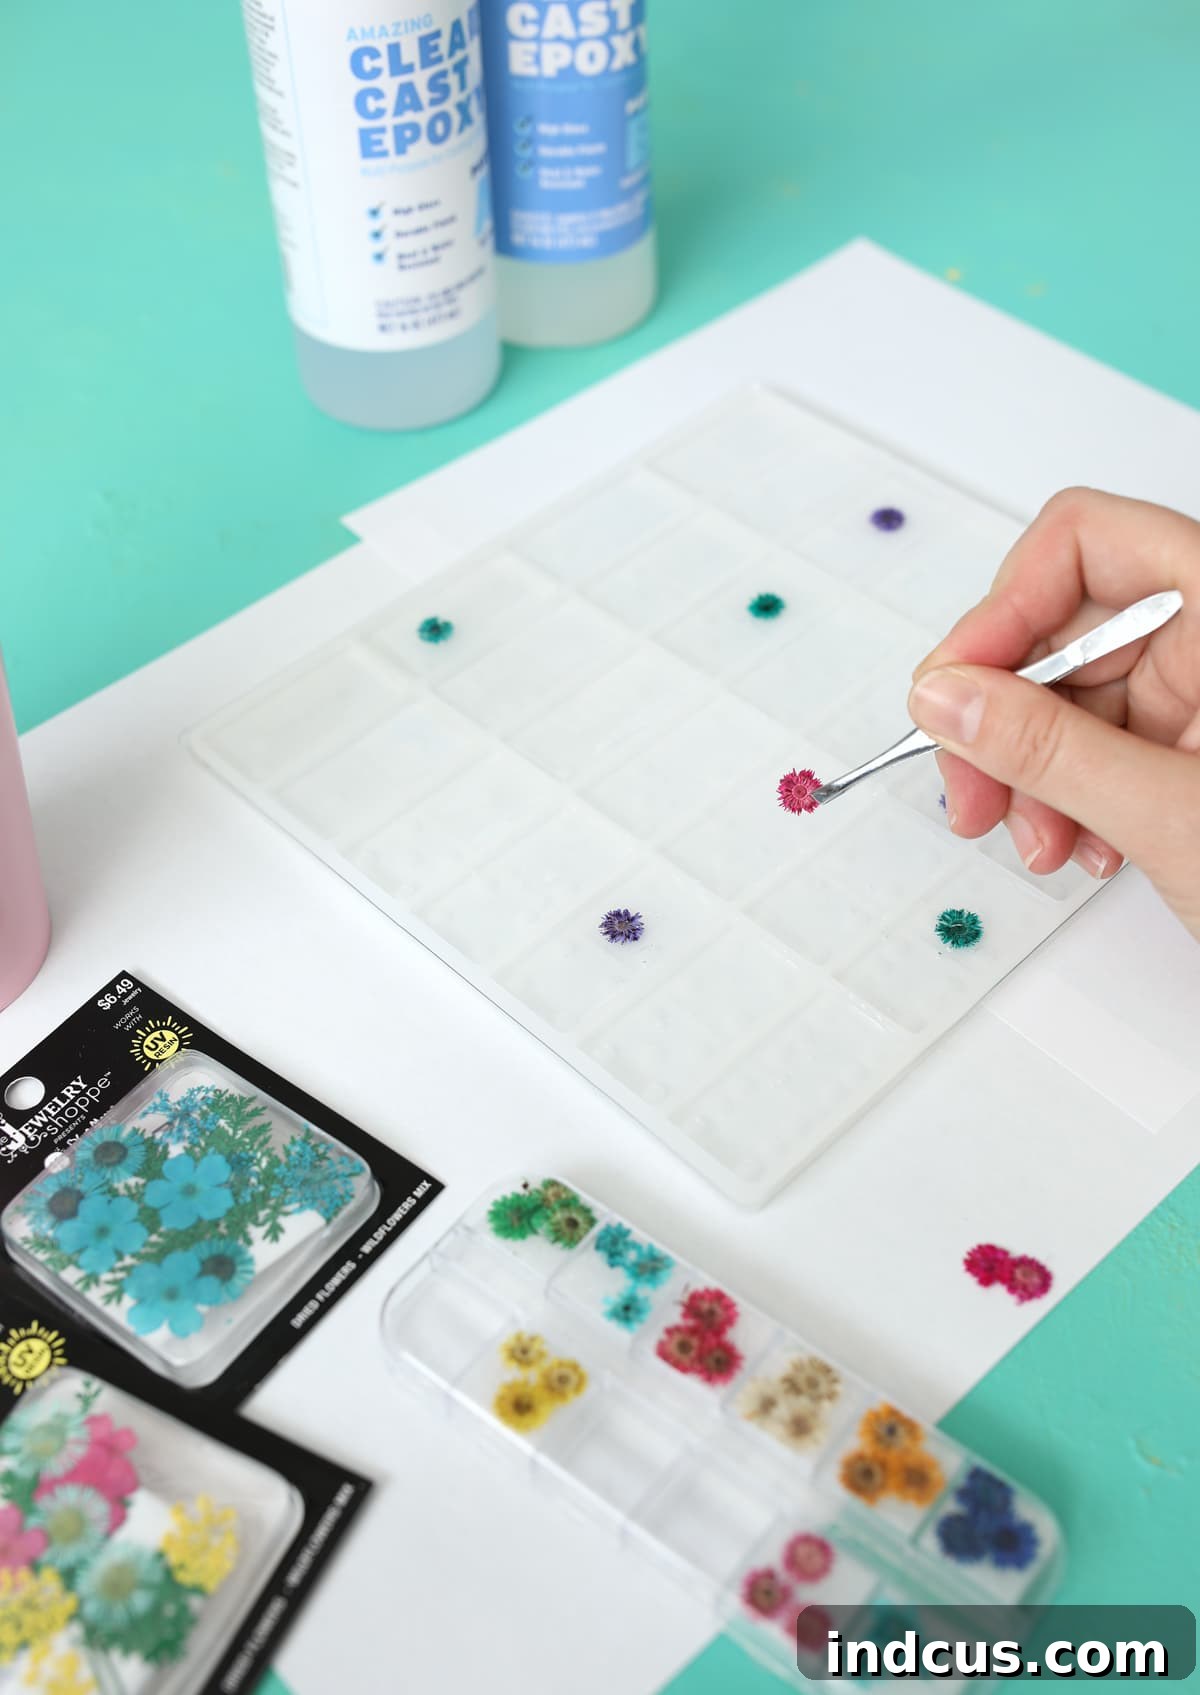
Now for the artistic part! Using tweezers, delicately pick up your chosen pressed flowers. These small tools are invaluable for precise placement. Gently position the flowers onto the thin layer of resin you just poured. Avoid getting resin on your tweezers; if you do, clean them immediately. Once the flowers are roughly in place, use a clean popsicle stick or a toothpick to gently push them down and fully submerge them underneath the resin’s surface. This ensures they are completely encapsulated and won’t stick out once cured. You’ll typically have about 30-45 minutes of “work time” with epoxy resin before it starts to thicken and become difficult to manipulate, so there’s no need to rush. Take your time to arrange the flowers beautifully, ensuring they lay flat and are fully covered by the resin.
Step 4: Fill the Molds Completely and Remove Bubbles
After placing all your flowers, carefully pour the remaining mixed resin into each domino cavity until they are completely filled to the brim. Lean down to eye level with the mold to ensure all individual domino sections are full and no flower parts are protruding above the surface. If any flowers are still sticking up, gently push them down with a clean stick, or drizzle a little extra resin on top as needed. Small bubbles are common with resin. To eliminate them, you can gently breathe on the surface (your warm breath helps pop them), use a heat gun passed quickly over the surface, or spritz with isopropyl alcohol. Be careful not to overheat the resin or introduce dust. Allow the resin to sit for a few minutes and recheck for any rising bubbles, repeating the bubble removal process if necessary.
Step 5: The Hardest Part – Curing Time
This step requires the utmost patience! Once the molds are filled and bubbles are addressed, you must leave the resin to cure undisturbed for a minimum of 24 hours. Place your mold in a dust-free, stable environment at room temperature. Avoid touching, moving, or otherwise disturbing the mold during this critical curing period. Proper curing ensures your dominoes harden completely, become durable, and achieve their high-gloss finish. Resist the temptation to check on them prematurely!
Step 6: Demold Your Gorgeous Dominoes
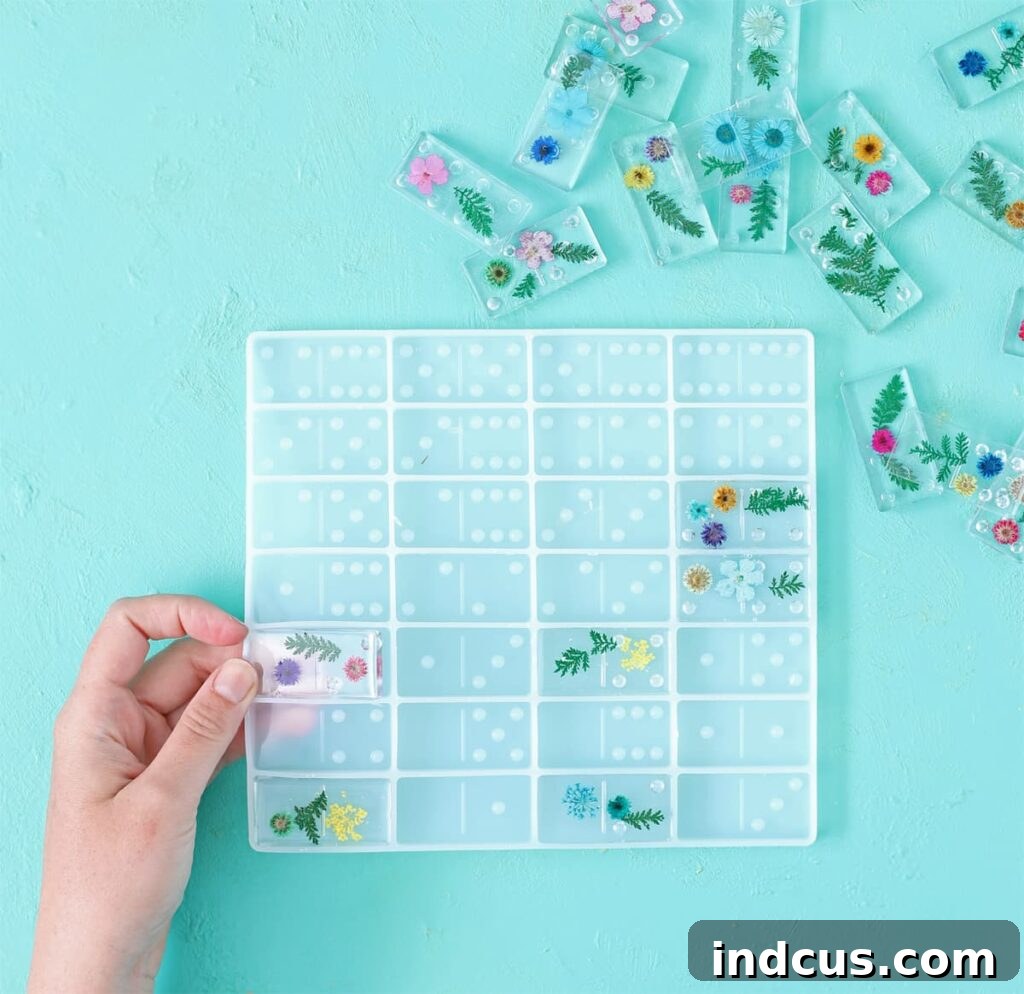
After the full 24-hour (or longer, if specified by your resin) curing period, it’s time for the most satisfying part of the project! Gently flex the silicone mold and pop out each individual domino. You’ll be amazed at how easily they release and how stunningly clear and beautiful they are. This moment of revealing your finished pieces is truly the best part of the entire crafting process. Admire the encapsulated flowers and the smooth, glossy surface of your custom game pieces. Inspect each domino for any rough edges, which can be lightly sanded with fine-grit sandpaper if desired.
Step 7: Add the Domino Dots and Dividing Lines
Now that your resin dominoes are cured and demolded, the final touch is to add the iconic dots and dividing lines. Take your liquid leaf gold paint and your tiny disposable paintbrush. Carefully paint the dots into the recessed areas on each domino, corresponding to the traditional domino values (e.g., one dot for a “one,” two dots for a “two,” etc.). Also, paint the dividing line in the middle of each domino. Take your time to ensure clean, crisp lines and dots. The recessed design of the mold makes this step surprisingly easy, acting as a guide for your brush. Allow the paint to dry completely according to the manufacturer’s instructions. This step transforms your beautiful resin pieces into a functional game set, ready for play!
Crafting a Beautiful Book Box for Your Dominoes
A stunning set of custom dominoes deserves an equally beautiful home. This wooden book box project is the perfect complement, offering both elegant storage and protection for your handcrafted game. It’s also a fantastic way to incorporate your chosen aesthetic further.
Step 1: Prepare and Paint the Wood Book Box
Begin by gently sanding the entire wood book box with fine-grit sandpaper. This creates a smooth surface for painting and helps the paint adhere better. Wipe away any dust. Next, apply your chosen coordinating craft paint to the edges and the inside of the box. You might need two thin coats for even coverage, allowing each coat to dry thoroughly before applying the next. Consider using a color that pulls from the hues of your pressed flowers or patterned paper to create a cohesive look.
Step 2: Cut Patterned Paper
Using a paper trimmer, carefully measure and cut pieces of your chosen patterned paper to fit precisely onto the front cover, back, and spine of the wood book box. Take accurate measurements to ensure a seamless fit. A paper trimmer is invaluable here for creating perfectly straight edges, which will contribute to a professional finish. If your paper has a directional pattern, ensure you orient it correctly for each section.
Step 3: Adhere Paper with Mod Podge
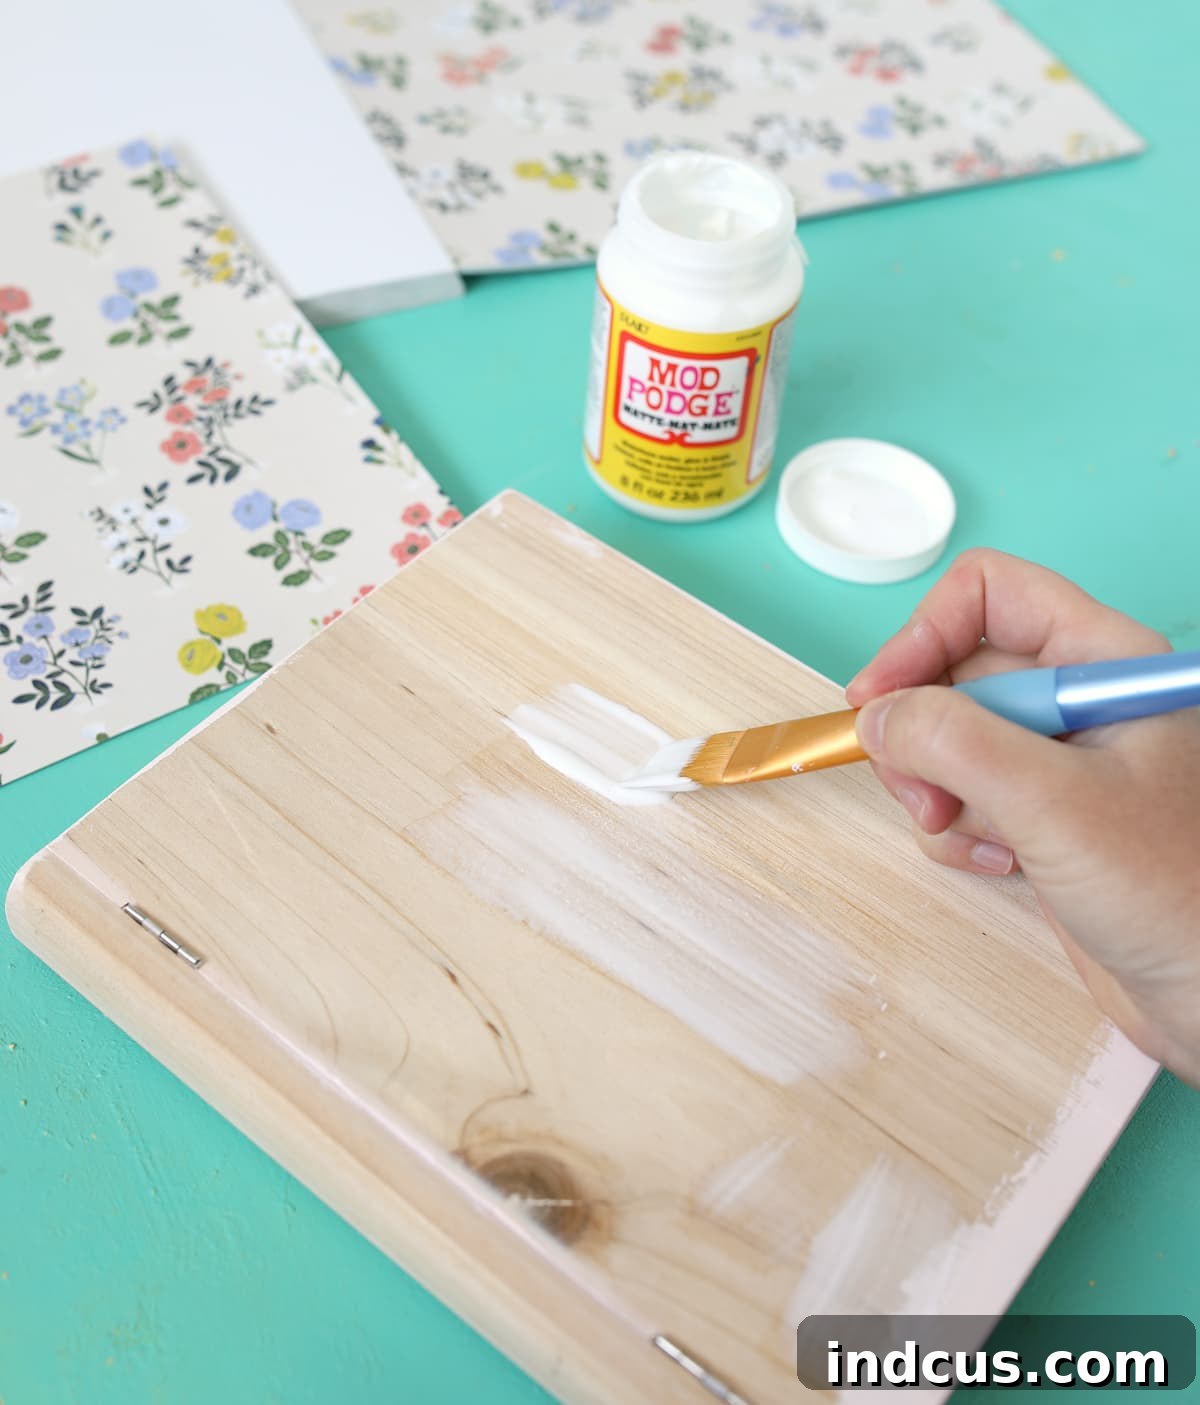
Apply an even layer of Mod Podge to one section of the box (e.g., the front cover). Carefully place your cut patterned paper onto the Mod Podge, aligning it perfectly. Smooth out any air bubbles or wrinkles using your fingers or a brayer, working from the center outwards. Repeat this process for the back and spine of the book box. Once all paper pieces are in place, apply a thin topcoat of Mod Podge over the entire paper-covered surface. This acts as a sealant, protecting the paper and giving it a matte or glossy finish, depending on your Mod Podge type. Allow it to dry completely.
Step 4: Trim Excess Paper Around Hinges
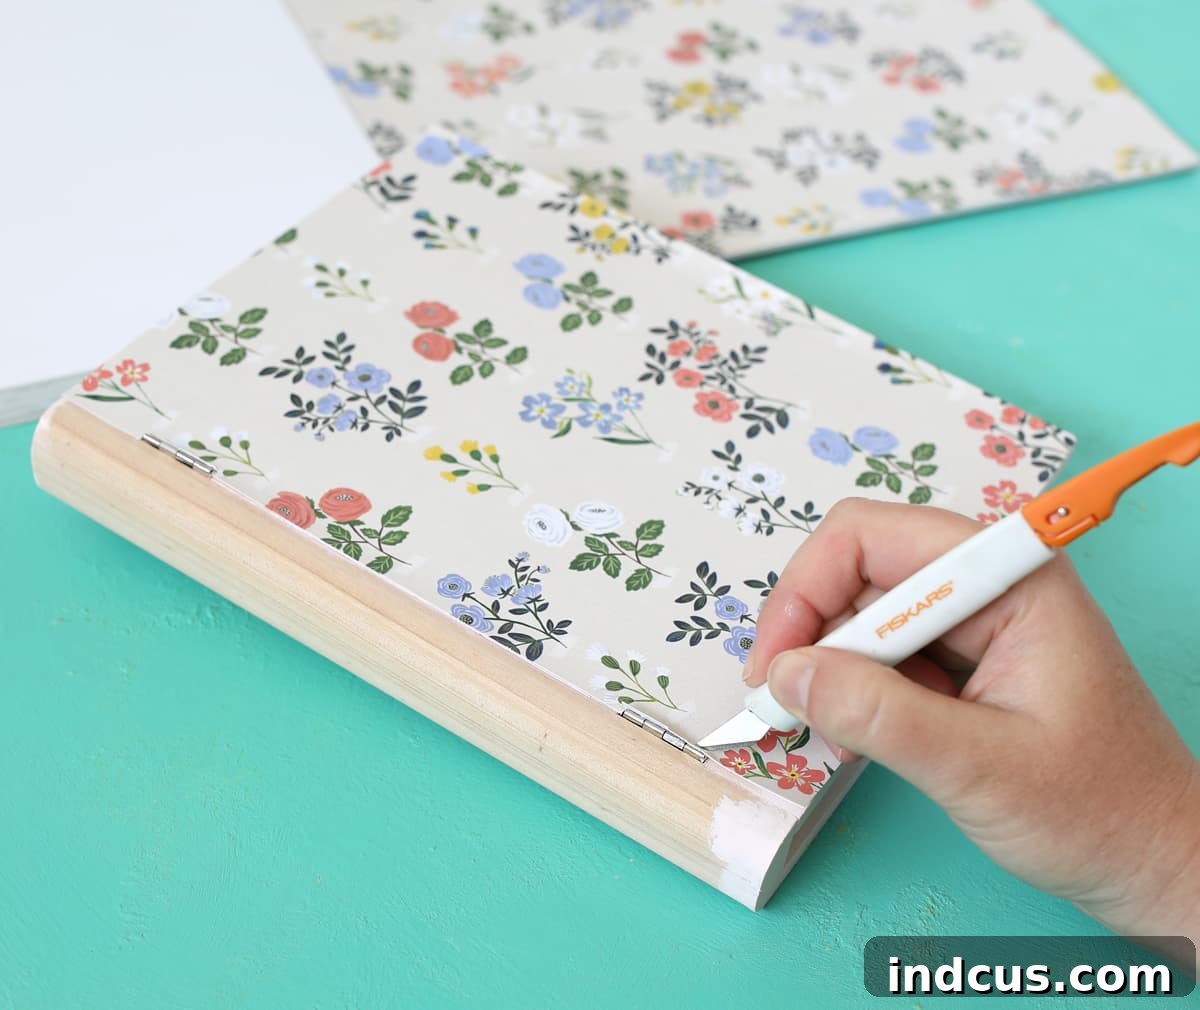
Once the Mod Podge is dry and the paper is securely adhered, use a sharp craft blade to carefully trim away any excess paper around the box hinges and edges. This step is crucial for ensuring the box opens and closes smoothly without the paper snagging or tearing. Take your time and use a fresh blade for clean cuts. Precision here will give your book box a polished, professional appearance.
Step 5: Add Gold Vinyl Lettering to the Spine
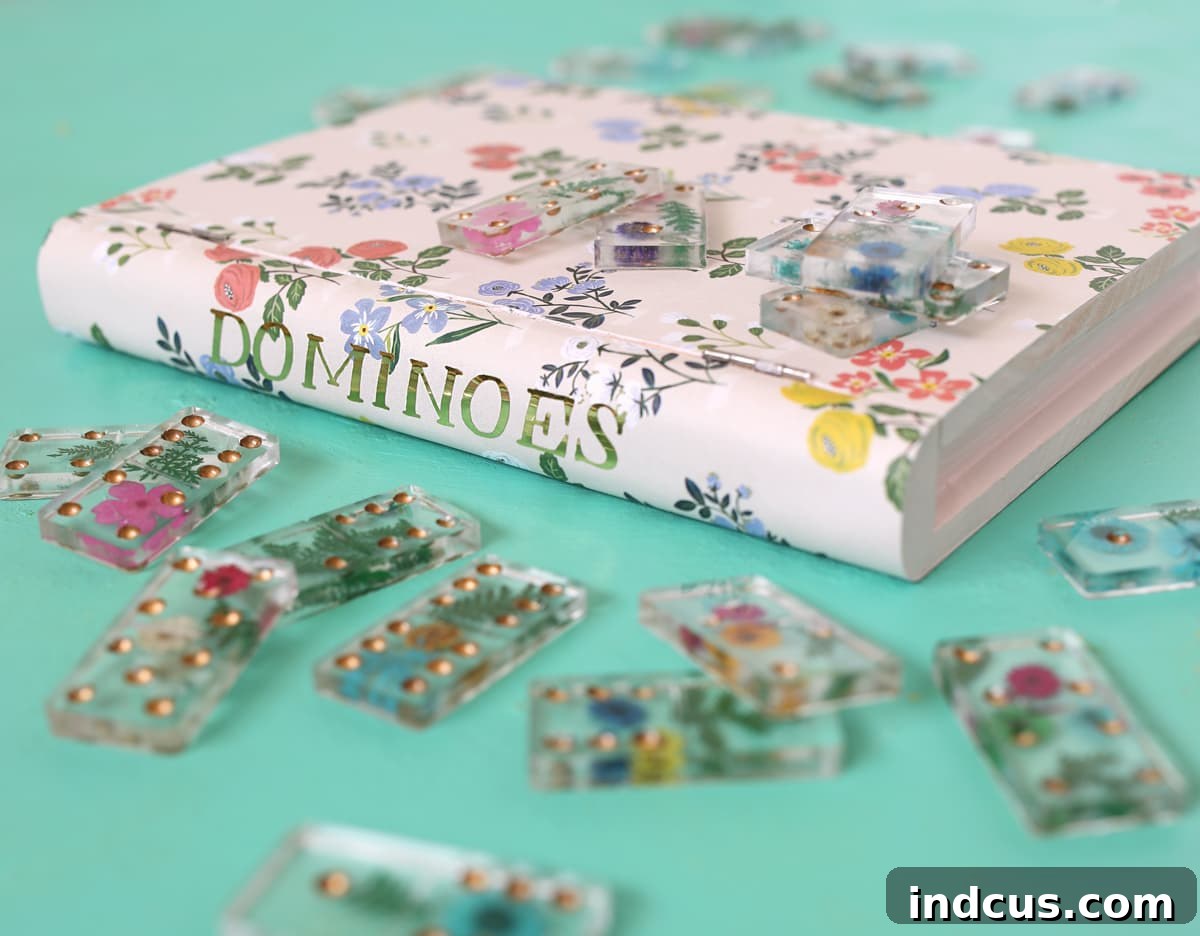
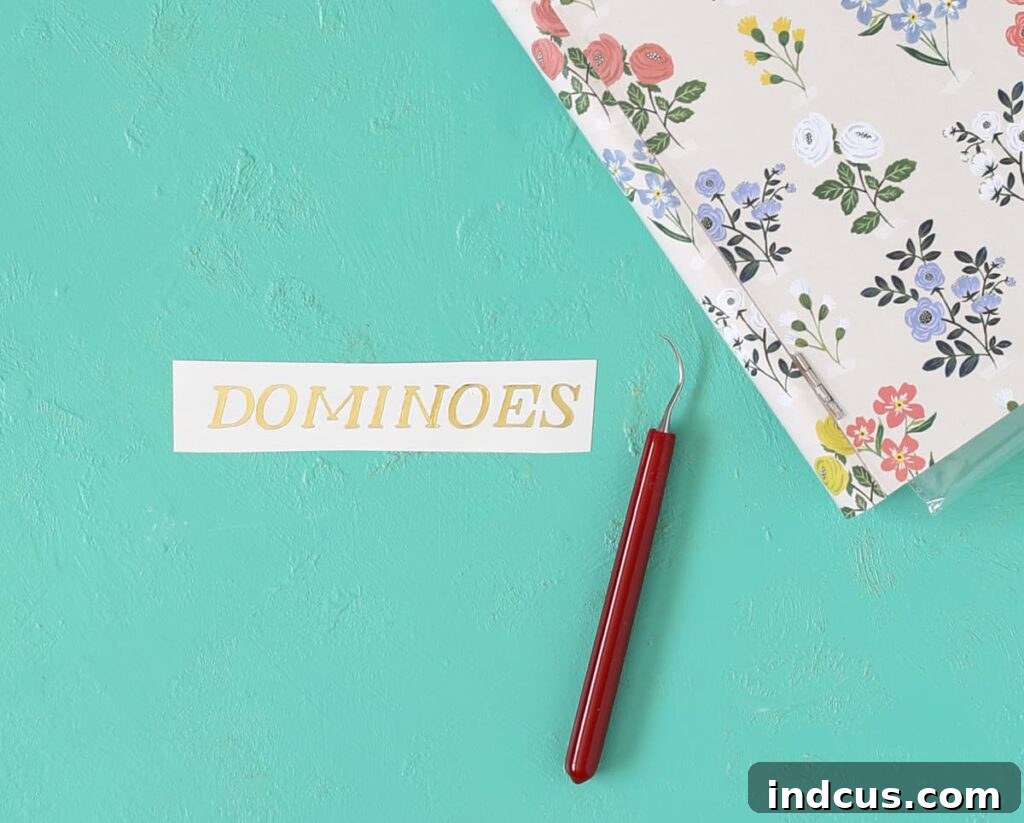
To complete the book box aesthetic, add the word “Dominoes” to the spine using gold adhesive vinyl. I used my Silhouette cutting machine to cut the word in the elegant “Herschel Regular” font. If you don’t have a cutting machine, you can use pre-made vinyl lettering, stencils with gold paint, or even gold letter stickers. Apply the vinyl using transfer tape for a clean and straight application. This small detail adds a luxurious and bespoke feel to your storage box, truly elevating the entire project.
With these steps complete, your custom resin dominoes are not only finished but also have a stunning, perfectly matched book box for storage. Just look at the harmonious blend of handcrafted elegance and playful functionality!
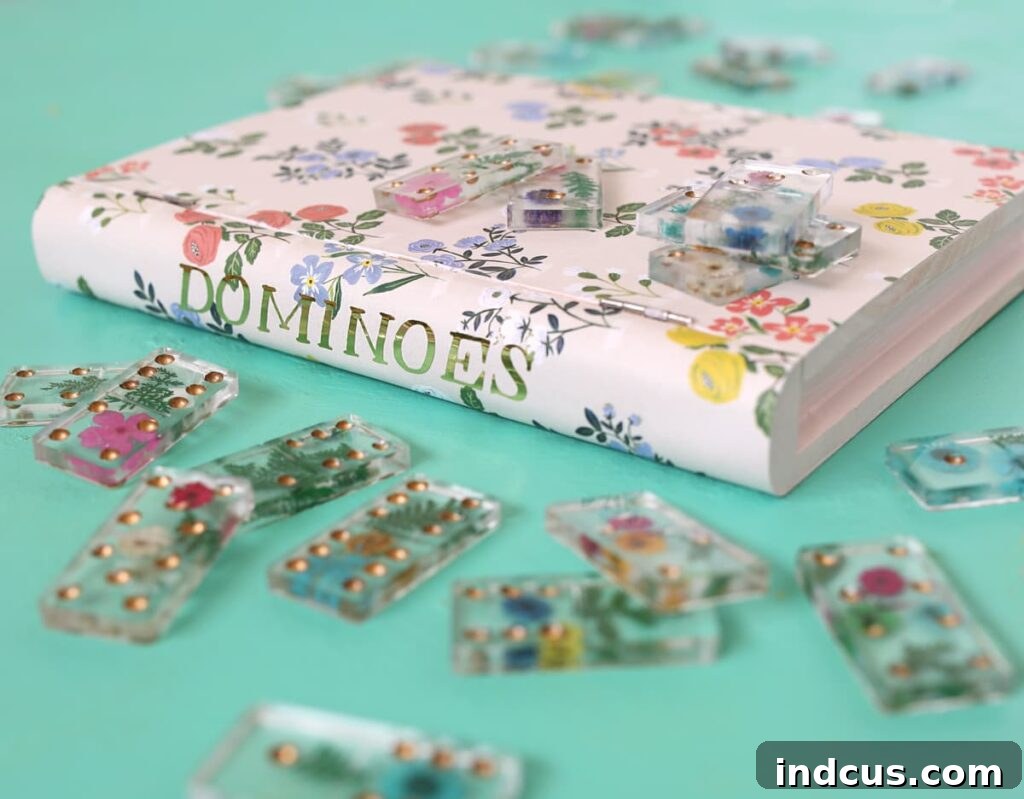
I am absolutely thrilled with how this project turned out! The clear resin perfectly showcases the intricate beauty of the pressed flowers, creating a truly unique game set that doubles as a piece of art. The process was incredibly enjoyable, and the end result is a testament to the versatility of resin crafting. This success has ignited a passion for creating more custom game sets. Next on my list are a Tic Tac Toe set and a Chess/Checkers board, both with the potential for endless creative personalization.
Watch the Resin Dominoes Video Tutorial
Sometimes, seeing the process in action makes all the difference. Check out this video to get a visual guide of creating these beautiful resin dominoes, from mixing the resin to placing the delicate flowers. It’s a fantastic resource to complement these written instructions and help you visualize each step for a flawless outcome.
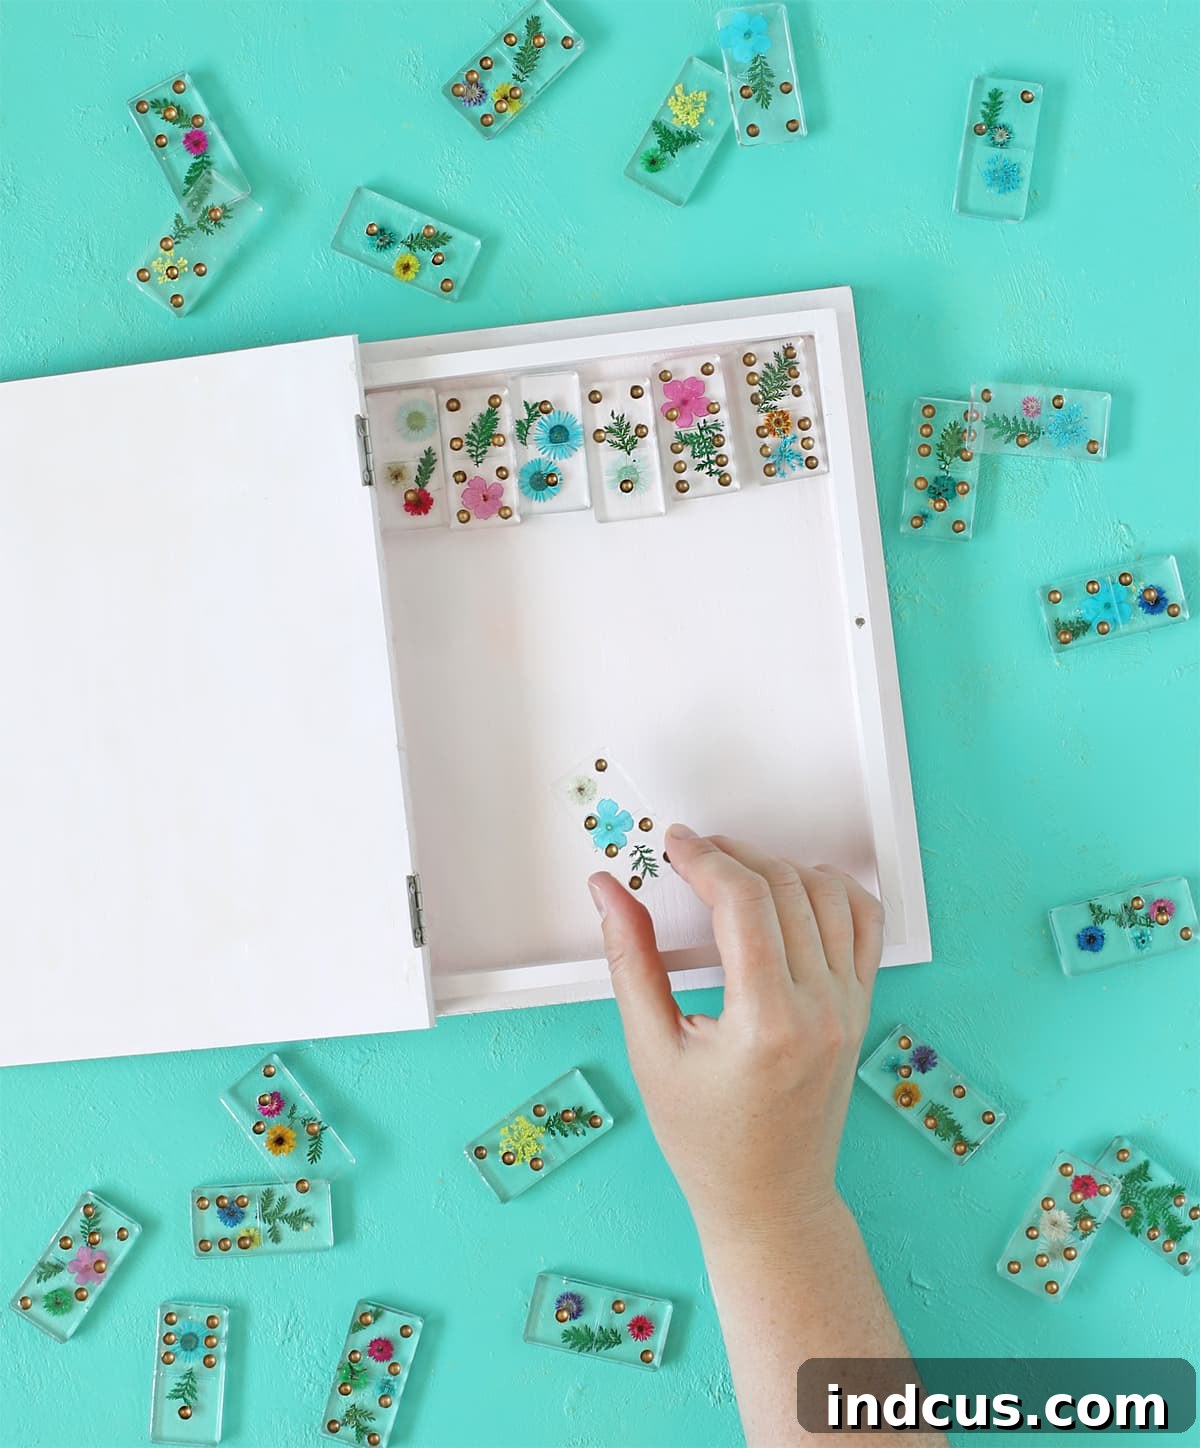
Beyond game sets, imagine the possibilities for preserving cherished memories. The idea of encapsulating special occasion flowers in resin truly excites me. Wedding bouquets, prom corsages, anniversary flowers, or even just beautiful blossoms from a memorable garden could be transformed into everlasting keepsakes. This unique preservation method offers a tangible, beautiful way to hold onto precious moments. Wouldn’t it be a wonderful way to commemorate life’s special events?
Having seen how a complete beginner can achieve such beautiful results with resin, I sincerely hope you feel inspired and confident enough to give it a try! The world of resin crafting is vast and full of creative potential. Hobby Lobby, for instance, offers an incredible selection of cool resin molds, making it easy to find your next project. What unique resin creation will you embark on next?