Craft a Cherished Heirloom: Your Guide to Making a Felt Paper Doll (with Free Pattern!)
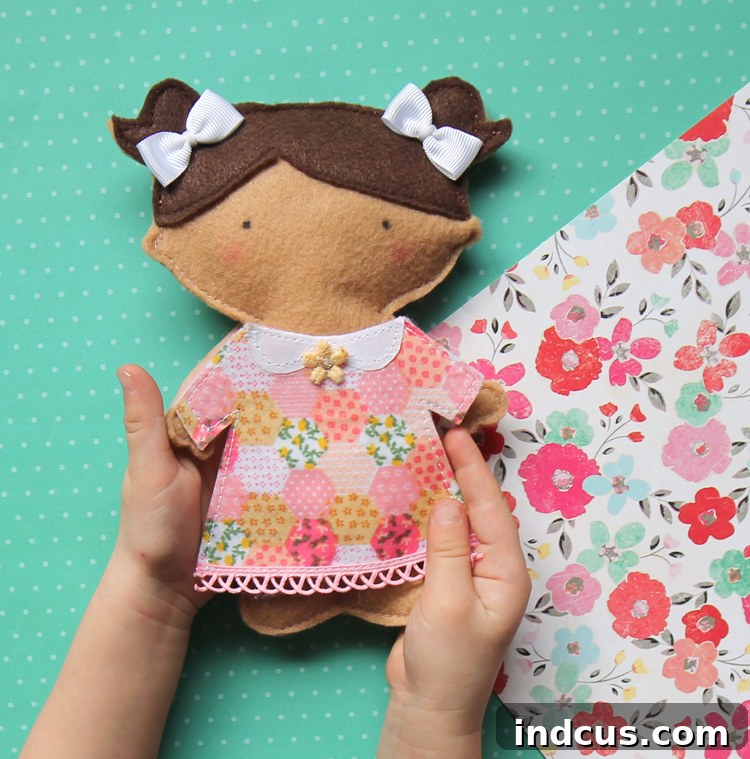
Imagine the joy on a child’s face receiving a gift handcrafted with love and intention. This comprehensive tutorial will guide you through creating an adorable felt paper doll, a charming and durable alternative to traditional paper dolls, complete with a printable pattern to make the process even smoother. This isn’t just a toy; it’s a keepsake, a canvas for imagination, and a tangible expression of affection that will be treasured for years to come.
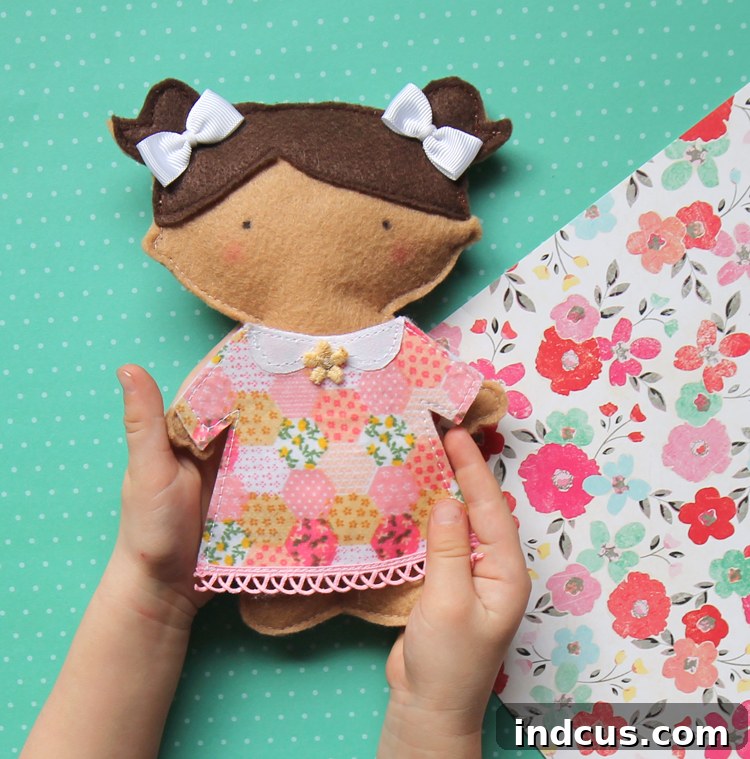
The allure of a handmade toy is undeniable. Unlike mass-produced items, a felt doll carries a unique charm, encouraging creative play and providing a soft, tactile experience. This project is perfect for sewers of all skill levels, offering a rewarding experience whether you’re crafting for your own child, a grandchild, or as a thoughtful gift for a friend. Get ready to dive into a world of creativity and produce something truly special!
Essential Materials for Your Felt Doll Project
Before we begin, gather your supplies. Having everything organized will make the crafting process much more enjoyable and efficient. Here’s what you’ll need:
- Craft Felt: Choose a “skin” color, a “hair” color, and white for the basic underwear. High-quality wool-blend felt offers superior durability and a softer feel, though acrylic craft felt is also perfectly suitable and more budget-friendly.
- Polyester Batting or Stuffing: You’ll only need a small amount to give your doll a lovely soft plumpness. Avoid overstuffing, as it can distort the doll’s shape.
- Sewing Machine and Coordinating Thread: A basic sewing machine is all you need. Choose thread colors that blend well with your felt for a clean finish. For facial features, black or dark brown thread works best.
- Fabric Scraps: A variety of small fabric pieces will be perfect for creating a delightful wardrobe for your doll. Lightweight cotton fabrics work wonderfully.
- Heat’N Bond Iron-On Adhesive: This product is a game-changer for doll clothes, allowing you to easily adhere fabric to felt without fraying.
- Oil Pastels or Red Chalk: A touch of red pastel, applied with a Q-tip, will give your doll charming rosy cheeks.
- Q-tip: Essential for applying the oil pastels delicately.
- Fabric Scissors or Rotary Cutter: For precise cutting of felt and fabric.
- Permanent Marker (Fine Tip): For drawing delicate facial features like eyes. Alternatively, embroidery floss can be used for stitched eyes.
- Knitting Needle or Chopstick: Extremely useful for stuffing small areas of the doll.
- Felt Doll Pattern: Download this essential printable at the bottom of this post. Look for the distinctive blue button!
- Optional Embellishments: Small ribbons, tiny buttons, lace trim, or beads can add extra charm to your doll and her outfits.
Step-by-Step Guide to Crafting Your Felt Doll
Let’s begin the exciting process of bringing your felt doll to life! Follow these detailed instructions carefully for the best results.
1. Prepare Your Pattern Pieces
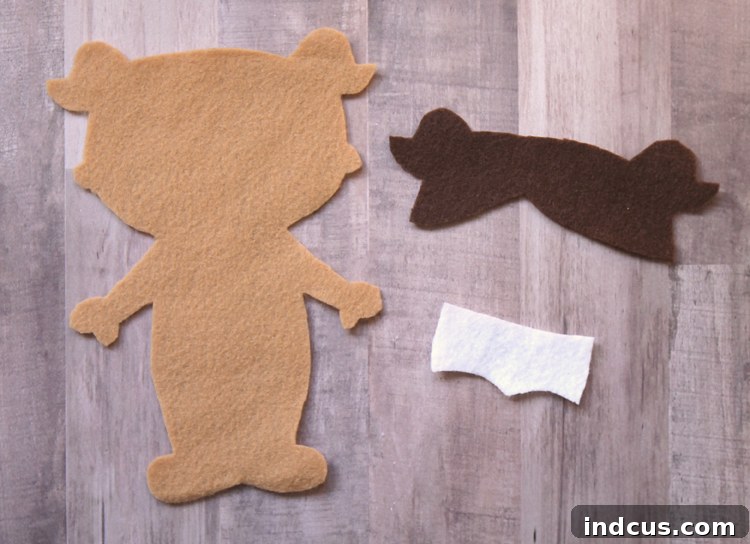
Start by downloading and printing the free felt doll pattern. Ensure you print it at 100% scale to maintain the correct size. Carefully cut out the pattern pieces for the doll’s body, hair, and underwear. Using sharp scissors will give you clean edges, which are crucial for a professional finish.
2. Assemble the Doll’s Base Features
With your pattern pieces ready, it’s time to assemble the basic components of your doll. Pin the hair piece and the underwear piece onto the main body felt. Using your sewing machine, stitch these pieces securely in place. A straight stitch with a medium stitch length (around 2.5mm) is generally suitable for felt. Make sure to backstitch at the beginning and end of your seams to prevent them from unraveling.
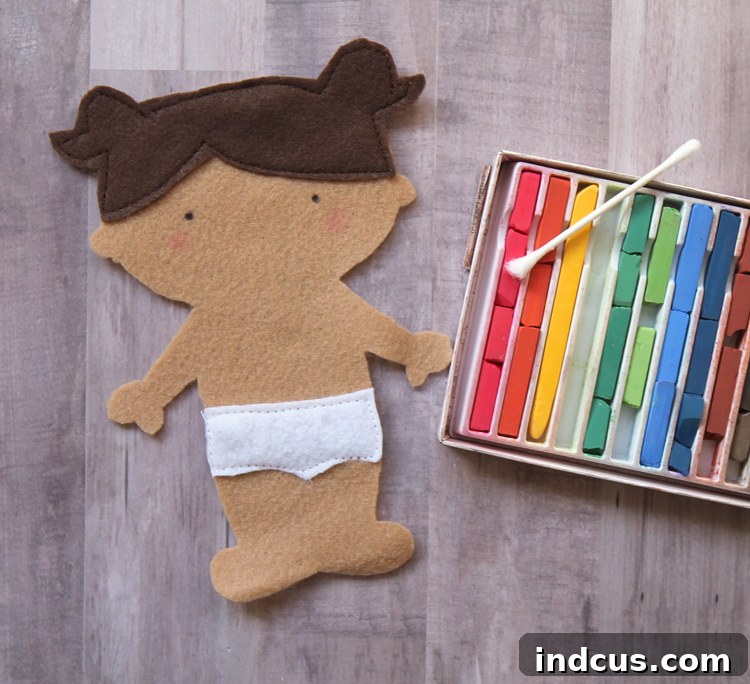
Next, it’s time to give your doll some personality! Add eyes using a fine-tipped permanent marker for a simple, charming look. Alternatively, you can use black or dark brown embroidery floss to stitch small French knots or simple straight lines for eyes, which gives a lovely handmade touch. For a classic, wholesome look, we’ll add rosy cheeks. Fluff the end of a Q-tip by gently rubbing it on a clean surface or between your fingers. Rub the fluffed Q-tip on your red oil pastel chalk to pick up some color, then gently apply it to the doll’s cheek areas. Build up the color gradually for a soft, natural blush. You can also add a small embroidered smile with a single backstitch.
3. Stitch the Doll’s Body
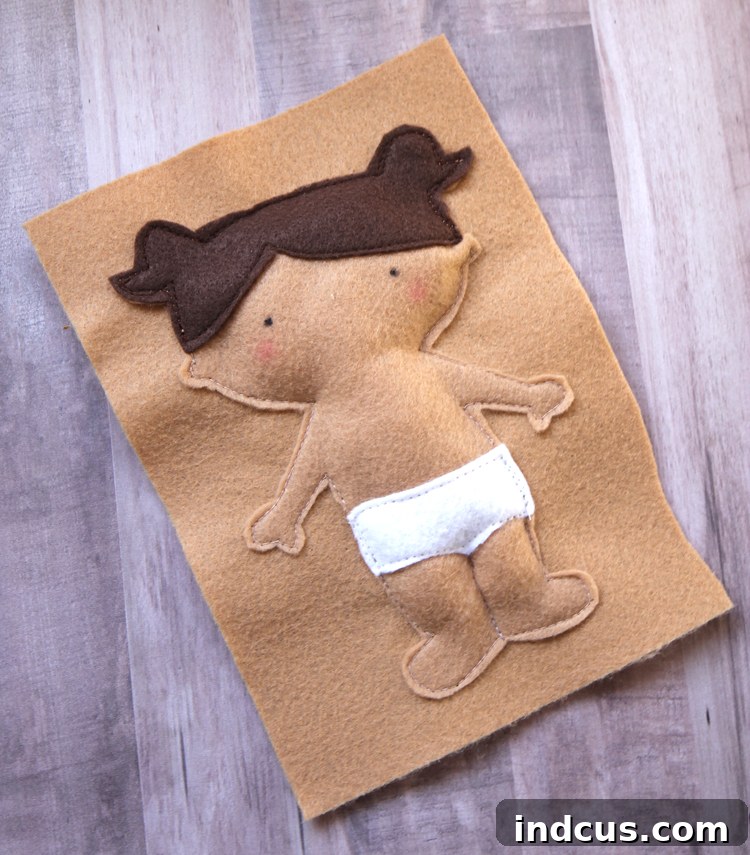
This is where your doll truly takes shape. Place your prepared felt doll body (with hair and undies attached) onto a larger, uncut piece of felt. This technique makes sewing around small details and intricate curves significantly easier, as you’re not trying to maneuver a tiny piece of felt. Pin the doll body to the larger felt piece securely.
Using your sewing machine, carefully stitch around the perimeter of the doll’s body, following the edges of your felt pieces. A crucial tip for sewing detailed shapes like this is to keep your needle in the fabric and lift your sewing machine foot often, especially when approaching curves or tight corners. This allows you to pivot the fabric precisely, making tight turns and adjusting your sewing line without losing your stitch. Maintain a consistent, small seam allowance. Remember to leave a small opening (about 1-1.5 inches) along a relatively straight edge, like a leg or arm, for stuffing. Backstitch at the beginning and end of this opening to reinforce it.
4. Stuff Your Doll with Batting
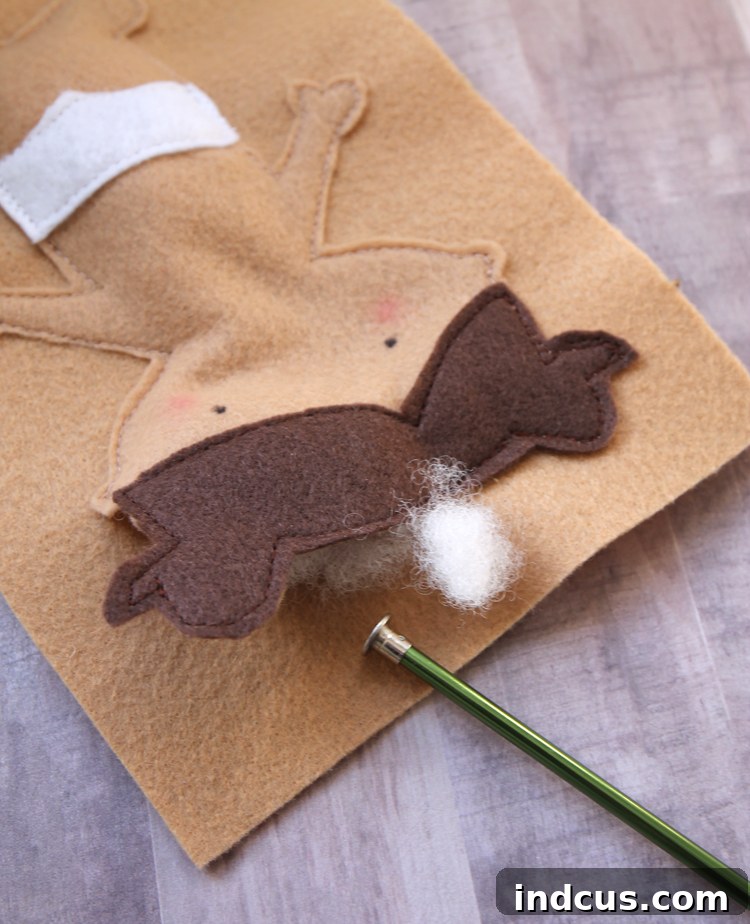
Now, it’s time to bring your doll to life with some soft stuffing! Carefully push small pieces of polyester batting into all the nooks and crannies of your doll through the opening you left. A knitting needle, a chopstick, or even the blunt end of a pencil works perfectly for reaching into tight spots like fingers, toes, and the top of the head. Ensure the stuffing is evenly distributed to avoid lumps and bumps. Don’t overstuff; the doll should feel soft and pliable, not rock-hard. An evenly stuffed doll will have a lovely, consistent shape.
5. Finish the Doll Body
Once your doll is perfectly stuffed, carefully sew the opening closed. You can do this by machine stitching if the opening is along a straight edge, or for a neater, less visible finish, use a hand-sewn ladder stitch (also known as an invisible stitch). This stitch seamlessly blends into the seam, making the opening virtually disappear.
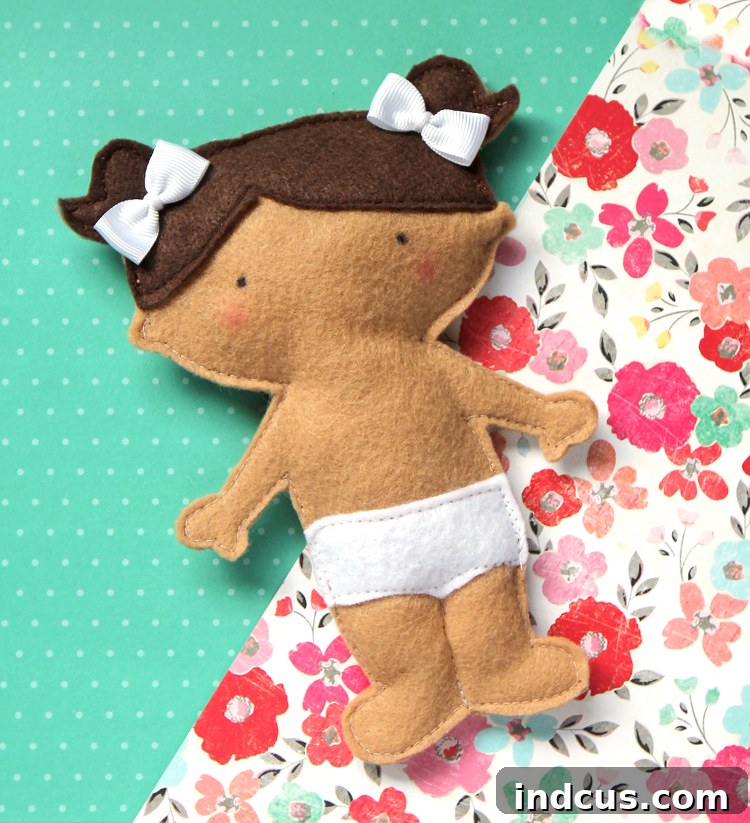
After closing the hole, carefully trim around the edges of your doll, cutting close to your stitched line but being careful not to snip any stitches. This creates a clean, crisp edge for your felt doll. And just like that, your doll’s body is complete! To add a final touch, I often add little ribbon hair bows. You could make these interchangeable by attaching a small snap, or for a more permanent fixture, hot glue them directly onto the doll’s hair.
Designing and Crafting a Wardrobe for Your Felt Doll
A felt doll isn’t complete without a fabulous wardrobe! This is where you can truly unleash your creativity and make countless outfits.
1. Preparing Fabric for Doll Clothes with Heat’N Bond
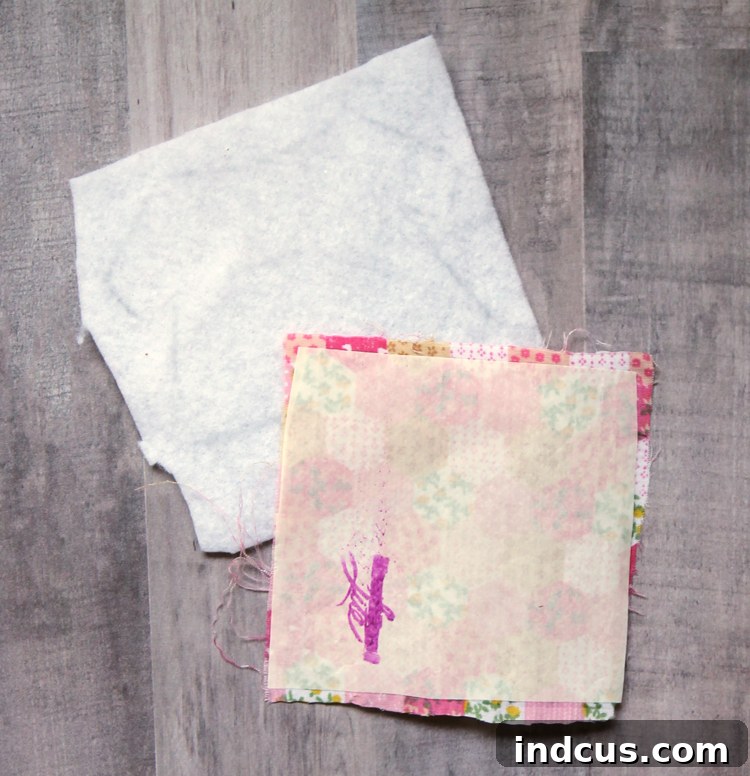
To create clothes that are easy to cut and won’t fray, we’ll use Heat’N Bond. Take a scrap of fabric – lightweight cotton prints work beautifully – and follow the instructions for your Heat’N Bond. Typically, you’ll iron the adhesive to the wrong side of your fabric scrap. Once cooled, trace the dress pattern (or any other clothing pattern) onto the paper backing of the Heat’N Bond. Carefully cut out the shape. Then, peel off the paper backing and iron the fabric piece onto a coordinating piece of felt. The Heat’N Bond will fuse the fabric to the felt, creating a stable, no-fray piece of fabric-backed felt that is perfect for doll clothes.
2. Embellishing Doll Clothes with Details
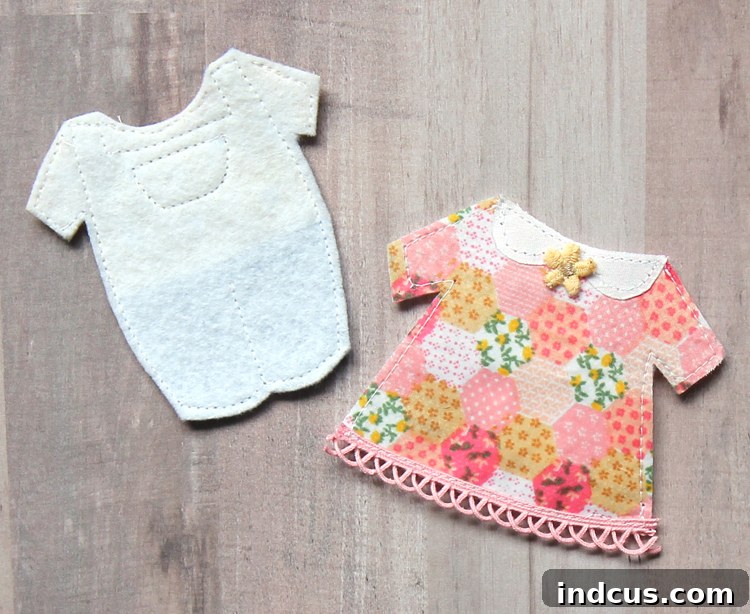
While not strictly necessary, adding topstitching and small details will elevate your doll’s wardrobe from simple to spectacular. I chose to topstitch around the edges of my outfits. This not only makes the clothes look more polished and defined but also adds a professional touch. The more details you incorporate, the cuter your clothes will turn out. Consider adding tiny pockets, small collars, a contrasting belt, or decorative trim. You can even stitch on mini buttons (for decoration only, not for fastening) or use embroidery floss to add unique patterns. Once all your decorative stitching is complete, carefully trim off any excess felt around the edges of the clothing pieces, following your original cut lines closely.
3. Adding Fasteners for Easy Changing
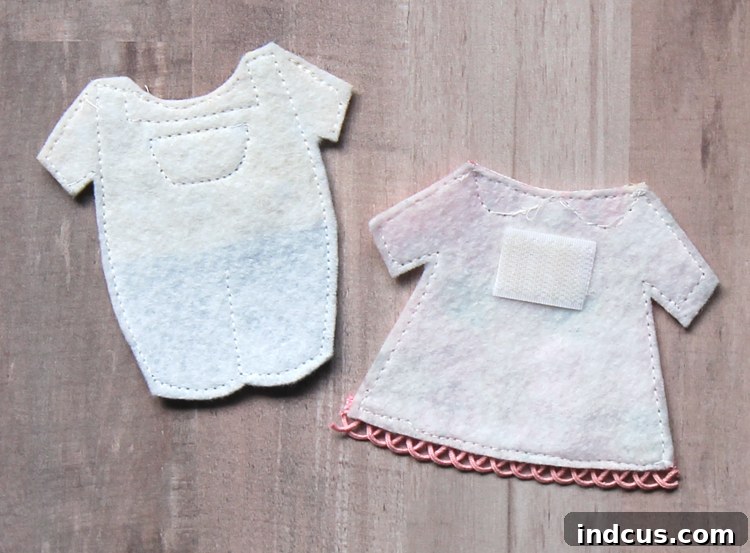
For clothes that are easy for little hands to put on and take off, Velcro is an excellent choice. While optional, it greatly enhances the play experience by allowing children to change outfits effortlessly. I attached my Velcro pieces with hot glue, as this method ensures the stitches don’t show through to the other side of the delicate doll clothes. Apply a small dot of hot glue to the back of the Velcro piece and press it firmly onto the felt. Ensure you place the “hook” and “loop” sides of the Velcro in the correct opposing positions so they fasten properly. For older children or a different aesthetic, tiny snaps or magnetic fasteners could also be considered.
The Joy of Your Handmade Felt Doll
And there you have it! You’ve successfully created an adorable, customizable felt doll. This project is not only incredibly fun but also provides ample room for creative expression. I thoroughly enjoyed rummaging through my notions and fabric scraps to find charming little embellishments and patterns to use. The satisfaction of crafting something so personal and sweet is immense. I am confident that you will absolutely adore this project as much as I did!
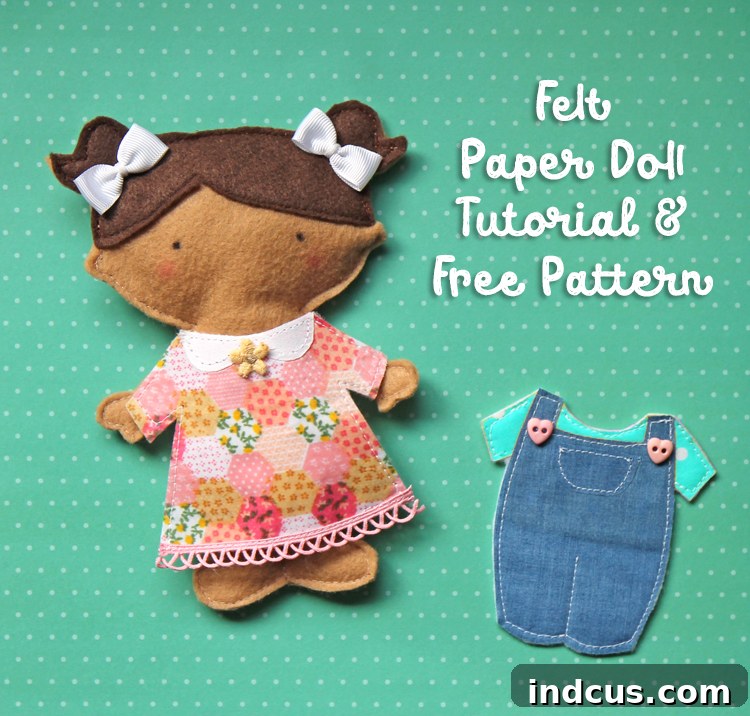
These felt dolls are robust, washable, and perfect for imaginative play. They encourage storytelling, fine motor skills as children dress and undress them, and provide a comforting companion. The beauty of felt is its durability and soft texture, making it an ideal material for toys that will withstand countless hours of play.
Every special doll deserves a special home, don’t you think?
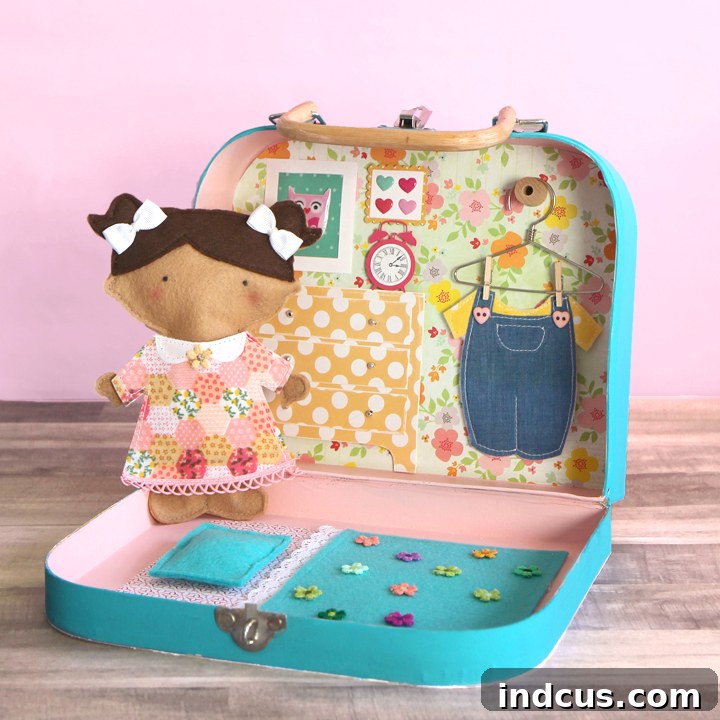
Take your crafting adventure further by making a charming miniature dollhouse inside a suitcase! This companion project offers a portable and delightful dwelling for your new felt friend, making it an ideal gift set.