
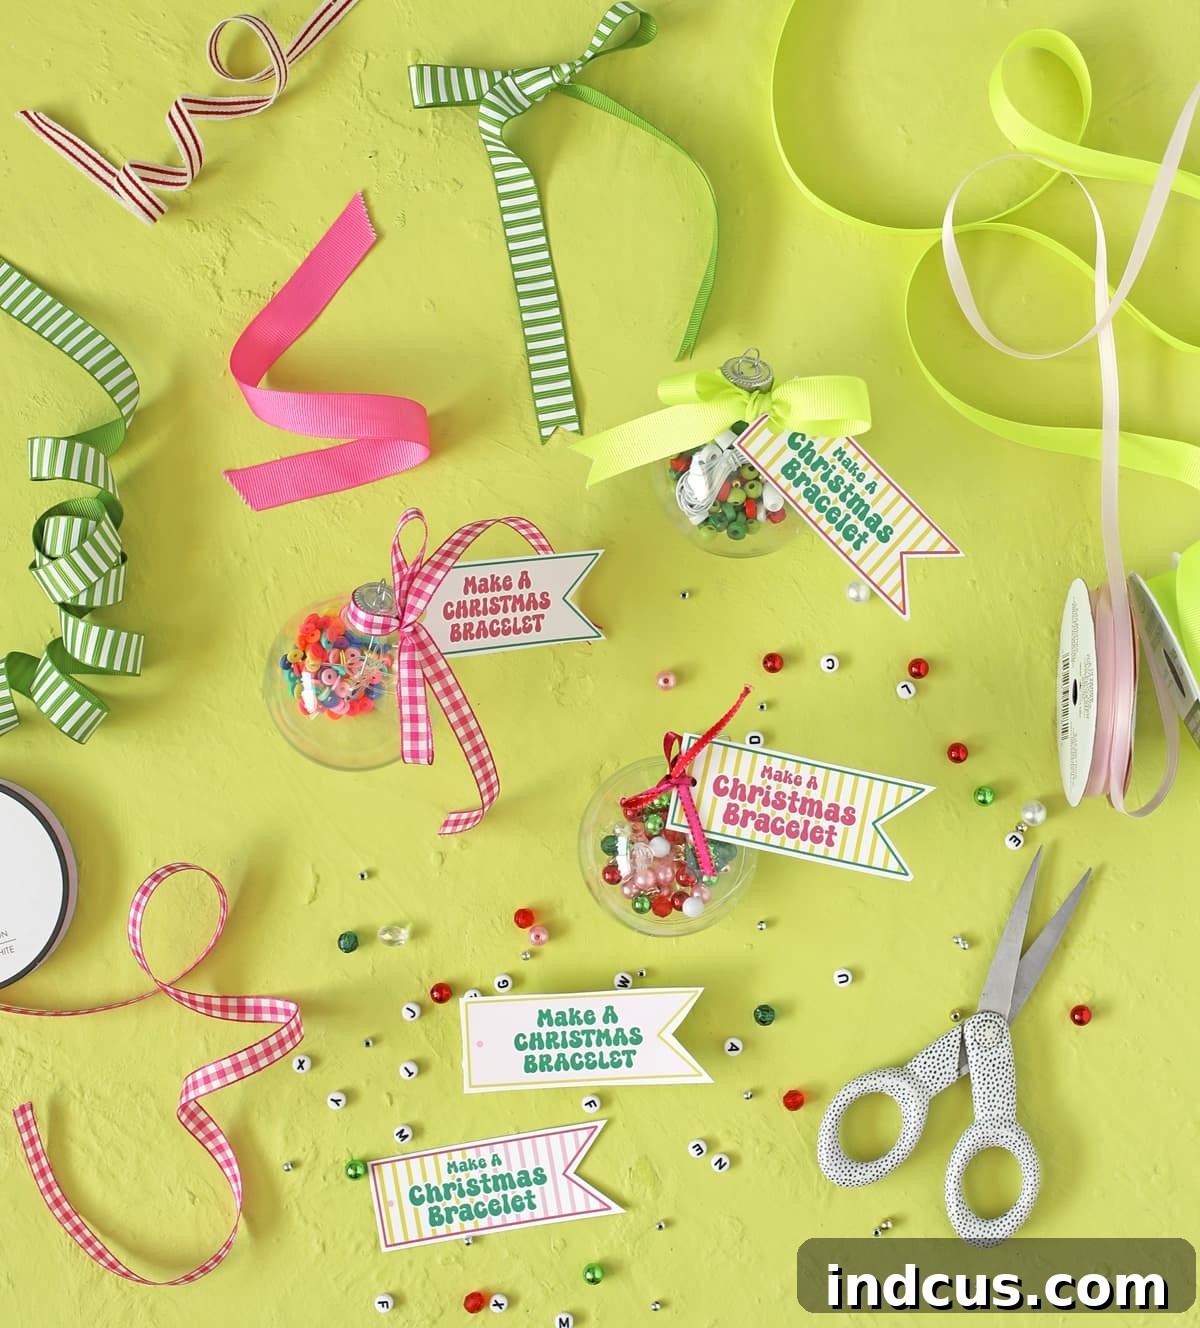
Craft the Perfect Festive Gift: DIY Beaded Bracelet Kit Christmas Ornaments for Tweens!
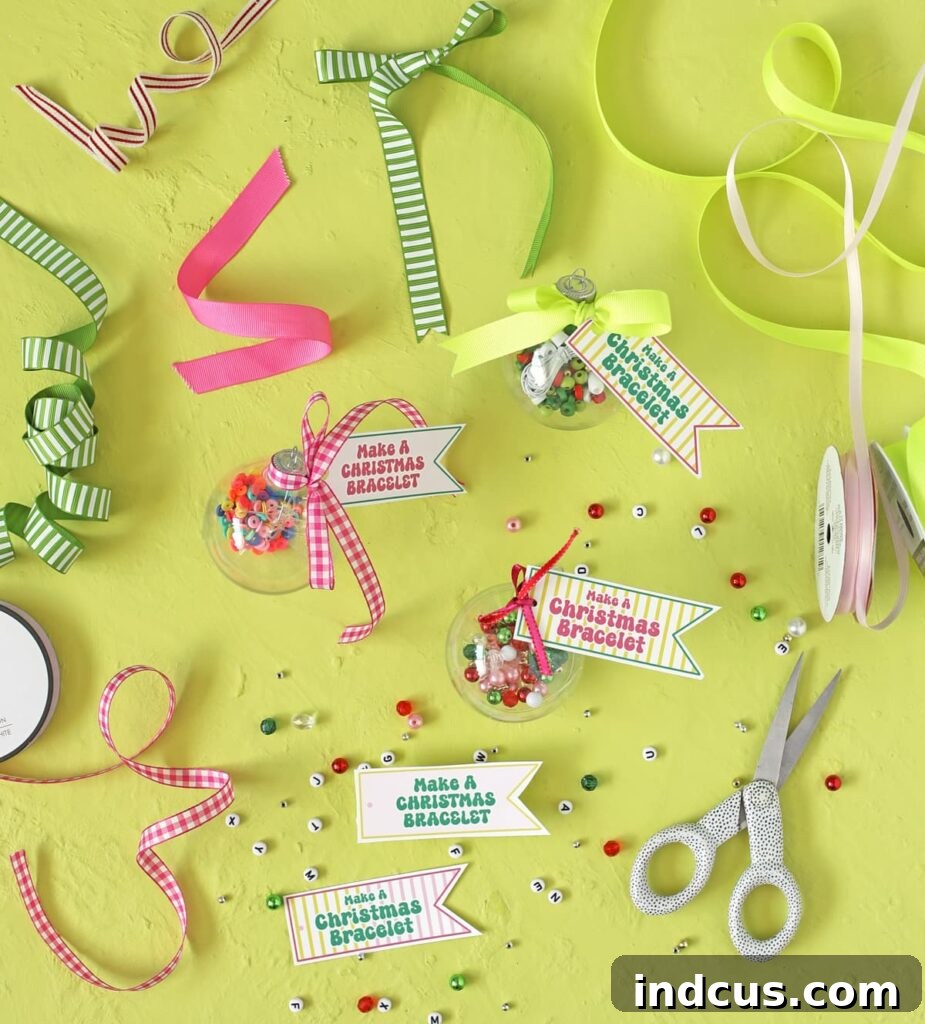
Are you searching for a genuinely unique, on-trend, and incredibly thoughtful gift idea for the older elementary school children or tweens in your life to give to their friends this Christmas? Look no further! We’ve got a fantastic, budget-friendly solution that perfectly blends holiday spirit with the latest crafting craze. Thanks to pop culture influences, particularly from artists like T Swift, friendship bracelets are experiencing a massive resurgence in popularity. Instead of simply buying pre-made bracelets, imagine empowering your child’s friends with the joy of creation. This year, give the gift of creativity with a mini bracelet making kit charmingly tucked inside a clear Christmas ornament!
This ingenious DIY project is not just a gift; it’s an experience. It encourages creativity, provides a fun activity, and results in a personalized accessory that friends can wear proudly. It’s the ultimate crafty Christmas gift that shows you truly care. Plus, it’s customizable, making it suitable for a wide range of tastes and styles. Whether your gift recipient loves vibrant colors, subtle pastels, or wants to create something truly unique, this kit offers endless possibilities. Let’s dive into how you can easily assemble these delightful and unforgettable holiday presents, bringing a touch of handmade magic to the festive season.
Everything You’ll Need: Gathering Your DIY Bracelet Kit Supplies
Creating these charming DIY bracelet kits is surprisingly simple, requiring just a few readily available materials. You can easily find these items at your local craft store, online retailers, or even discount stores. Before you begin, gather everything on this comprehensive list to ensure a smooth and enjoyable crafting process, making your gift-giving experience stress-free and fun.
- Clear Ornaments (approximately 2.5 inches in diameter): These are the magical vessels for your bracelet kits. Opt for clear, shatterproof plastic ornaments for safety and durability, especially if they’re being handled by younger kids or will be shipped. Their transparency allows the colorful beads to shine through, making the gift even more enticing and visually appealing before it’s even opened. Consider different shapes like traditional round, teardrop, or even flatter disc ornaments for variety.
- Bracelet Beads: This is where the fun truly begins, offering endless creative possibilities! The variety of beads available is vast, allowing for immense personalization.
- Material Options: Acrylic, glass, wooden, or even clay beads offer distinct textures, weights, and aesthetics. Acrylic beads are lightweight and come in a huge array of colors, while glass beads offer a more sophisticated sparkle.
- Color Palettes: Choose classic Christmas colors (red, green, gold, silver) for a festive touch, or go for trendy pastel shades, vibrant neons, monochromatic themes, or even ombre effects. Consider the recipient’s favorite colors or current fashion trends.
- Specialty Beads: Include alphabet beads to spell out names, friendship messages, or inspirational words. Charm beads (stars, hearts, animals, symbols) can add a unique flair and a touch of whimsy. Spacer beads can also be a nice addition for more intricate designs.
- Quantity: Ensure you have enough beads to create at least one full bracelet, ideally with a few extra for choice and creativity. A good rule of thumb is to aim for about 7-8 inches of beads per ornament, which typically translates to 30-40 standard-sized beads, but this will vary greatly with bead size.
- Stretchy Bracelet Cord: Essential for easy bracelet making without the need for fiddly clasps or advanced knotting techniques.
- Type: Opt for clear elastic cord, which is durable, stretches well, and creates a seamless, professional-looking bracelet. Some cords are slightly opaque, offering a softer look.
- Thickness: A cord thickness of 0.7mm to 1.0mm is generally good for most standard beads. Always double-check that the cord can easily fit through the bead holes you’ve selected.
- Length: You’ll need about 12-15 inches of cord per bracelet kit. This generous length provides ample room for tying secure knots and accommodates various wrist sizes, from children to adults.
- Printable Tags: These add a professional and personal touch, transforming a simple kit into a thoughtful gift. You can download pre-designed tags (often available at the bottom of blog posts like this one) or unleash your creativity by designing your own to truly customize the gift.
- Design Ideas: Phrases like “Make a Friendship Bracelet,” “DIY Bracelet Kit,” “Wishing You a Beaded Christmas,” “Craft Your Own Joy,” or simply a “To/From” label are popular choices. You can also add care instructions or knot-tying tips.
- White Cardstock: For printing your tags. Cardstock gives the tags a sturdy, high-quality feel compared to regular printer paper, preventing them from bending or tearing easily.
- Ribbon: To attach the tag to the ornament. This also serves as a beautiful decorative element.
- Options: Satin, grosgrain, sheer organza, baker’s twine, or even natural raffia can be used. Match the ribbon color and texture to your bead palette or the holiday theme for a cohesive and polished look.
- Length: A few inches (typically 6-8 inches) per ornament will suffice for a small bow or knot, depending on how you wish to attach the tag.
- Scissors: Sharp scissors are essential for clean cuts on cord, cardstock, and ribbon.
- Hole Punch: A standard single-hole punch is perfect for creating a clean, professional-looking hole in your cardstock tags.
Pro Tip for Sourcing Beads: Look for bead mixes or bulk packs, especially during holiday sales seasons (Black Friday, Cyber Monday). This can significantly reduce the cost per ornament, making this an even more affordable and impactful Christmas gift option. Don’t forget to check the clearance aisle at craft stores – you might find hidden gems and unique bead styles at a fraction of the cost!
Step-by-Step Guide: Assembling Your Christmas Ornament Bracelet Kits
Now that you have all your materials ready and organized, let’s put together these adorable and meaningful DIY Christmas gifts. This process is straightforward and fun, making it an excellent activity to do with your own children, fostering a sense of involvement in gift-giving.
-
Step 1: Prepare Your Festive Gift Tags
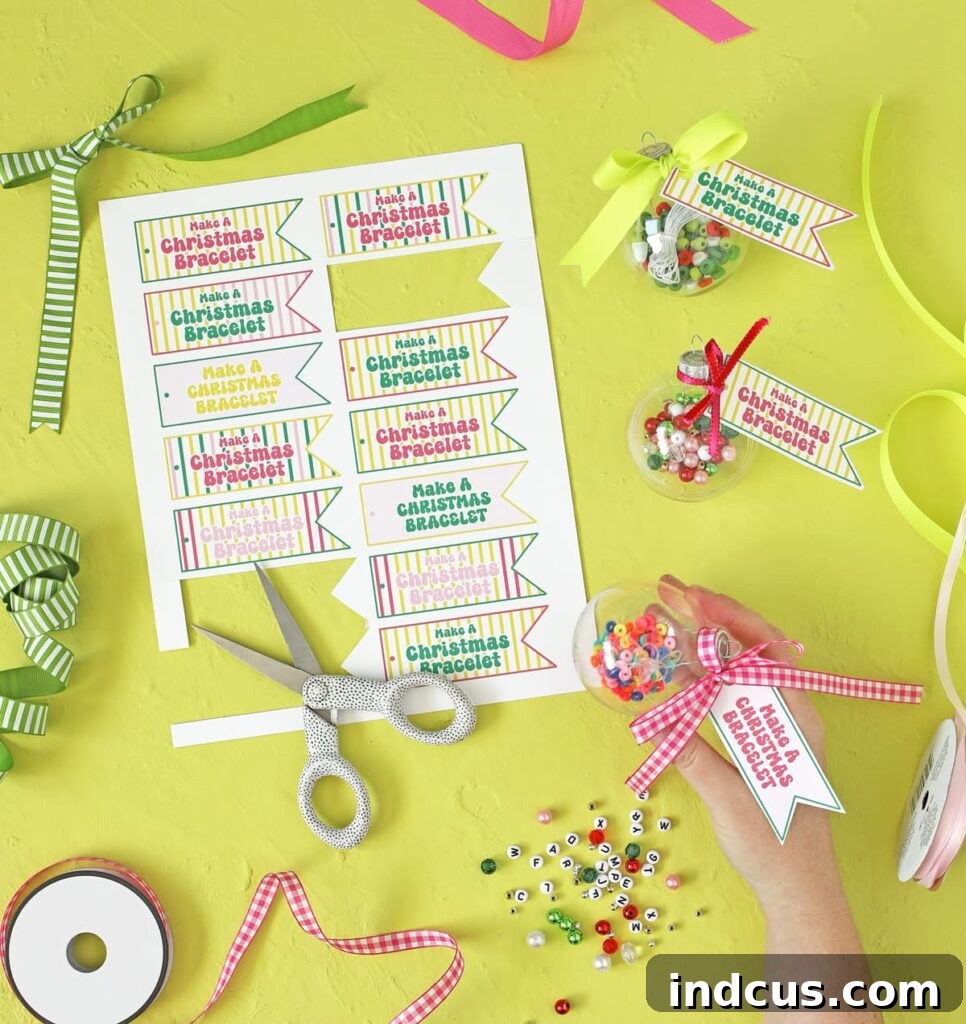
Begin by downloading the pre-designed tag file (if provided, often linked at the bottom of the original article) or unleash your creativity by designing your own custom tags. Print these designs onto sturdy white cardstock. Using cardstock not only makes the tags more durable but also gives them a more polished and professional appearance, elevating the overall presentation of your gift. Carefully cut out each tag using your scissors. For optimal neatness and efficiency, especially if you’re making multiple kits, you might consider using a paper trimmer. Once cut, use a standard single-hole punch to create a clean hole at the top of each tag. This hole will be essential for attaching the tag securely to your ornament. Feel free to personalize these tags further with a handwritten “To:” and “From:” or a heartfelt holiday message, adding that extra special touch.
-
Step 2: Measure and Prepare the Bracelet Components
Next, take your stretchy bracelet cord and measure out approximately 12 to 15 inches for each individual kit. This generous length provides plenty of slack for both smaller and larger wrists, ensuring the recipient has enough cord to comfortably tie secure knots without struggling or feeling rushed. Using your scissors, carefully cut each segment of cord, ensuring clean, even ends. Now, it’s time for the beads! Gather enough beads to create a complete bracelet that will be roughly 7 to 8 inches in length once strung. This typically translates to about 30-40 beads, depending significantly on their size and shape. You can either pre-select a specific color scheme for each ornament to match a theme, or simply provide a vibrant, colorful assortment, allowing the recipient complete freedom to choose and design their own unique creation.
-
Step 3: Fill the Christmas Ornament with Crafting Treasures
Carefully remove the metal hanger cap from the top of each clear ornament. This action creates the opening you need to conveniently insert all your bracelet making supplies. Take the measured length of stretchy cord and gently coil or fold it into a small bundle, ensuring it fits neatly and easily inside the ornament. Next, add the beads. You might find it easiest to use a small funnel or simply pinch the beads between your fingers and drop them in carefully to prevent any accidental spills or scattering. Try to arrange the beads and cord aesthetically inside the ornament, making sure they look inviting, colorful, and neatly displayed through the clear plastic. This visual appeal enhances the excitement of the gift. Once all the contents are inside, securely replace the metal hanger cap on the ornament. Double-check that it’s firmly attached to prevent any contents from spilling out, ensuring your thoughtful gift remains intact.
-
Step 4: Add the Finishing Touch with a Pretty Ribbon and Tag
The final step is to personalize and adorn your DIY bracelet kit ornament, giving it that professional, gift-ready look. Take a piece of your chosen ribbon – about 6-8 inches long is usually sufficient, depending on the desired bow size. Thread one end of the ribbon through the hole you previously punched in your gift tag. Then, thread both ends of the ribbon through the loop on the metal hanger cap of the ornament. Carefully tie the ribbon into a pretty bow or a secure knot, ensuring the tag hangs nicely and is easily visible. You can choose to let the tag hang freely for a whimsical look or tie it snugly against the ornament for a more compact presentation. This ribbon not only secures the tag but also adds a lovely decorative element, enhancing the festive appeal of your unique and thoughtful Christmas gift, making it truly ready for gifting.
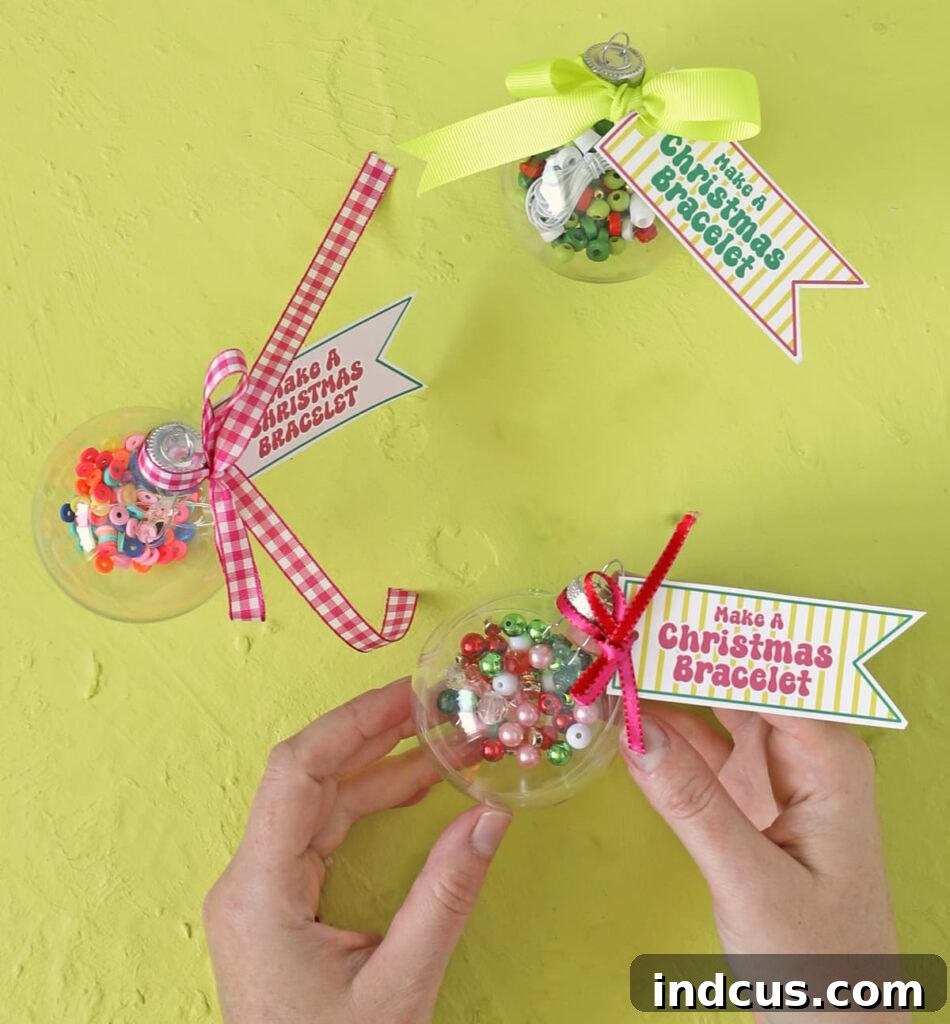
And there you have it! A perfectly crafted, charming, and highly personalized DIY beaded friendship bracelet kit, all nestled within a festive Christmas ornament. Package these delightful creations in cute gift bags, perhaps with a sprinkle of crinkle paper, colorful tissue, or a candy cane, and they will be an absolute joy to hand out. These unique gifts are ideal for friends, classmates, cousins, nieces, or granddaughters – anyone who appreciates a thoughtful, hands-on present. They are quick to assemble, entirely customizable to suit individual preferences, and offer a wonderful blend of creativity and thoughtfulness that will be cherished. This is truly the perfect crafty Christmas gift that stands out from the ordinary, fostering connections and spreading holiday cheer!
Why This DIY Bracelet Kit is the Ultimate Tween Christmas Gift
In a world saturated with commercial toys and gadgets, a handmade gift like this offers something truly special and memorable. It goes beyond material possessions, offering an experience and a creative outlet. Here’s why this DIY bracelet kit in an ornament will be a huge hit with tweens and older kids this holiday season:
- Encourages Creativity: This gift sparks imagination and allows the recipient to express their personal style through bead selection and design. They aren’t just receiving a bracelet; they’re receiving the tools and inspiration to design their own unique accessory, fostering a sense of accomplishment.
- Trendy and Relevant: Friendship bracelets are incredibly popular, making this gift instantly appealing to tweens and older kids who love staying current with fashion and social trends. It taps into the current crafting wave, making it a “cool” gift.
- Personalized Touch: You have the flexibility to tailor the beads to the recipient’s favorite colors, themes, or even include initial beads for an extra special, personalized touch. The act of making it themselves also makes the end product uniquely theirs, infused with their own personality.
- Engaging Activity: It’s not just a passive gift; it’s an interactive craft project that provides entertainment and a sense of accomplishment. It can even be a fun solo activity for a quiet afternoon or a delightful group activity for friends or family during a holiday get-together.
- Affordable & Customizable: Compared to buying multiple pre-made trendy items, assembling these kits can be incredibly budget-friendly, especially when buying beads in bulk or taking advantage of craft store sales. Plus, the customization options are limitless, allowing you to cater to diverse tastes without breaking the bank.
- Meaningful Keepsake: The ornament itself, with its delightful contents, can serve as a cherished Christmas keepsake year after year. It will remind them of the fun gift, the person who gave it, and the friendship it represents long after the holidays are over, making it a truly sentimental item.
Unleash More Creativity: Customization Ideas for Your DIY Ornaments
While the basic bracelet kit is wonderful and sure to be a hit, there are countless ways to make each ornament truly unique and perfectly suited to the recipient’s individual personality and interests. These customization ideas can elevate your DIY gifts even further:
- Theme It Up:
- Seasonal: Beyond Christmas, consider creating themed kits for other holidays. Think Halloween (orange and black beads, spooky charms), Valentine’s Day (red, pink, and white beads, heart charms), or even specific seasons (beachy blues and greens for summer, earthy tones and leaf charms for fall).
- Hobby-Based: If a friend loves a particular sport, use beads in their favorite team colors. For an art lover, include beads with varied textures, unique shapes, or artistic patterns. Music notes, animal shapes, or tiny book charms can cater to other specific interests.
- Personalized Messages: Add small, rolled-up notes inside the ornament with a special handwritten message, a friendship quote, a funny inside joke, or even step-by-step instructions for a specific bracelet pattern you think they’d enjoy.
- Beyond Bracelets: While the primary focus is on bracelets, you could adapt this idea for other small craft projects if the ornament size permits. Think mini keychain kits, tiny charm necklaces, or even small macrame kits with colorful threads.
- Charm Additions: Include one or two small, dainty charms or pendants that can be easily added to the bracelet for an extra touch of sparkle, personality, or symbolic meaning. These can range from simple metallic shapes to more elaborate enamel charms.
- Color Story: Instead of a random mix, curate a specific color palette for each ornament – an ombre progression, complementary colors, a vibrant rainbow mix, or even a sophisticated monochromatic set with varied bead textures.
- Sweet Treat Inclusion: For a little extra delight, tuck a small, individually wrapped piece of candy (like a mini chocolate bar or a festive lollypop) inside the ornament alongside the beads, making it a sweet surprise.
DIY Bracelet Kit Christmas Ornaments Video Guide
We hope this comprehensive guide inspires you to create beautiful and meaningful DIY beaded bracelet kit Christmas ornaments this holiday season. It’s a wonderful way to spread joy, encourage creativity, and give truly memorable gifts that celebrate friendship and the festive spirit. These handmade treasures are more than just presents; they are gestures of love, creativity, and connection that will be cherished for years to come.







