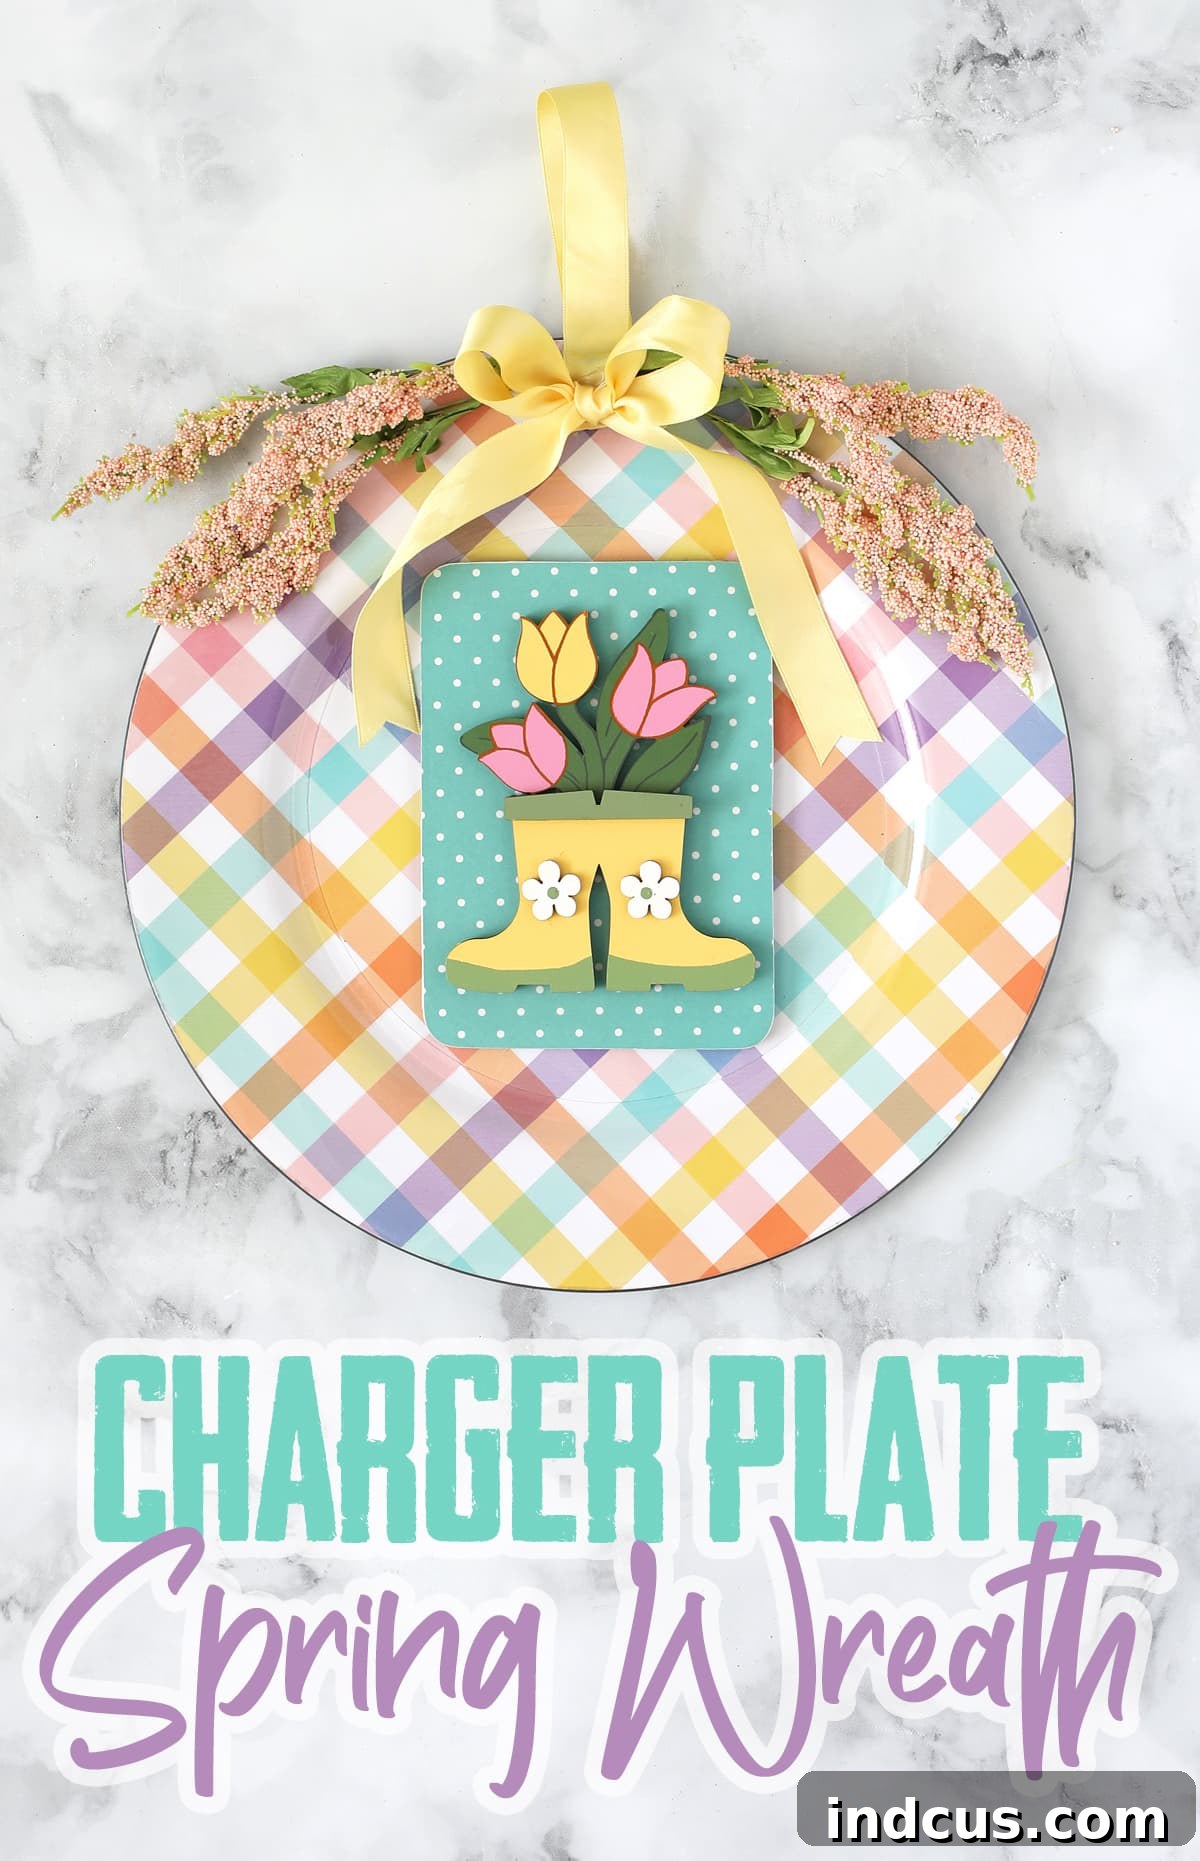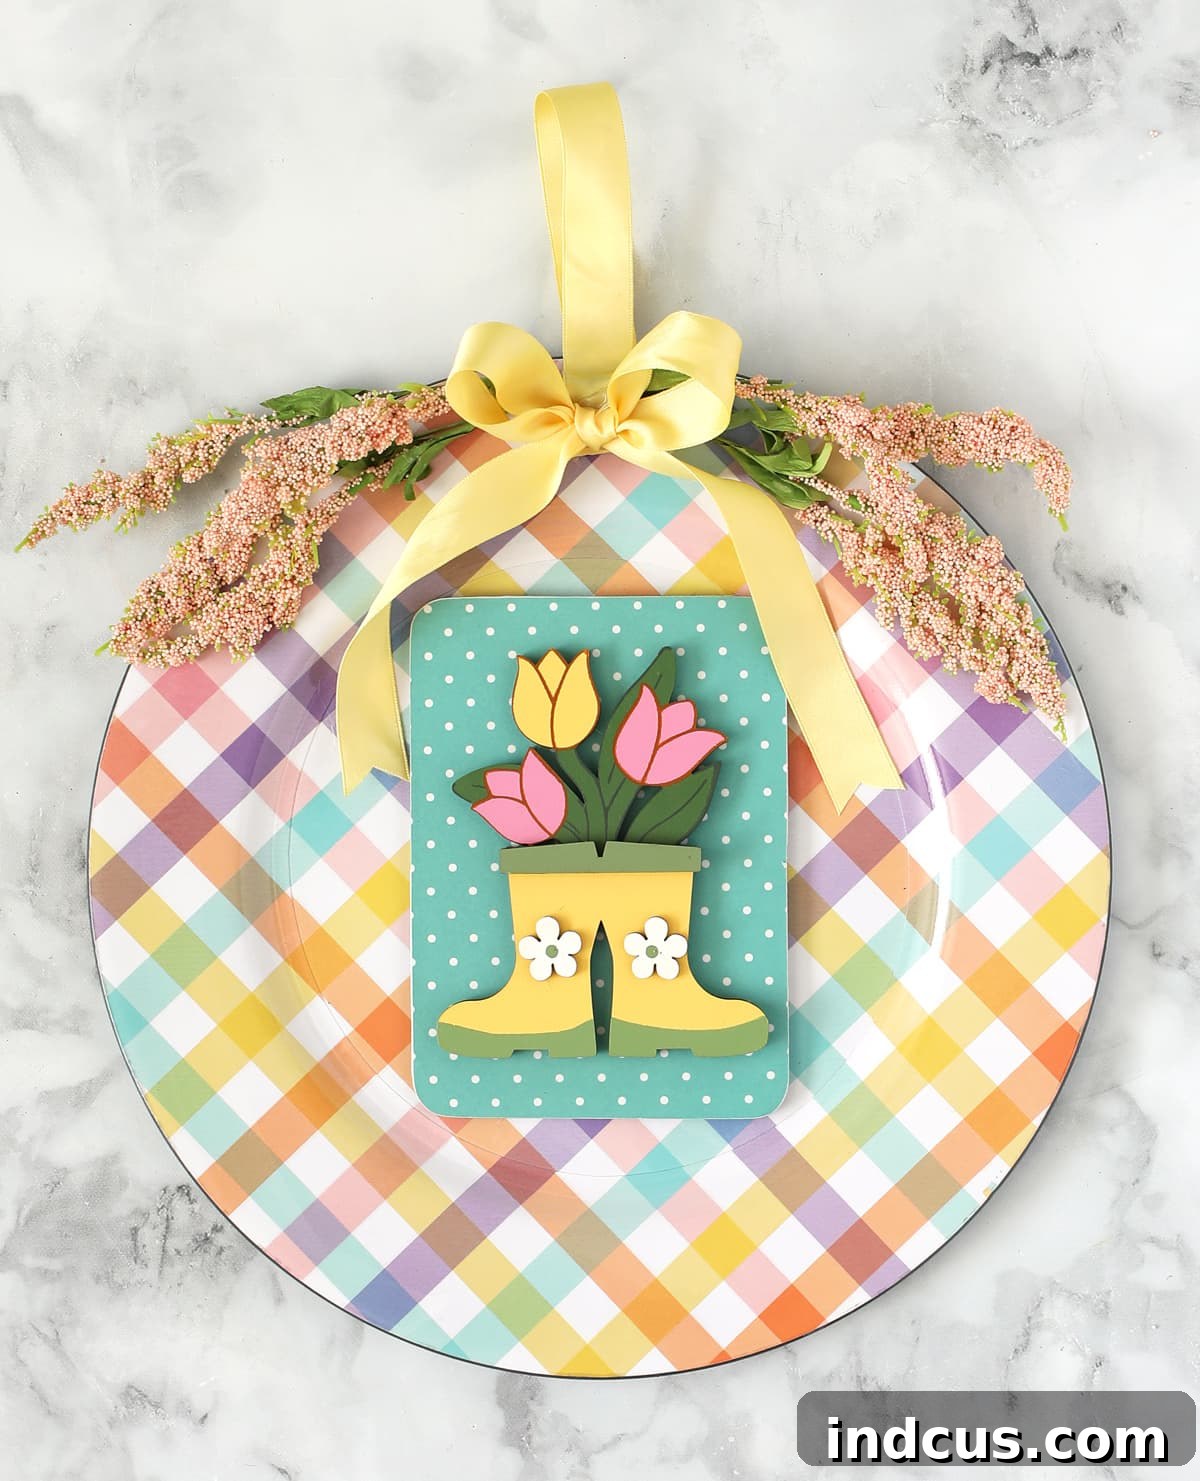
Craft a Charming Spring Door Hanger: DIY Charger Plate Wreath Tutorial
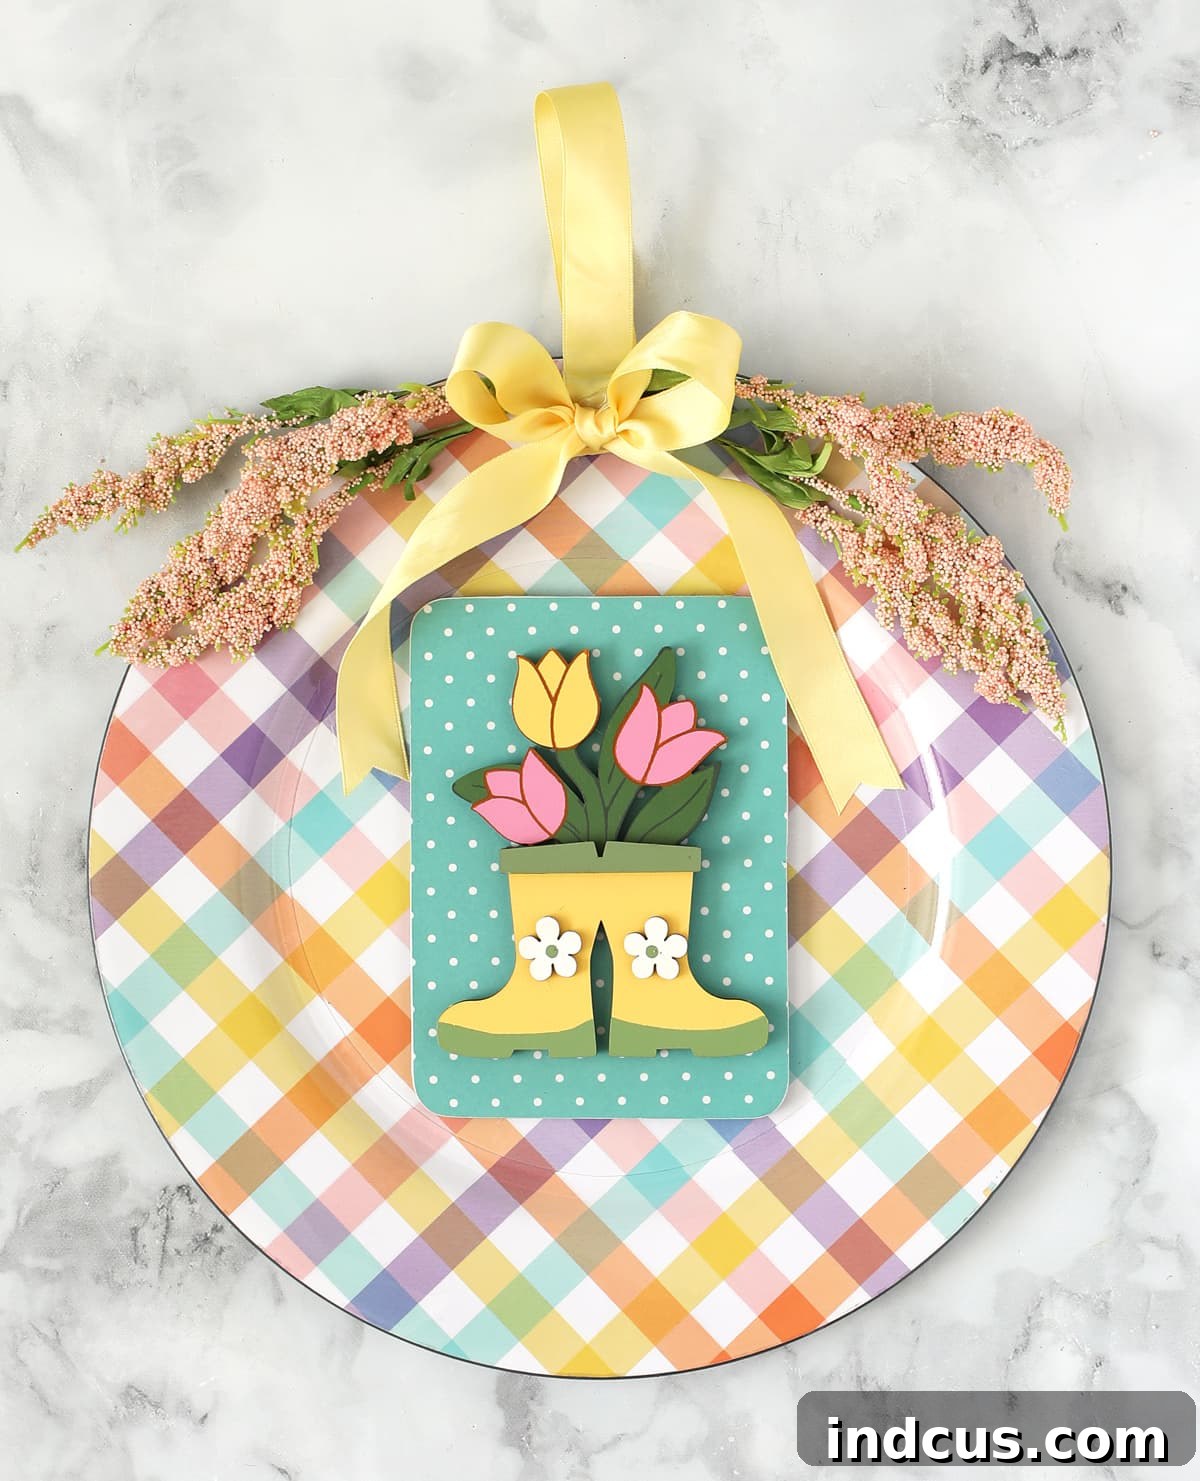
As the days grow longer and a gentle warmth fills the air, there’s nothing quite like refreshing your home decor to celebrate the arrival of spring. And what better way to do that than with a stunning, handmade door hanger that perfectly captures the season’s joyful spirit?
Recently, I stumbled upon an absolutely delightful melamine charging plate in the Easter section of my local craft store. Its bright, cheerful plaid pattern instantly sparked an idea: transform it into a unique and eye-catching spring door hanger wreath! It was love at first sight, and I knew this plate had to come home with me. Repurposing a simple charger plate into a decorative piece is not only incredibly fun but also surprisingly easy, making it the perfect DIY project for crafters of all skill levels.
I’ve ventured into charger plate crafts before, creating a charming fall charger plate wreath that received so many compliments. This spring version promises to be just as popular, offering a fantastic opportunity to add a personalized touch to your front door without breaking the bank. Forget generic store-bought wreaths; with a few simple materials and a dash of creativity, you can craft a bespoke piece that truly reflects your style. This guide will walk you through every step, ensuring a smooth and enjoyable crafting experience. Don’t miss the detailed video tutorial at the end of the post for a visual walkthrough!
Are you ready to create a warm and welcoming entrance for your home this spring? Let’s dive into making your very own adorable spring charger plate door hanger.
Essential Materials for Your DIY Spring Door Hanger
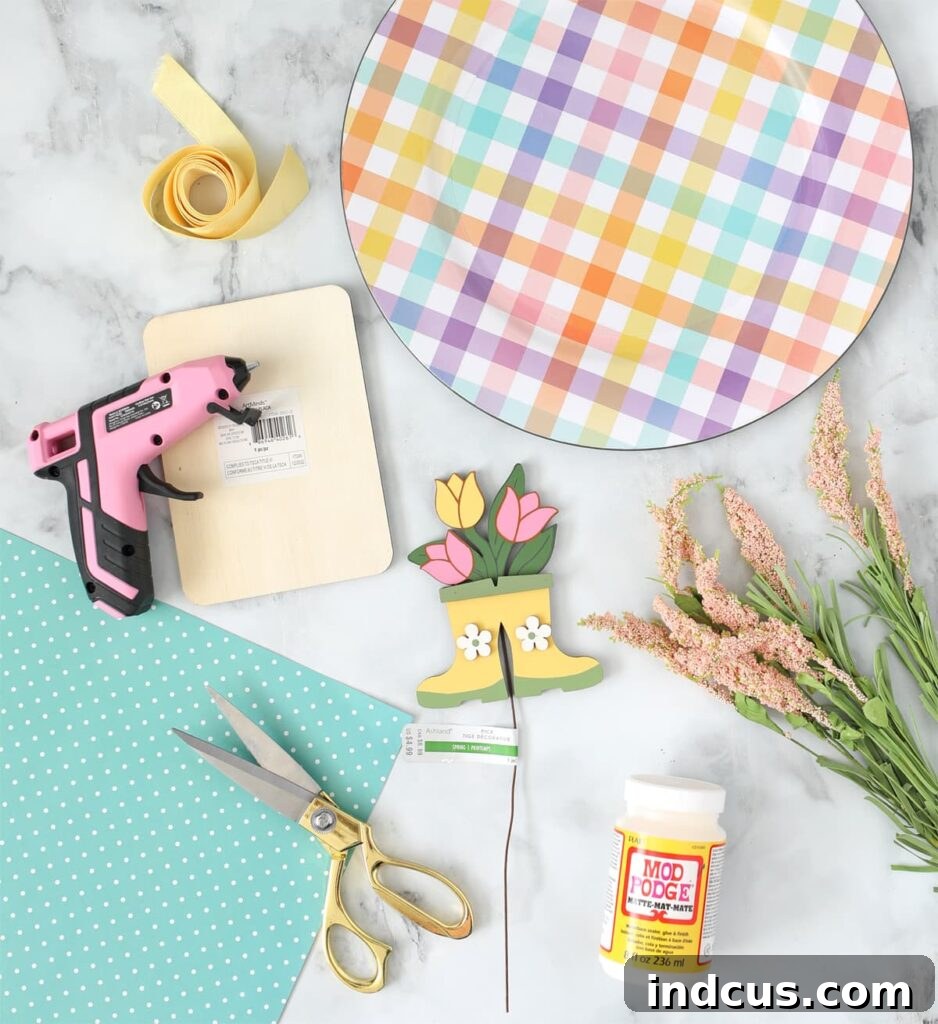
Gathering your supplies is the first exciting step towards bringing your spring door hanger to life. Most of these items can be found at your local craft store, or you can use the convenient links provided. Choosing your materials, especially the charger plate and floral stems, allows for immense creativity and personalization, setting the tone for your unique design.
- Charger Plate: Opt for a sturdy melamine or plastic charger plate, as these are lightweight and durable for outdoor use. The design is key—look for spring-themed patterns, bright colors, or even a solid color that you can customize with paint.
- Ribbon: Select a weather-resistant ribbon that complements your charger plate and floral choices. Wired ribbon is excellent for holding its shape when forming bows and loops.
- Floral Stems: Choose a selection of artificial spring floral stems. Think pastels, small blossoms, and lush greenery. Varying textures and heights will add depth to your arrangement.
- Florist Wire: Essential for securely bundling your floral stems into a cohesive swag. A 22-gauge wire is typically versatile enough.
- Unfinished Wooden Rectangle: This piece will serve as the base for your decorative spring wood shape. Its simple structure makes it a perfect canvas for personalization.
- Spring Wood Shape (e.g., boots, truck): A small, charming wooden embellishment that adds character and a thematic touch. Look for items that evoke spring, like garden boots, a watering can, or a small birdhouse.
- Scrapbook Paper: Choose a pattern that coordinates with your charger plate and general spring theme. This will cover your wooden rectangle, adding another layer of visual interest.
- Mod Podge: A versatile adhesive, sealant, and finish. You’ll need it for attaching paper to wood and for providing a protective top coat. Matte or gloss finish works well depending on your preference.
- Painter Pyramids: These handy tools elevate your project off your work surface, preventing it from sticking when drying after Mod Podge application.
- Paint Brush: For applying Mod Podge smoothly and evenly.
- Scissors: Sharp scissors are crucial for precise cutting of paper and ribbon.
- Hot Glue Gun and Glue Sticks: Ideal for quick and strong bonds, especially for attaching florals and ribbon.
- E-6000 Glue: A heavy-duty adhesive that offers superior weather resistance and a stronger, more permanent bond, recommended for projects exposed to high heat or direct sunlight.
- Sandpaper: Fine-grit sandpaper is perfect for achieving clean, smooth edges when working with Mod Podge and wood.
Step-by-Step Instructions: Crafting Your Spring Door Hanger
Creating this charming spring door hanger is a delightful process. Remember to watch the video tutorial at the end of this post if you have any questions or prefer a visual guide for any of the steps!
Step 1: Prepare Your Wooden Base with Scrapbook Paper
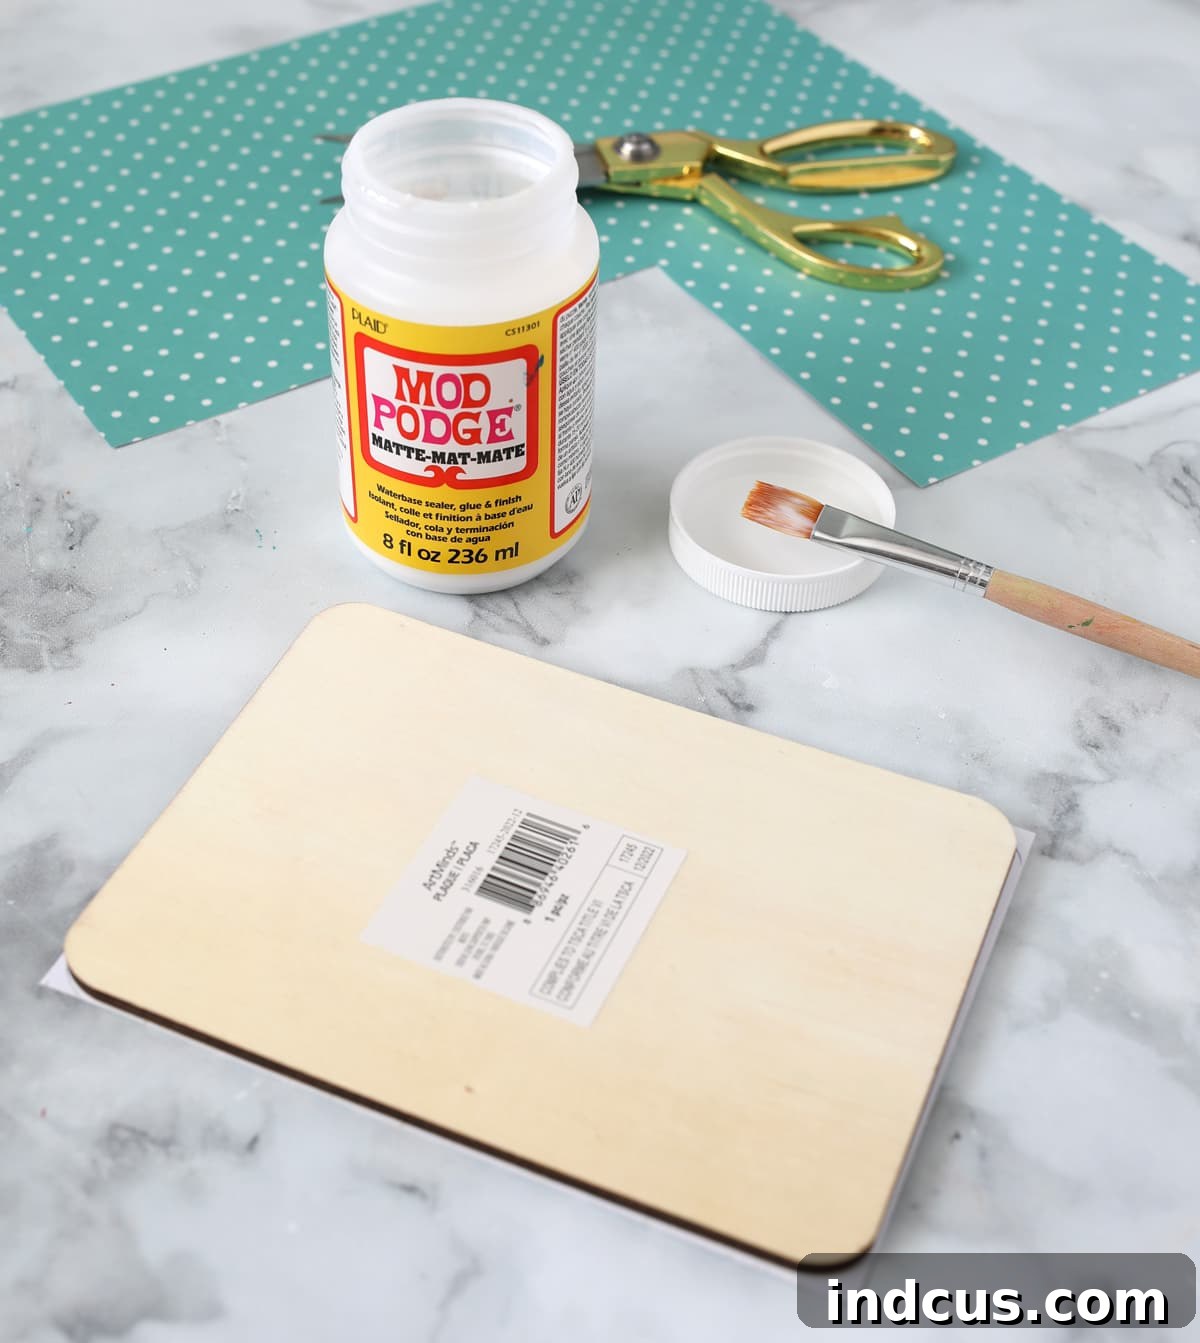
Begin by selecting a piece of scrapbook paper that complements your charger plate and spring theme. Cut this paper just slightly larger than your unfinished wooden rectangle. This extra margin will be crucial for achieving perfectly smooth edges later. Apply a thin, even layer of Mod Podge to one side of the wooden rectangle using your paintbrush. Immediately center and press the scrapbook paper onto the Mod Podged wood. Work quickly to smooth out any air bubbles, pushing them towards the edges with your fingers or a flat tool like a credit card. Allow this to dry completely. Using painter pyramids during drying can prevent the paper from sticking to your work surface.
Step 2: Achieve Perfect Edges with Sanding
Once the Mod Podge is thoroughly dry, it’s time to create those crisp, professional-looking edges. Take a piece of fine-grit sandpaper and, holding the wooden rectangle firmly, gently sand away the excess paper hanging over the edges. The trick here is to stroke the sandpaper from the front of the wood towards the back, rather than parallel to the edge. This technique prevents the paper from lifting or tearing, instead allowing the sandpaper to neatly trim and seal the edge, resulting in a flawless finish. This simple sanding method is truly a game-changer for any paper-to-wood craft.
Step 3: Seal for Durability with a Mod Podge Top Coat
To ensure your door hanger stands up to the outdoor elements—sun, light rain, and humidity—apply a top coat of Mod Podge over the entire surface of the scrapbook paper. This protective layer acts as a sealant, enhancing the durability and water resistance of your paper design. Apply a generous, even coat, ensuring full coverage without heavy pooling. Allow this top coat to dry and cure completely. Depending on humidity levels, this could take several hours, or even overnight, to ensure maximum protection.
Step 4: Craft Your Spring Floral Swag
Select a variety of spring floral stems, focusing on a mix of textures, colors, and heights to create visual interest. Arrange them into a beautiful swag formation – typically a cluster of florals that cascades slightly. Once you’re happy with your arrangement, gather the stems together tightly in the middle and secure them firmly with florist wire. Wrap the wire several times around the stems, twisting it securely to prevent any loosening. You can trim any excess wire, leaving enough to tuck neatly away.
Step 5: Attach the Ribbon Hanger and Floral Swag
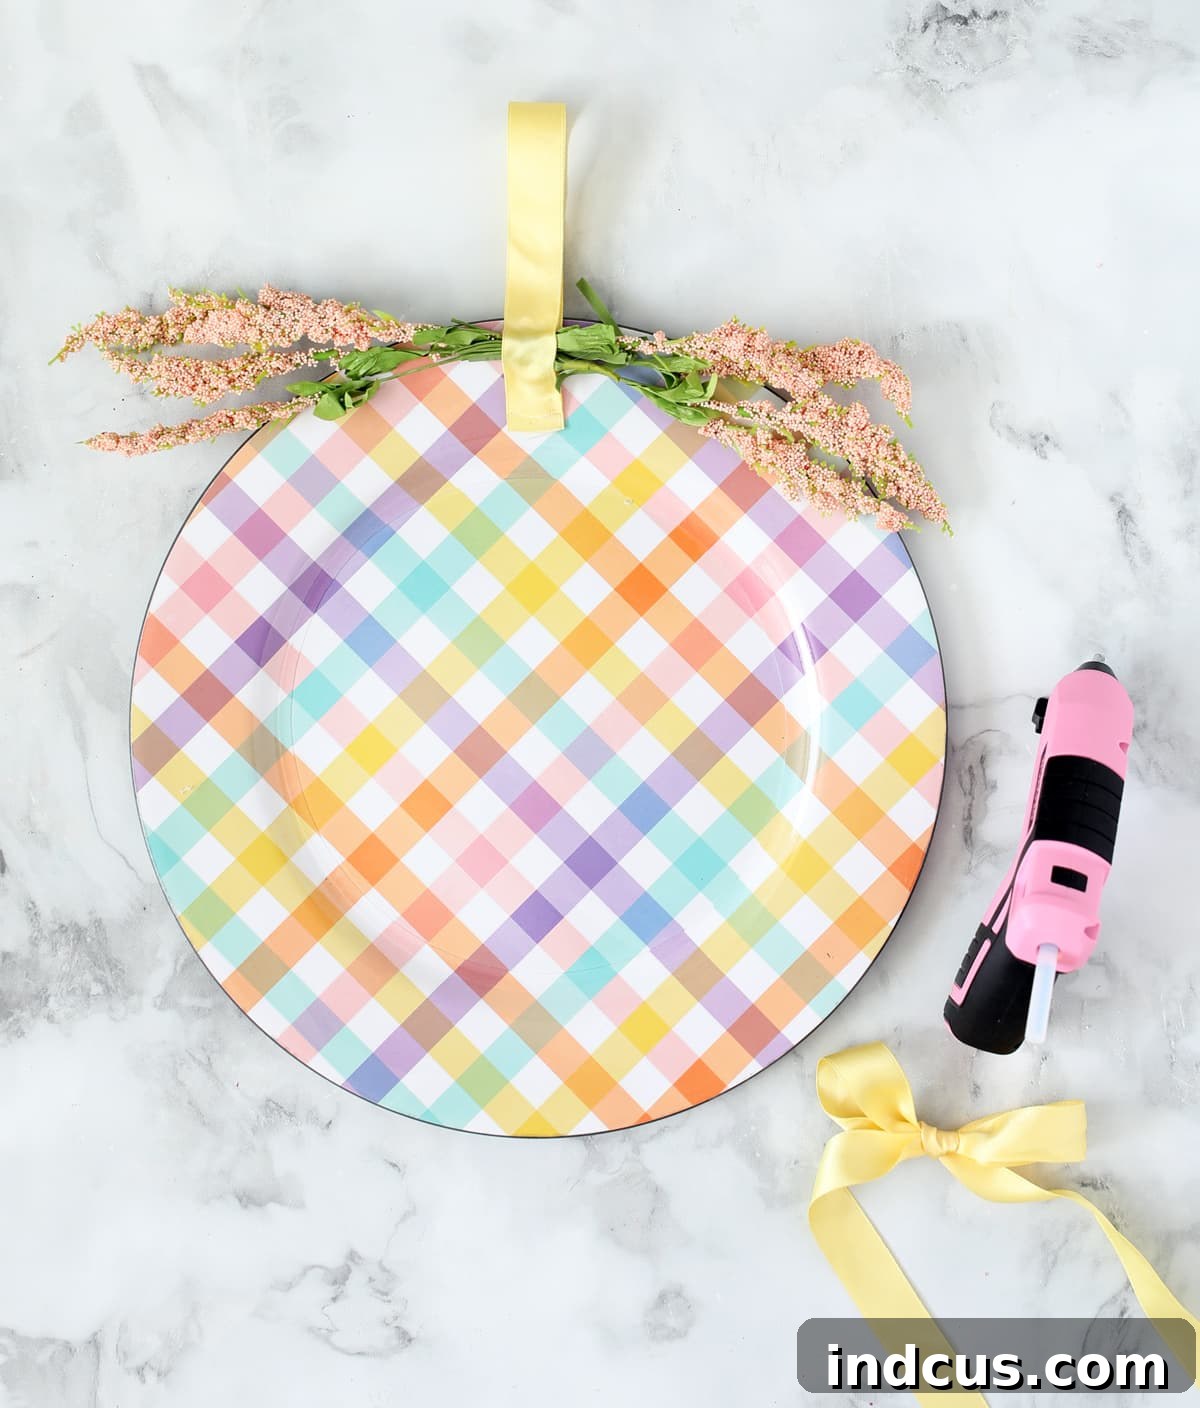
Begin by attaching one end of a sturdy ribbon to the back of your charger plate, using your preferred adhesive (see glue note below). This ribbon will form the hanging loop for your wreath. Next, position the center of your floral swag over the ribbon where it’s attached to the plate and secure it with glue. Then, fold the ribbon back down over the florals, creating a loop for hanging, and glue it securely in place, ensuring the florals are firmly sandwiched. To add an extra touch of cuteness and conceal any seams from the ribbon attachment, tie a decorative bow and glue it over the bottom of the ribbon loop and the base of the floral swag.
Step 6: Integrate the Decorative Wooden Element and Final Assembly
Carefully remove any attached wire or hangers from your decorative spring wood pick. Once the Mod Podge on your scrapbook paper-covered wooden rectangle is completely dry and cured, glue your chosen spring wood shape (like the charming boots) onto the rectangle. Pay attention to placement for aesthetic balance. Finally, glue the entire decorated wooden rectangle assembly onto the charger plate. Position it carefully to complement your floral swag and ribbon. Allow all glue to dry and cure completely before hanging.
A Crucial Note on Adhesives: Hot Glue vs. E-6000 Glue
For this project, I initially used hot glue due to its quick-drying nature and strong immediate bond. However, it’s vital to consider your climate and where your door hanger will be displayed. If your charger plate will be hanging in an area that experiences significant direct sunlight or high temperatures (especially during warmer months), hot glue can soften and potentially melt, causing your carefully crafted components to detach. This would be incredibly frustrating after all your hard work!
For superior durability and peace of mind in warm or sunny conditions, I strongly recommend using E-6000 glue instead. E-6000 is a heavy-duty, industrial-strength adhesive known for its excellent resistance to water, temperature fluctuations, and UV exposure. While it requires a longer curing time than hot glue (typically 24-72 hours for full strength), the resulting bond is incredibly robust and reliable. Given the current cooler temperatures where I live this spring, hot glue worked fine for me, but I always advocate for E-6000 when long-term outdoor exposure to heat is a factor. Don’t let your beautiful creation fall apart due to the wrong adhesive choice!
Once all the glue is thoroughly dry and cured, your stunning spring charger plate door hanger is ready to proudly adorn your front door, welcoming guests and celebrating the season!
Why Choose a Charger Plate for Your Door Hanger?
Charger plates, often overlooked beyond their dining table purpose, are surprisingly versatile and cost-effective bases for DIY door hangers. Here’s why they are an excellent choice for your next craft project:
- Affordability: Charger plates are typically much more budget-friendly than traditional wreath forms, especially if you catch them on sale or seasonal clearance.
- Sturdy Base: They provide a firm, flat, and round foundation that is perfect for attaching various embellishments without warping. Unlike grapevine wreaths, they offer a solid surface for gluing.
- Variety of Designs: Available in a wide array of colors, patterns, and materials (melamine, plastic, glass), you can easily find one that suits your aesthetic, or paint a plain one to match your decor perfectly.
- Lightweight: Most charger plates are relatively light, making them easy to hang on any door without requiring heavy-duty hooks.
- Ease of Customization: Their flat surface is ideal for applying paper, fabric, paint, vinyl, or other decorative elements, allowing for endless personalization.
Tips for Personalizing Your Spring Door Hanger
This tutorial provides a fantastic starting point, but the beauty of DIY lies in making it truly yours. Here are some ideas to personalize your spring door hanger:
- Paint the Wood Shape: Before applying Mod Podge, consider painting your wooden rectangle or the spring wood shape a complementary color. You could also distress the edges for a rustic look.
- Add Vinyl Lettering: Instead of or in addition to a wood shape, apply vinyl lettering with a welcoming phrase like “Hello Spring,” “Welcome,” or your family name.
- Seasonal Variations: Change out the florals and wood shape for different seasons! Think patriotic colors and flags for summer, fall leaves and pumpkins for autumn, or evergreens and snowflakes for winter.
- Alternative Embellishments: Incorporate small artificial birds, mini Easter eggs, glitter accents, or even small battery-operated fairy lights for an evening glow.
- Fabric Instead of Paper: Experiment with fabric scraps instead of scrapbook paper for your wooden rectangle. Fabric Mod Podge works great for this, offering a different texture.
- Ribbon Choices: Play with different ribbon widths, patterns, and materials. Burlap, sheer organza, or gingham can all create distinct looks.
Caring for Your DIY Door Hanger
To ensure your beautiful spring door hanger lasts for many seasons to come, a little care goes a long way:
- Protection from Extreme Weather: While durable, try to hang your wreath under a covered porch or awning to protect it from prolonged direct sun exposure, heavy rain, or strong winds, especially if you used hot glue.
- Gentle Cleaning: If it gets dusty, gently wipe it down with a soft, dry cloth. Avoid harsh cleaners or excessive moisture.
- Proper Storage: When the season is over, store your door hanger in a cool, dry place, ideally in a protective box or bag, to prevent dust accumulation and crushing of the floral elements. This helps maintain its shape and vibrant colors for next year.
Spring Charger Plate Door Hanger Video Tutorial
Loved this project? Pin it for later and inspire others!