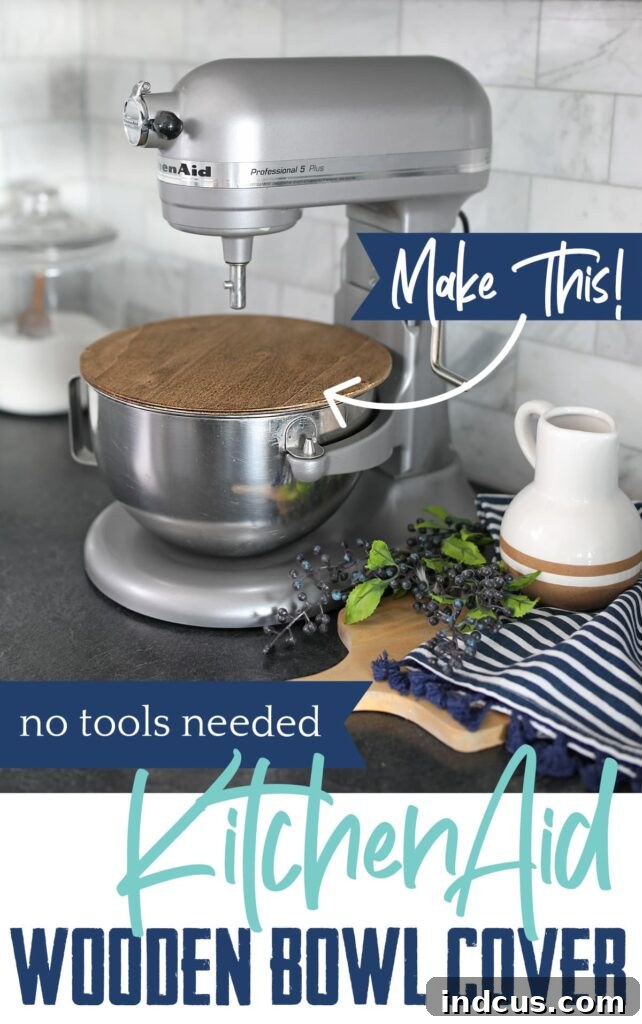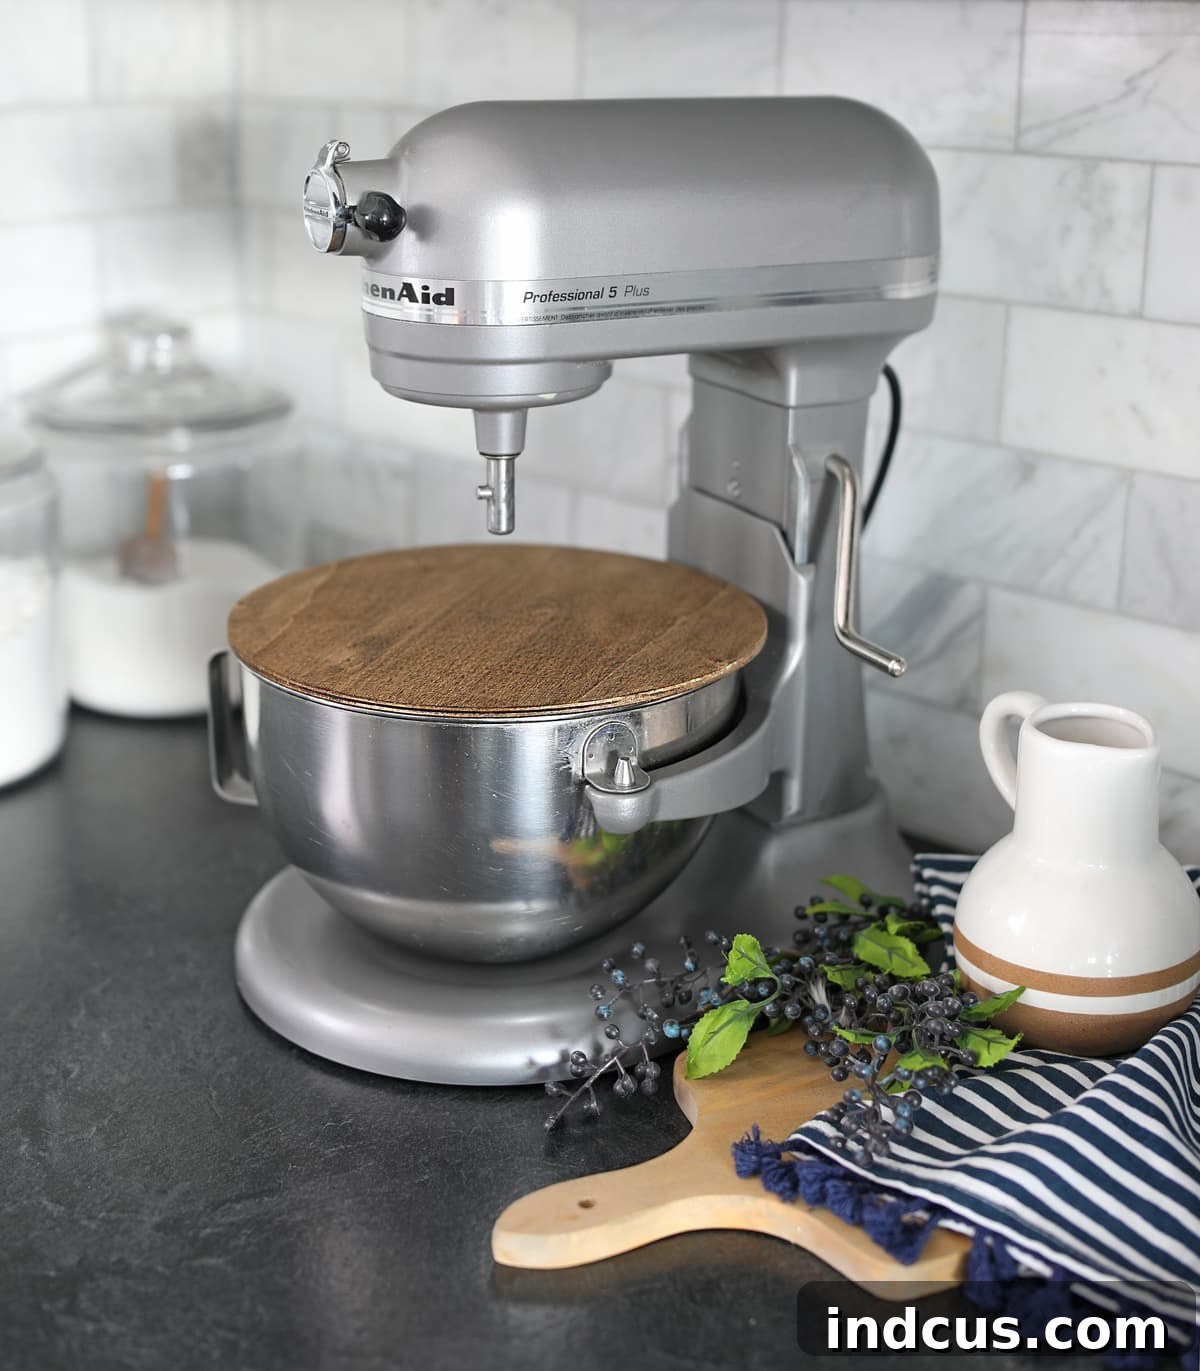
DIY Wooden Stand Mixer Bowl Cover: An Easy, No-Power-Tools Project for Lift-Bowl Mixers
Are you looking for a simple yet effective way to enhance your kitchen’s aesthetics and functionality? Today’s project is a game-changer for any home baker or cooking enthusiast with a stand mixer. Imagine a custom-made wooden lid for your mixer bowl – not only does it look absolutely stunning on your countertop, but it also provides practical benefits like keeping dust out and offering a discreet storage space for your attachments. The best part? You can create this beautiful and functional piece without needing any specialized power tools!
A few years ago, the idea sparked when I noticed the elegant wooden lid of a candle. It struck me that a similar design could perfectly suit a mixing bowl. My husband, ever the craftsman, brought my vision to life, crafting a beautiful lid for my stand mixer. I instantly fell in love with it; it kept my bowl pristine and allowed me to store attachments neatly inside, hidden from view. Plus, with my mixer proudly displayed on the counter, the clean, natural wood finish added a touch of warmth and sophistication to my kitchen.
However, that initial lid involved a complex process and several specialized tools, which can be intimidating for many DIY enthusiasts (myself included, as I tend to say a little prayer before operating a table saw!). Fast forward a few weeks, while browsing the aisles of Hobby Lobby, I stumbled upon two unassuming wood pieces that immediately reminded me of that custom lid. A new challenge emerged: could I replicate the beauty and utility of that lid, but this time, making it accessible to everyone with absolutely no power tools or fussy equipment required?
The answer, I’m thrilled to report, is a resounding yes! And here we are, ready to embark on a delightful and straightforward crafting journey that will transform your kitchen.
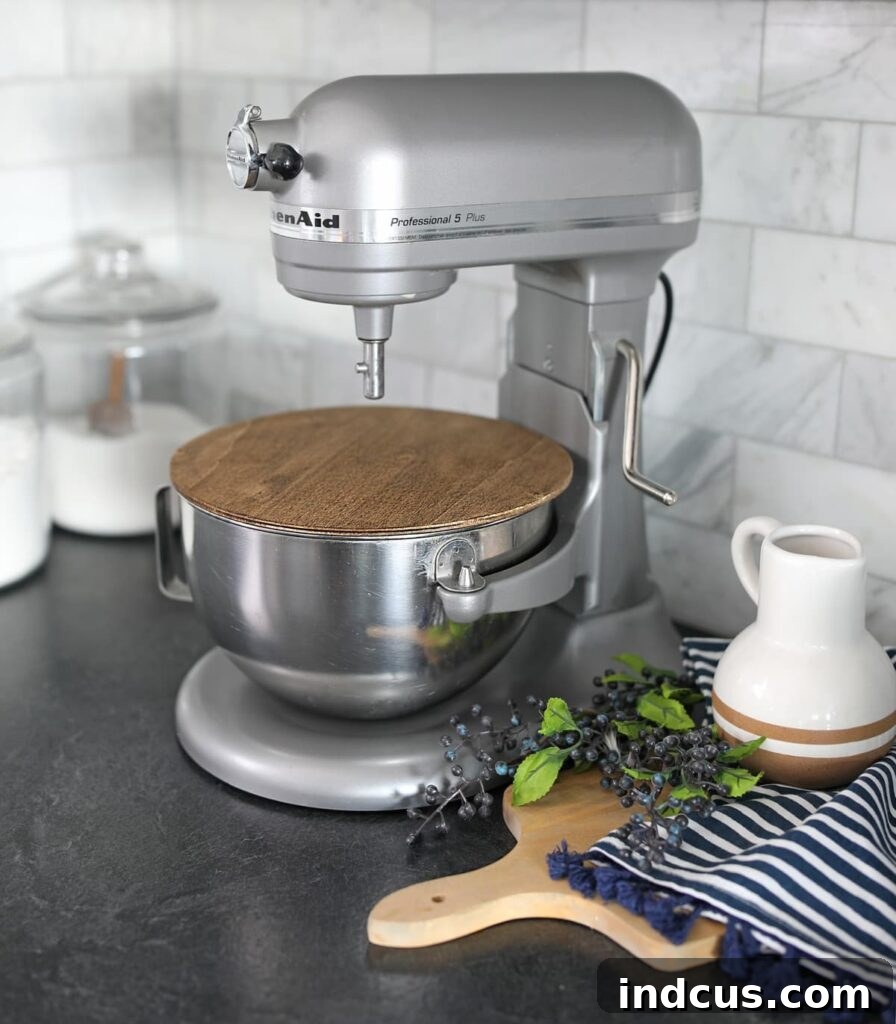
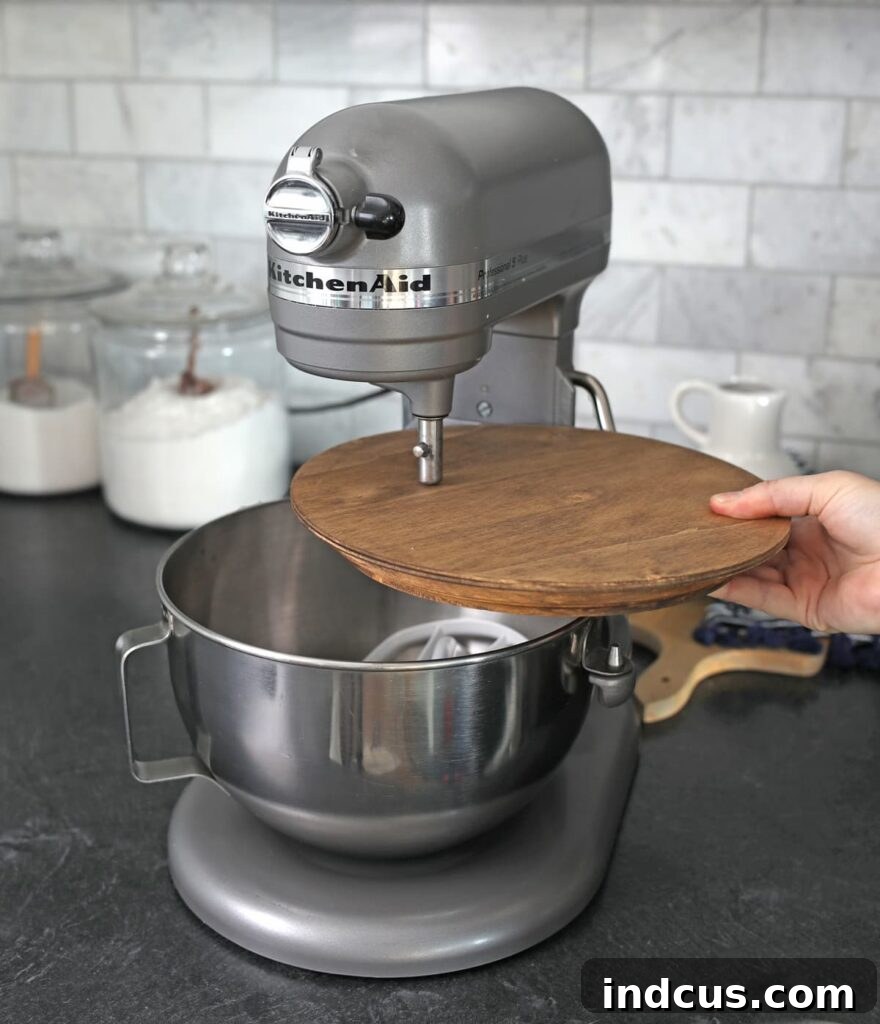
Feast your eyes on this gorgeous, custom wooden stand mixer bowl cover! It’s more than just a lid; it’s a statement piece that blends seamlessly with any kitchen decor, from rustic farmhouse to modern minimalist. This simple addition elevates your kitchen counter from merely functional to beautifully curated.
Eager to create one for your own kitchen? It’s incredibly easy, and I promise you’ll be amazed at the professional-looking results you can achieve with minimal effort and no intimidating tools. Let’s gather our supplies and get started on this rewarding DIY project!
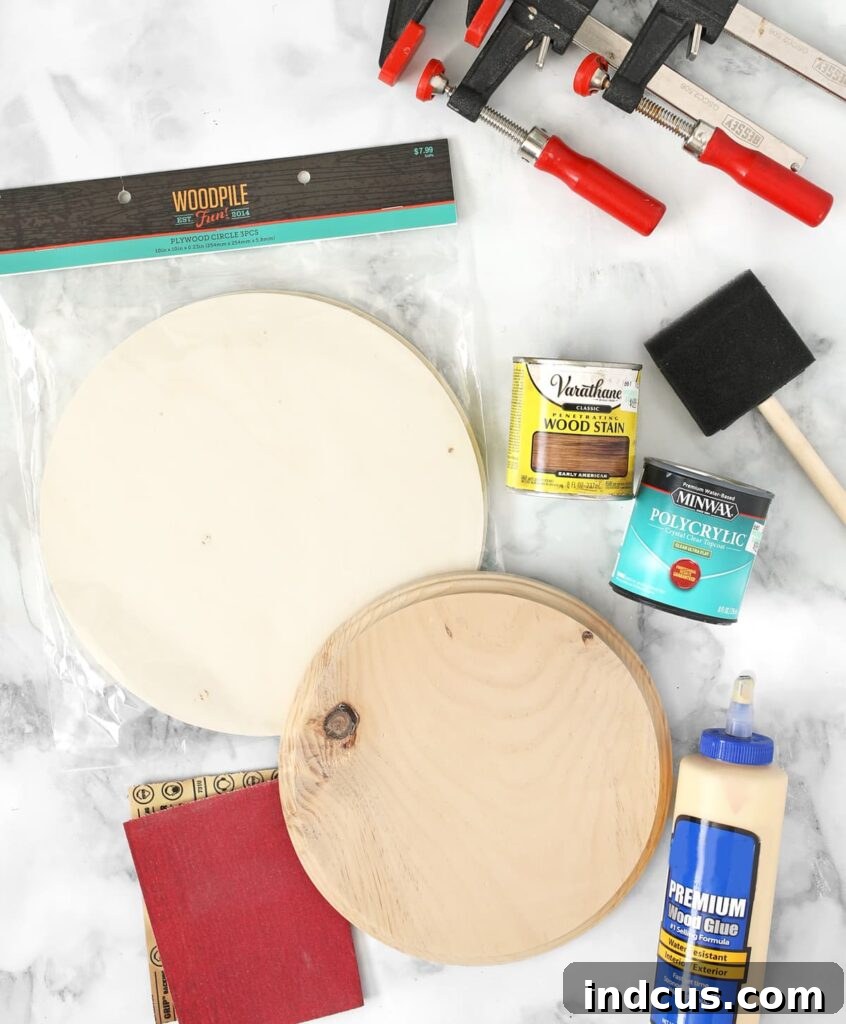
Materials Needed for Your DIY Mixer Bowl Cover
Creating this custom wooden stand mixer lid requires just a few readily available materials. You can find most, if not all, of these items at your local craft or hardware store. Here’s what you’ll need:
- Plywood Circle (10-inch diameter): This will form the main base of your lid, sitting directly on top of your mixer bowl. The 10-inch size is ideal for many standard lift-bowl mixers, but always double-check your bowl’s diameter.
- Round Wood Plaque (9-inch diameter): This piece will be glued on top of the plywood circle, providing a slightly raised center that helps secure the lid and adds an elegant, layered look. It also acts as a convenient handle.
- Wood Stain: Choose a color that complements your kitchen decor. I used “Early American” for its warm, classic appeal, but options like dark walnut, weathered gray, or even a natural clear stain are beautiful choices. Stain brings out the natural grain of the wood.
- Polycrylic Sealer (Clear Matte): Essential for protecting your wooden lid from moisture, spills, and general wear and tear in the kitchen environment. Polycrylic is water-based, making cleanup easy, and it won’t yellow your wood finish over time, unlike some oil-based sealers.
- Wood Glue: A strong, reliable adhesive designed specifically for wood. This will securely bond your two wood pieces together.
- Sandpaper (Assorted Grits): For smoothing rough edges and preparing the wood for staining and sealing. Start with a medium grit (e.g., 120-150) and finish with a fine grit (e.g., 220) for a silky smooth surface.
- Disposable Foam Brushes: Ideal for applying stain and polycrylic. They ensure an even coat and, since stain is oil-based and difficult to clean from regular brushes, disposable options make cleanup a breeze.
- Paper Towels or Lint-Free Cloths: For wiping away excess stain and cleaning up any spills.
- Woodworking Clamps (optional, but highly recommended): To apply consistent pressure while the wood glue dries, ensuring a strong, tight bond between your wood pieces.
- Permanent Adhesive Vinyl (optional): For adding custom decals or decorative elements to your finished lid.
Important Note: It’s crucial to understand that stand mixers come in two primary types from the most popular brands: tilt-head mixers and lift-bowl mixers. This specific DIY project is designed exclusively for lift-bowl stand mixers. The 10-inch plywood circle rests securely on the rim of a lift-bowl mixer’s stainless steel bowl, preventing dust and debris from entering.
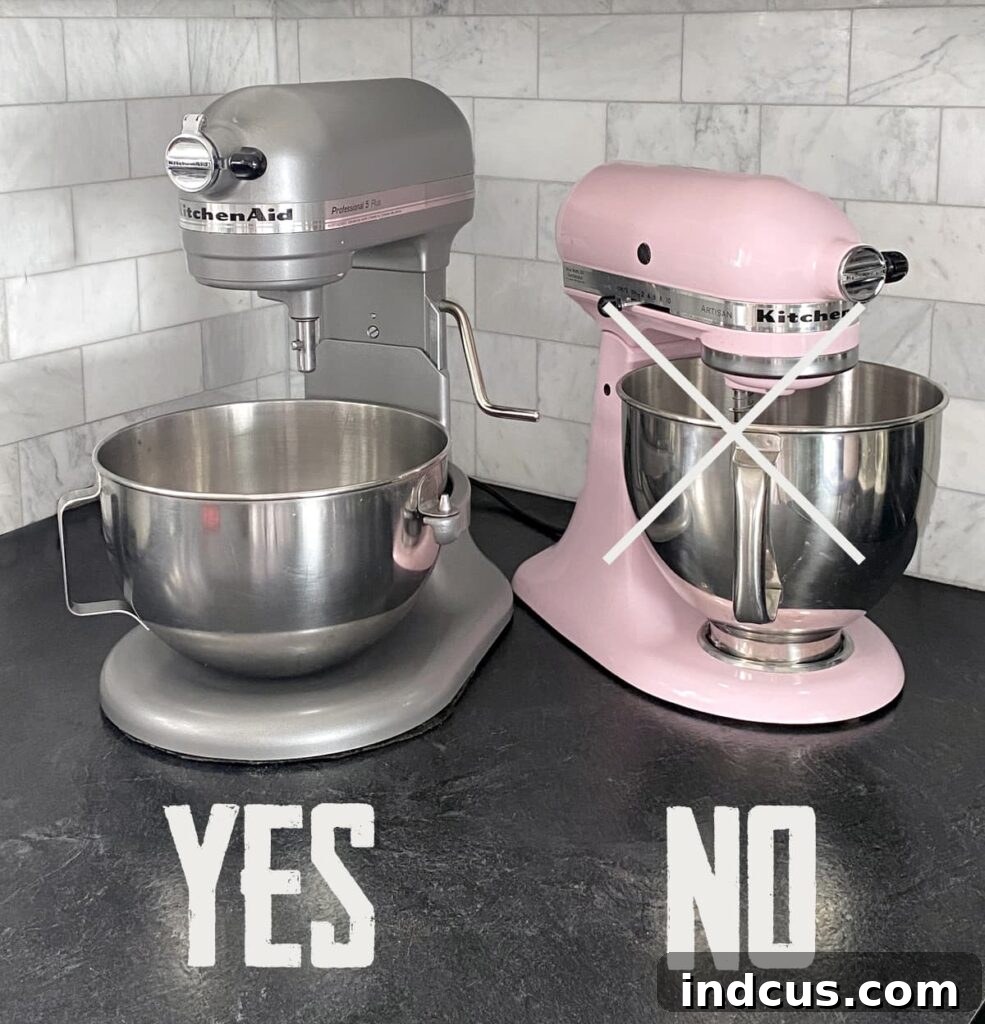
If you own a tilt-head mixer, the design of its bowl and head mechanism is different, and this lid will not fit properly. Before purchasing your materials, take a moment to identify your mixer type. For those with other mixer models or brands, I highly recommend measuring the diameter of your mixing bowl’s rim or even taking your bowl with you to the store to ensure the 10-inch plywood circle will fit snugly and securely.
Step-by-Step Instructions: Crafting Your Custom Stand Mixer Lid
Follow these easy steps to create your durable and beautiful wooden stand mixer bowl cover. No prior woodworking experience is necessary!
Step 1: Prepare Your Wood Pieces by Sanding. Begin by thoroughly sanding both wood pieces until they are silky smooth to the touch. Sanding is a crucial first step as it removes splinters, rough patches, and any imperfections, creating a perfect surface for stain absorption and a professional finish. The thinner 10-inch circle is typically made of plywood; for this piece, focus primarily on sanding the edges to remove any potential splinters and soften the corners. The 9-inch round wood plaque, often made of solid wood, can be sanded more aggressively on both its surfaces and edges. Use a medium-grit sandpaper first to tackle any significant roughness, then switch to a fine-grit sandpaper (around 220) for a final, super-smooth finish. Always sand with the grain of the wood for the best results.
Step 2: Apply Your Chosen Wood Stain.
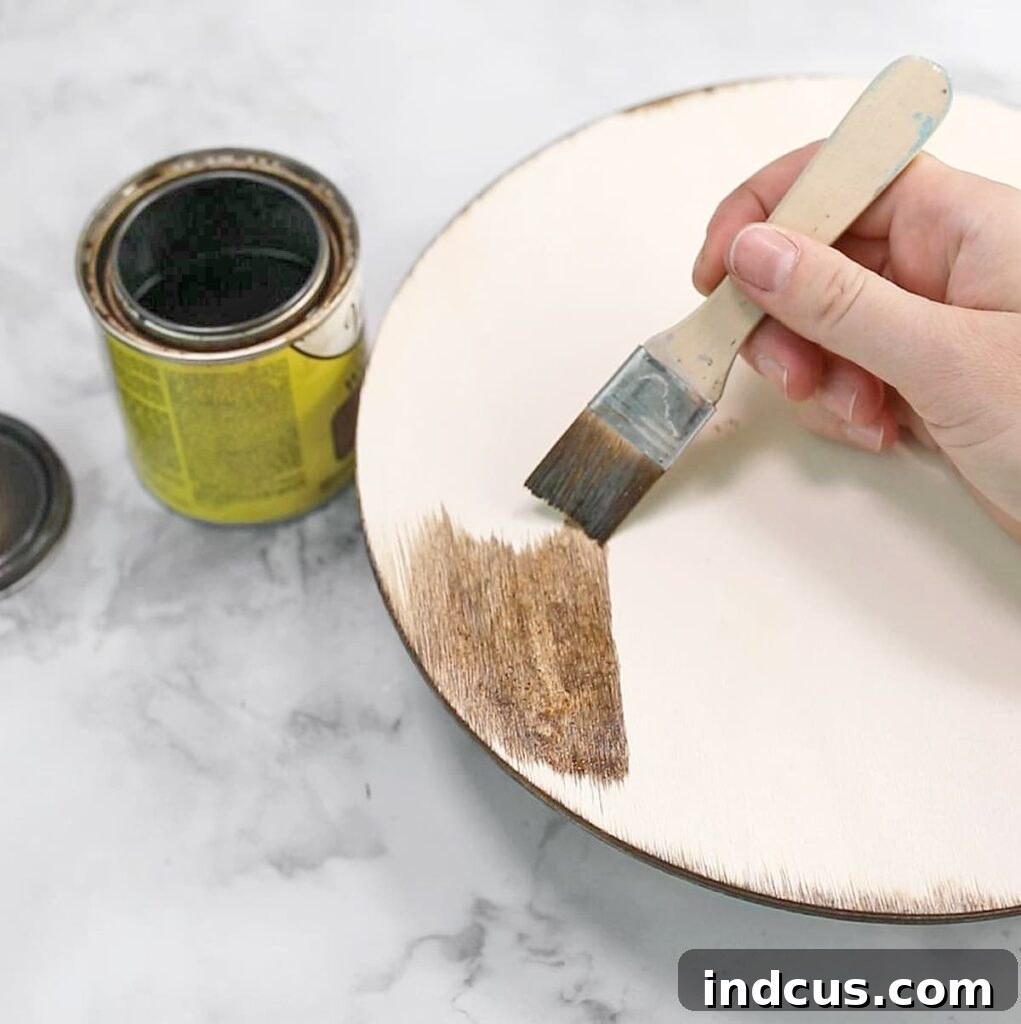
Step 3: Seal with a Protective Top Coat.
Step 4: Assemble the Lid Components with Wood Glue.
Step 5: Clamp and Allow to Dry for a Secure Bond.
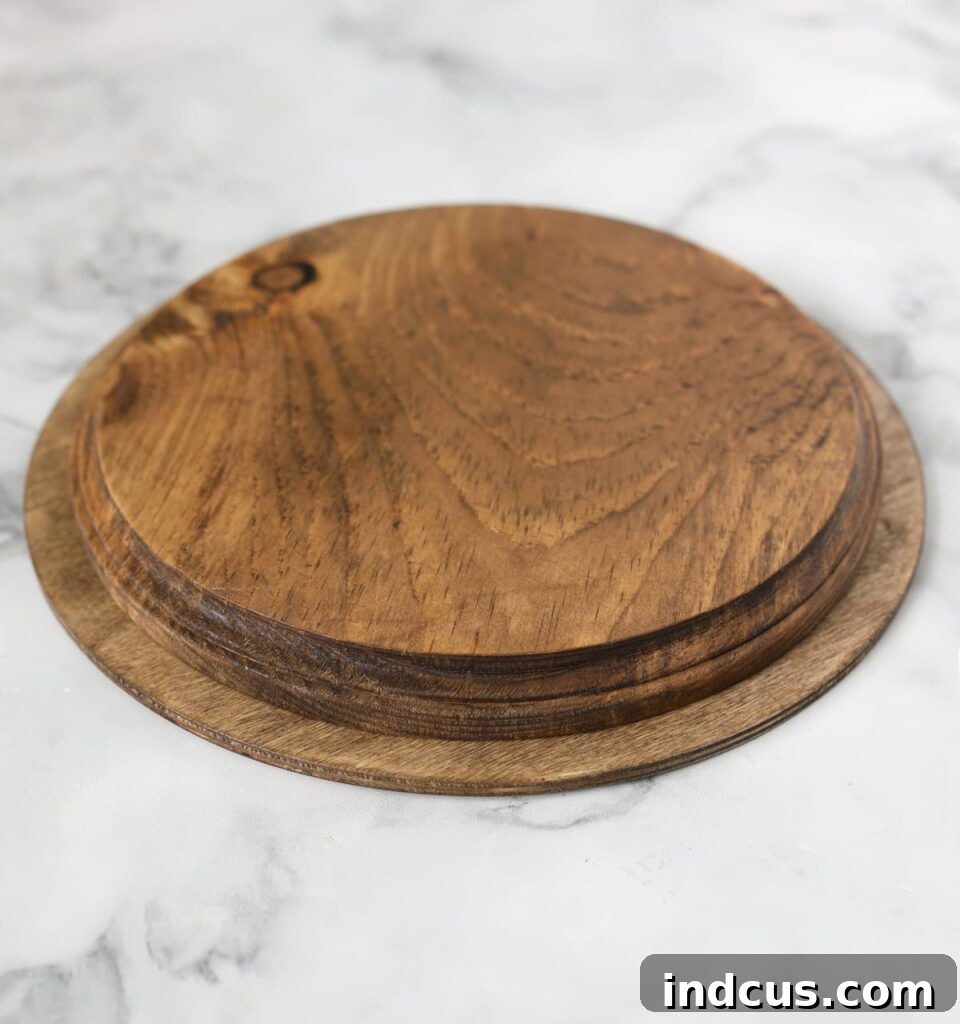
Once the glue has fully cured, your custom wooden stand mixer lid is complete and ready to take its place of honor on your kitchen counter! You’ll love the instant upgrade it brings.
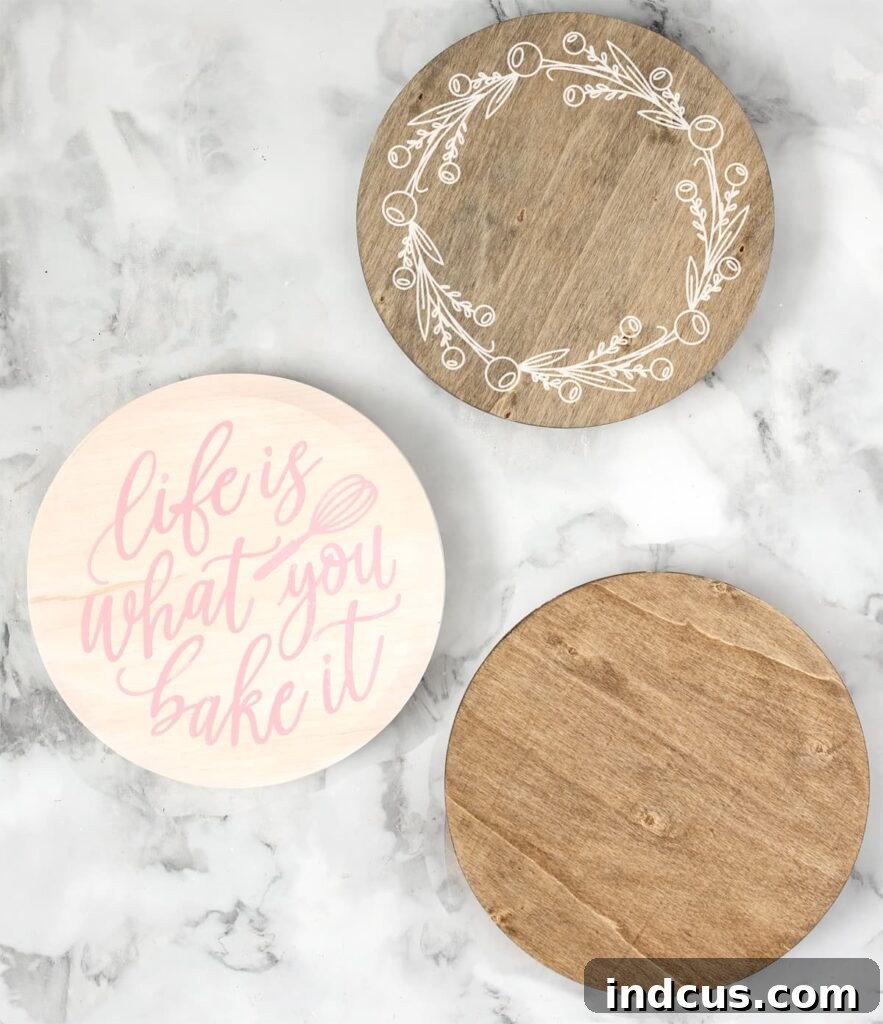
But why stop there? This beautiful wooden base is a blank canvas just waiting for your personal touch. Take your project one step further and truly make it your own! You could add a custom vinyl decal using permanent or even removable adhesive vinyl for seasonal changes. Imagine a festive holiday decal in December, swapped out for a spring design in March! Alternatively, unleash your artistic side by hand-painting a cute design or motif directly onto the lid. For a more classic or ornate look, consider adding a wood applique detail to the center. The possibilities for personalization are truly endless, allowing you to create a stand mixer cover that perfectly matches your unique style and kitchen decor.
I am absolutely delighted with how my wooden mixer bowl lid turned out. The warm, inviting pop of natural wood, combined with its clean lines and undeniable functionality, makes it a truly outstanding addition to my kitchen. It’s not just a cover; it’s a stylish element that enhances the overall aesthetic of my cooking space while keeping my valuable appliance protected and tidy.
Benefits of Your New DIY Stand Mixer Cover
Beyond its charming appearance, this wooden stand mixer lid offers a multitude of practical advantages:
- Enhanced Hygiene: Say goodbye to dust, pet hair, and airborne particles settling into your mixer bowl. This lid provides a protective barrier, keeping your bowl clean and ready for immediate use.
- Clutter-Free Storage: Tired of rummaging through drawers for your mixer attachments? This lid allows you to store beaters, whisks, and dough hooks neatly inside the bowl, hidden from view and protected from dust. It’s a fantastic kitchen organization hack!
- Elevated Kitchen Aesthetic: Transform your stand mixer from a utilitarian appliance into a sophisticated piece of kitchen decor. The natural wood finish adds warmth, texture, and a touch of artisan charm to your countertop.
- Protection for Your Investment: Your stand mixer is a valuable kitchen tool. This lid shields the interior of the bowl from potential nicks, scratches, or accidental damage when not in use.
- Cost-Effective DIY: Compared to potentially custom-made or boutique covers, crafting your own is a budget-friendly way to achieve a high-end look and custom fit.
Maintenance and Care for Your Wooden Lid
To keep your beautiful new wooden stand mixer lid looking its best for years to come, follow these simple care tips:
- Regular Cleaning: Wipe the lid occasionally with a damp, soft cloth to remove any dust or light grime. For sticky spills, a mild soap solution can be used, but avoid saturating the wood.
- Avoid Harsh Chemicals: Do not use abrasive cleaners or strong chemical solvents, as these can damage the stain and polycrylic finish.
- Protect from Moisture: While the polycrylic provides good protection, try to avoid prolonged exposure to standing water. If the lid gets wet, wipe it dry immediately.
- Avoid Extreme Heat: Do not place hot pans or dishes directly on the lid, as this could damage the finish or warp the wood.
- Re-sealing (Optional): Over many years of use, if you notice the finish starting to dull or wear, you can lightly sand the surface with fine-grit sandpaper and apply another coat or two of polycrylic to refresh its protective barrier.
This easy DIY project proves that you don’t need a workshop full of power tools to create something truly beautiful and functional for your home. Enjoy your new, customized stand mixer lid!
Video Tutorial
Love this easy and elegant DIY kitchen idea? Pin it to save for later and share with your friends!